Featured Post

The New Age Is Begun: The Battle of Fornost Army List

Good morning gamers, Editor's Note : Before we begin the formal post, I just wanted to say that we just passed the 5 million view mark -...

Showing posts with label Terrain. Show all posts

Thursday, December 26, 2024

Hobby Bingo 2024 - Tiberius's Board

Good morning gamers,

Happy boxing day - I hope your Christmas was enjoyable and fun! 2024 has been VERY busy here at TMAT and despite not getting a lot of hobby releases (and my simultaneous investment in Star Wars Legion), hobby bingo went pretty well! While it's not as complete as last year's run (there were two boxes that just weren't going to be filled in - more on that later), things went pretty well and I got a LOT of models smashed out of my backlog. So without further ado, here's how we did!


Row #1: TV Time, Smials, and Fiefdoms

Column 1 required us to watch the Hobbit Trilogy, which was easy this year because my daughter was reading the Hobbit with her book club and was allowed to watch the films as she finished the relevant chapters. This was completed on May 26th and while the book is superior to the film trilogy, I still like it - very enjoyable.

Column 2 required watching the Lord of the Rings Trilogy, which I did on my own (though my son and daughter made it through Fellowship in book club this year too - and they really enjoyed the extended edition of the first film). I finished watching Fellowship on my own on May 29th, Towers on June 15th, and then because life got busy, I didn't get around to King until September 15th.

Thursday, December 28, 2023

2023 Hobby Bingo: Tiberius's Board

Good morning gamers,

Well, 2023 has been a year - and it's been full of hobby fun! With Fantasy Fellowships, the Minas Tirith board, several tournaments, and lots and lots and LOTS of Morannon Orcs, there's been a lot to keep me busy during my off nights. I haven't officially done the hobby bingo challenge before, though I've always looked at the boards and thought, "I should do that." Well, this year, I said, "Darn it, we're gonna do it this year" - and I am proud to say that it turned out pretty well. Let's have a look!

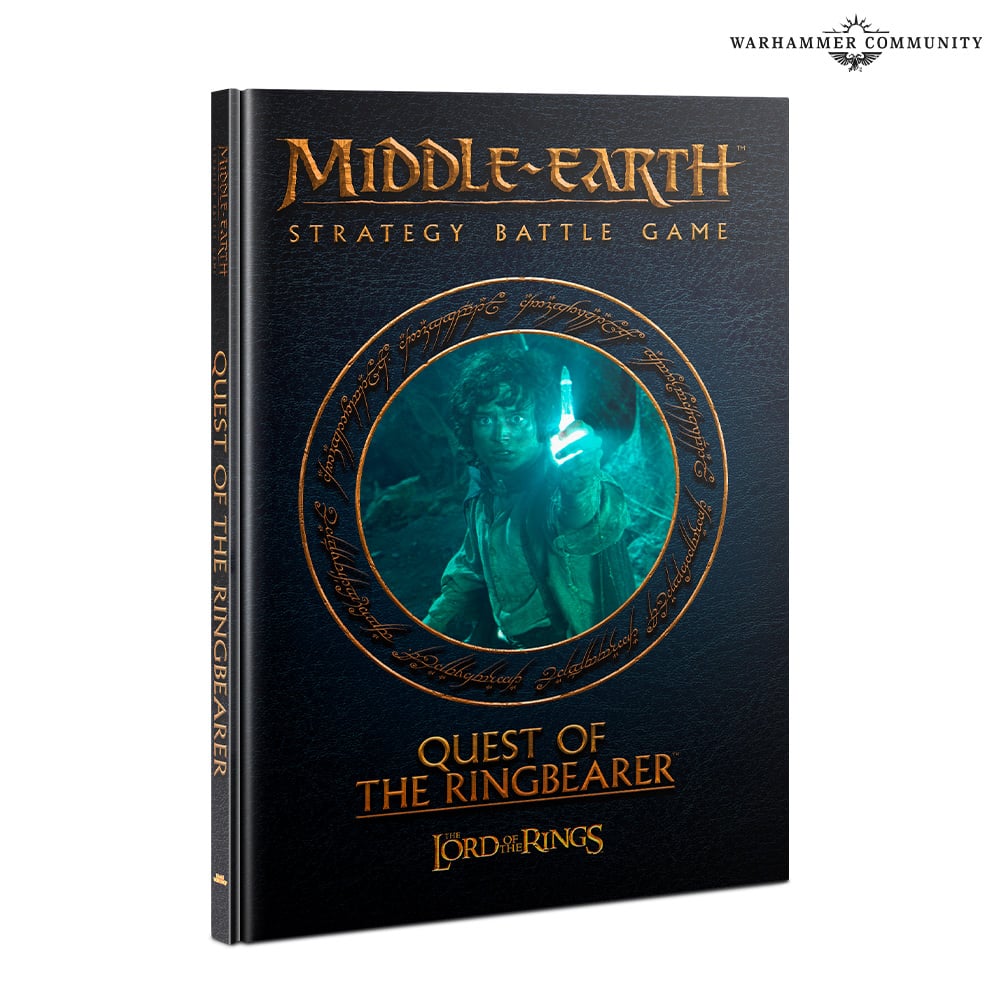
Photo Credit: Warhammer Community

Row #1: Lots of New Models (and some movies and a tournament)

Our first square in the first row requires us to start a new army, and for me this year, that was easy: Corsairs of Umbar! Throwing weapons are my thing and these guys have them everywhere. I also had these models sitting around for a while, so I don't have all the guys I painted shown here because . . . well, I need a guy for another bingo box:


Box two is easy - watch the Lord of the Rings trilogy. Yes, I watch the extended cuts every year at least once, usually while I'm working on batch painting something or working on a terrain project. It took me longer than usual to watch them this year, since I had to catch up on a bunch of Star Wars shows, but I finished watching the extended editions of The Fellowship of the Ring on June 28th, The Two Towers on August 14th, and The Return of the King on September 9th.

Box three was checked off on June 24th when I attended our annual Grand Tournament - I got last place with a Quest of the Ringbearer Angmar army (you can read about my process of picking that list here and some thoughts on the scoring system - and a brief overview of my games - here).

Box 4 requires scenic bases for one of my armies and I decided to showcase my basing style for my Erebor Dwarves, as shown on Ori. The bases were done by painting white through a dryer sheet, then washing in black, then spot-highlighting in black, and then making piles of gold and emeralds from green glitter, PVA glue, and gold paint:


Finally, I needed to finish a Good army of at least 600 points. Because of the way Hobby Bingo works, I wanted to have a list that "just" reached 600pts (because I need elements of this project to cover multiple boxes, and you can't double-count a model) and since I spent quite a bit of time this year converting up Grim Hammers, Warriors of Erebor, and Thorin's Company heads into a War of the Ring era Erebor Reclaimed list, I figured I'd grab over 600 points from them. You can see here Thorin III Stonehelm, Dwalin, Bifur, Bofur, Nori, Dori, Gloin, and 7 converted Iron Hills Dwarves with shields and spears:


Thursday, July 27, 2023

Minas Tirith Me Up: Osgiliath/Minas Tirith Terrain, Part VI

Good morning gamers,

In update #6, we're looking at the first level walls, which we probably won't be using for Matched Play, but will need for scenarios in Fantasy Fellowships (and who knows - we may have something brewing that would require these . . . ). We will be looking at the walls, as well as the gatehouse, the stairwells to the walls, and the baseplate panels - there's lots to cover, let's get to it!

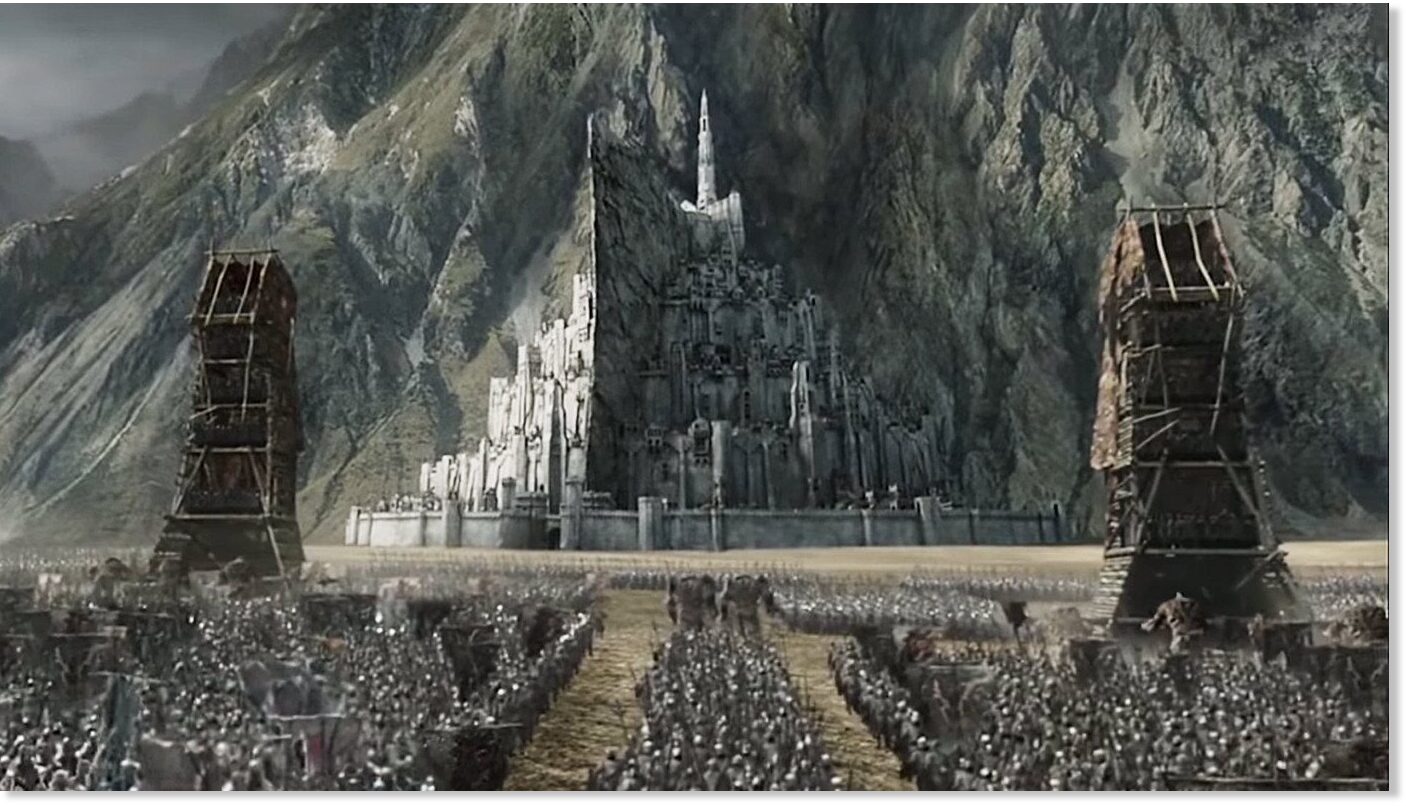
Photo Credit: Sott.net

Wall Sections with Battlements 

I got the walls (two 12" long segments and two 3" long segments) painted in a black mod podge mix, sealing the foam in. I wasn't confident that the spray paint wouldn't eat through the foam, so I hand-painted some of the bricks different colors and then over-brushed with white:

These are the 12" segments - the 3" segments show up at the end!

Thursday, March 23, 2023

Thoughts on 3D Printing Your Models

Good morning gamers,

Warning: There will be references to Spiders in this post (and a picture below). Mythopoeia, stop reading now - you've been warned!

3D printing has been around for a while now and we here at TMAT have been introduced to 3D printing primarily through Centaur and Red Jacket. Centaur has worked on a variety of printing projects, ranging from D&D miniatures and substitute sculpts for the Middle-Earth range to terrain features of various kinds (both in resin and FDM). 3D printing is not a straightforward art form, though, and in today's post we're going to look at the things 3D printing is good for - and when you should just buy the real thing.

Disclaimer: I'm going to reference a lot of people that are creating/selling things that you can use - and none of them are sponsors of this post. In fact, the links I've provided give me no kick-backs, there's no affiliation/advertising going on - everything you see below are things I've admired, used, or seek to use in the future. Support them if you want - I just wholeheartedly believe in what they're doing!

Why Do We 3D Print Stuff?

3D printing has advanced a lot over the last few years and with STL creators like Loot Studios and Medbury Miniatures (along with a host of other creators on My Mini Factory) creating incredible sculpts to print, printing hobbyists are able to print models now that fit the aesthetic they like. The usual appeal for 3D printing begins with the expense: assuming everything prints right (and you invest the capital in a printer), you usually pay pennies per model for the materials used (resin/filament) instead of dollars per model.

You also gain the control to print as much as you want of the models you want instead of being dependent on model availability. While price can affect how much of something you get, there are rampant cries of models being unavailable in the GW webstore (usually right when you need them for an event). Printing what you want does assume that you or someone else has made the sculpt you want and that you have the right equipment/the material needed/the know-how to actually do it, but on the whole, you have the power to choose. Oh, and you probably need to plan ahead and give yourself enough time to make them all too.

Finally, 3D printing sometimes gives you more dynamic poses for really, really old sculpts (some of which have very flat designs because of how they were cast decades ago). Having an army that pops off the board more is great for the players of the game and if it encourages you to paint/play with the army, so much the better.

Thursday, January 26, 2023

Weather Conditions for Matched Play!

Hey Reader!

So I was down in Florida for Hurricane Ian (as my parents live there, and my family and I helped them ready their house for the storm), and during the course of the storm I had an idea for weather conditions that one could add to a matched play or casual game to make things more interesting. And since I came up with some ideas, and Tiberius and Rythbryt are used to my scatterbrained post ideas by now, I decided to share them with you all, :P 

So if you've ever been looking to fight an epic battle in the midst of a hurricane, today's the day!

We'll start by looking at each of the weather condition events in turn, first looking at what triggers the event (as some of them are battlefield-wide for the whole match, like a hurricane, while others happen at specific times, like a tornado), and then look at what it does mechanically. If you have ideas, feel free to let us know in the comments below!

It's worth noting that several other tournaments have added weather as a feature, and I've looked at those, and they look like a lot of fun. I've avoided repeating those ideas, though, in part because I think that sometimes it bogs down the game (as some of the resolutions of weather can be very involved), and I really do want this to be a feature in a scenario, but not something that will require more than 1-2 minutes to resolve at the start of a round (and ideally not more than 30 seconds). These are designed to be quick and dirty rules so that they don't slow down the game.

The other thing that I wanted to convey is simplicity: they are easy to understand, so even a new player isn't going to be thrown for a loop while learning the game. Snow slows you down, lightning strikes the tallest thing - all of these things allow for easy resolution while also allowing you to grasp the concept and make a plan for how to deal with it. Simplicity that can still facilitate strategy. That's our motto.

So with no further ado, looks like there's a weather system inbound...

Thursday, January 19, 2023

Minas Tirith Me Up: Osgiliath/Minas Tirith Terrain, Part V

Good morning gamers,

It's our fifth post in this terrain mini-series on our Minas Tirith/Osgiliath board. As we talked about last time, we're just working on some buildings today, fleshing out our boards so we can have more whole buildings when we play (instead of only half-buildings or open plinths). We'll be kit-bashing the Zorpazorp templates for Lachie's Minas Tirith project, so if you already have your templates printed, you can follow along!

Photo Credit: Sott.net

Four New Buildings

Our first building that we're making is based on the wider tower structure - originally, this thing has a double-arch side, a single-arch side, and two closed sides. This modification will be simple - we're going to have one single-arch side and three double-arch sides, which will not only make this building different from its original design, but when we split it in half, each half will not only be different from its brother, but will ALSO be different from either of the other halves from the previous building:

Building #1 - lots of doorways so the building can be rotated in any direction (based on how I want the arches below to face)

I've also modified the top of the building significantly - each side has a door-like arch. This is because this building is intended to have a walkway bridge OVER part of the map, similar to one of the buildings in Lachie's Tuber-Town - so let's look at where he's going to connect to next.

Thursday, November 17, 2022

Minas Tirith Me Up: Osgiliath/Minas Tirith Terrain, Part IV

Good morning gamers,

Today brings us to Part IV in our series on building Minas Tirith/Osgiliath terrain and today, we're turning to the walls and plinths and doing the monotonous job of detail work . . . ugh. Easily the least fun part of any terrain task is adding rote detail to things - not adding cracks, impressions, colored washes to simulate filth and such, but the drawing of brickwork lines, the indentation of certain bricks to add character, that sort of thing. Yes, it's important to the end result of the build, but it sure . . . is . . . boring.

So today, we're going to do all that dull stuff, but to keep our sanity, we're also going to do other things - namely adding our water features to two of our panels, spraying the board so it isn't pink/black, and prepare the board for use in Osgiliath missions! Let's get into it!

Photo Credit: Sott.net

Detailing The Outer Wall 

If you've seen Lachie's videos on YouTube for the Minas Tirith project, you know what this entails: running an aluminum foil ball around the faces of the wall to add texture, followed up by depressing certain stones with something solid (I've chosen the box for my utility knife blades, like Lachie does), adding some cracks to some of the stonework, and noting where I'm going to add green bits for moss growth. I then slathered these guys in a mix of Mod Podge and black paint so they'd be protected from the spraying that's coming:


I need to paint a few bricks here and there green, black, or grey (specifically choosing sections that were thinly mod-podged) and then spray a gentle white primer coat over it, but I plan to do that after I have the crenellations done. Once they're sprayed and have been washed in black, I think they're going to be great, but I don't want to start washing until I have the gatehouse done too.

Thursday, September 29, 2022

Minas Tirith Me Up: Osgiliath/Minas Tirith Terrain, Part III

Good morning gamers,

If you haven't read the last two updates in this mini-series (here and here), we've got twelve 24" x 12" board panels that can be used for the Osgiliath and Minas Tirith missions from Gondor at War and Quest of the Ringbearer. I'd like to note before we continue that I had NO IDEA when I started this project that we'd be getting a new starter box with an Osgiliath emphasis - and boy am I happy I got started building this already! Centaur and I plan to go in on a box together (I need the evil stuff, he needs the good stuff), so Christmas and early 2023 should be a very exciting time!

With the instructional help of Zorpazorp (both from videos and various wall and building templates), we are well on our way to having the outer wall completed. Today we will be finishing the gatehouse (and the walls next to it) and working on getting the our first 48" x 48" of board not looking so pink. Let's get into it!

Photo Credit: Sott.net

The Outer Wall 

Lachie from Zorpazorp hasn't gotten to the main gate of Minas Tirith yet, but he's given us templates for trebuchet towers which stick out ahead of the wall, just like the two ramparts guarding the main gate do. So I started by making two modified versions of the trebuchet tower, each having 9 panels that are 5" deep and 4" wide (only had 16 panels, so I had to use a few off-cuts that will get integrated into the second-from-the-bottom level of each tower). I then marked out a 1" x 1" right triangle on each of the outer corners so I can taper the front of each a bit - these all got cut off and will be used for broken pillars for the Osgiliath, Pelargir, and Harlond port/water sections:


Thursday, July 21, 2022

Minas Tirith Me Up: Osgiliath/Minas Tirith Terrain, Part II

Good morning gamers,

We're back for Part II in this series, in which we'll be talking about the walls and buildings we're making for the Minas Tirith board. Last time, I showed the modular layout for the board and this time we're going vertical with some of the buildings and structures that will be on it. Keep in mind that Fantasy Fellowship from Quest of the Ringbearer are on my mind while reading - I'll be coming back to that a lot in this article!

Photo Credit: Sott.net

The Outer Wall

If you've seen the tutorials from Zorpazorp, you know how this begins - big blocks of polystyrene bonded together into a big mass. Well, we're doing a 9" high wall instead of a 12" wall because it will work better with the buildings we have and the storage constraints we're looking at (and because of Fantasy Fellowships - more on that in a moment). It all begins with polystyrene sheets:

Lots of cutting going on . . . the wife has been very patient with the polystyrene bits . . .

Once they were cut into 9"x12" panels, it was time to line them up and start skewering them:

Skewers and glue, man, skewers and glue . . .

Glue added to both sides, smash the other two panels around the skewered one, and boom - 3" thick wall in action. In Fantasy Fellowships, you have the Pyre of Denethor Scenario, which is played on a 24" x 24" board and has two 9" x 12" blocked-off sections that makes a 6" corridor for Gandalf and Pippin to come down into the tomb . . . conveniently, our walls will be able to lay down on their sides to accommodate this. Of course, a wall that high is going to need stairs . . . so I made a staircase:

It will need a bannister around the sides to protect those on the stairs from being shot, but that'll come later . . .

The stairs are 7" switch-backs that would allow some models to try to climb a few steps up (or leap a few steps down) to save some movement. Each stair is 1" long and will be treated as adjacent to each neighboring stair (for the purpose of supporting and engaging). As you can tell from the image, these stairs are going to need some filler to clean up the joins, but it's well on its way.

Added to the two 12" long strips of wall (and a few buildings - more on that in a bit), here's what we have:

A mostly empty board, but it's coming together . . .

These two wall sections can be placed together for the Atop the Walls scenario from Gondor at War/Fantasy Fellowships, so we're ready for that when we get to it! The next big project will be the gatehouse. . . which I have a rough design for and have started the process of carving up the pieces. The board and walls will eventually be coated in something (probably mod podge) before being sprayed a more natural color, but I need to settle on where the buildings will be first.

The Inner Wall

As we move into the rear of the board, I glued down the panels we cut last time for the second level and also made a ramp way to get to the second level:

The second level is being bonded with the aid of Doyle, Shakespeare, and Hugo - I owe them so much . . .

I plan to use the Trebuchet tower template for the gateway of the second level (and one other Trebuchet tower to make the other panel of the wall more interesting). The ramp is shown above running along the second level, but the gate will require the ramp to run straight out instead. The same structure will be used for the gatehouse of the main gate - just wider at the doorway and taller. Not much of an update here I'm afraid - but we can now move on to the buildings!

The Buildings

So I started building these by getting blinds for my house . . . and then saving the boxes. :-) Blinds, as it turns out, are delivered in massive boxes that are super sturdy - perfect for what we need (if we can hide the corrugations). It started off like this:


I then traced the templates for the five buildings I got from Zorpazorp on the box (went through the entire front of the box and part of the side) and started glueing the buildings together. After some coats of spray paint for an initial pass, here's what we have:


An important thing I wanted to do was make as many of the buildings as possible splittable into two pieces - this is not just so I can have partial buildings for Osgiliath/a mid-siege Minas Tirith, but also because nestled buildings store better than blocky, bulky ones. The buildings will be enhanced with details later, but what we have now is a good start.

Conclusion

While the boards are intended to be usable for all the Osgiliath and Minas Tirith scenarios in Gondor at War as well, Quest of the Ringbearer is hard on our minds right now (more on that next month) - and as you can see, we have enough to get started with the Osgiliath scenario late in the campaign:

Just need some scatter terrain ruin/rocky bits and we'll be good to go . . . that and painting, of course . . .

So . . . to finish the buildings, all I need to do is just repeat all the tracing and cutting and glueing and spraying two more times (at least, I think I need to see how full the board is with the projected amount of terrain on it - it may end up being more than that). :-) Hopefully you enjoyed this update - and if you haven't gotten your templates from Zorpazorp yet, you should do that right away! Next time, we'll see if we can get a gatehouse built and prep segments of the board for painting - but until then, happy hobbying!

Thursday, June 9, 2022

Minas Tirith Me Up: Osgiliath/Minas Tirith Terrain Project, Part I

Good morning gamers,

When COVID hit, Lachlan Linton-Keane from Zorpazorp started a gargantuan project (his forte, if we're honest) to create a scale wargaming model of Minas Tirith and have members of his community share in the building of walls, buildings, and siege towers for a massive battle for Minas Tirith when COVID restrictions were removed. As part of that effort, he released templates for walls and buildings of various kinds, and with the help of others, has available for purchase in his web store STL files for siege towers and siege rafts. It's a good time to be a Middle-Earth fan with guys like Lachie around.

Photo Credit: Sott.net
Make no mistake - our endgame is not as grande as Lachie's . . .

I've been looking to build a Minas Tirith-themed board for a long time and when the templates first came out, I swept them up and started planning. With Gondor at War giving us a bunch of scenarios in Osgiliath and Minas Tirith (and some of those being required for Fantasy Fellowships in Quest of the Ringbearer), I wanted my board to be able to work as an Osgiliath board, a Minas Tirith board, and be able to accommodate any scenario from either of these books. And while it's taken me nearly two years to get started, there's been a LOT of planning that is finally coming together. Let's dig in and start building!

Thursday, May 19, 2022

Quest of the Ringbearer: Pop-up Bree, Part 3

Good morning gamers,

We're back for the last post (for now) on my Bree board - this time, talking about the other buildings I've built for the board and some of the additional 3D printed bits I commissioned Centaur to print for me to fill them. If you haven't read the previous posts in this series, you can find them on our Quest of the Ringbearer page. Let's get right into it!

The New Buildings

Here's a quick look at the old and new pieces that Centaur printed for me - this, in addition to what I already have, won't be enough to fully populate the city, but I see filling each building as a long-game (I don't want to "just print a bunch of stuff" when there might be things I find later that I want).

It's unclear if Bree had a standing militia in the books, but it had a gate-keeper (Harry Goatleaf will probably make an appearance whenever I use this building) and we know from the books that when Sharkey's Rogues began invading the Shire, they gathered in Bree and started making trouble (and those loyal to order and peace rallied behind Barliman Butterbur to defend their town, kick out the Ruffians, and establish a more secure town). As such, I assume that at least one building should serve as a bunkhouse for whatever local militia are "on call" that day. Here we have a few cots for resting on, as well as some crates for those men to refresh themselves as they await trouble. Functionally for game play, this is a pretty open space.

Thursday, April 14, 2022

New Gaming Board: The Spicy Board!

Hey Reader!

So in preparation for 2022 TMAT Grand Tournament, I decided to build a new gaming board. I've been storing up foam for about a year now, and as I was casually chatting with my wife about the tournament, the question of when the foam that was taking over the laundry room was going to disappear came up, and that's when I decided it was time to build a new board (in addition to trying out army lists to see what I'd take).

But this would not be just any board: it would have three elements that I've wanted to do for a while. First, it would have a few ruined walls, as walls are cool, fun to make, and I haven't made any out of foam yet, so I wanted to make some. Second, it would use variations in elevation for strategic play instead of obstructions, thereby making the board look open from an archery and movement perspective, but due to the undulating terrain there is a strategic advantage to being on a specific side of a hill to get In the Ways against archery, thereby still allowing archers to shoot and use their cool tricks, but also provide reasonable cover against ranged attacks. And finally, I wanted to use spices to create the board, instead of just using standard terrain elements like flocking, tufts, trees, etc.

And the result is a ruined Arnor town, complete with three barrow mounds. And here's how we made it.

Step 1: Sort the Foam

So many shapes, sizes, and materials!

Feast your eyes - one Amazon Fire TV, two 3D printers, and a few other random boxes all containing foam later, and you've got a wide range of foam for our use. Also, huge thanks to Home Depot for the polystyrene sheets: naturally we won't be using the foam for the base of the board, as we want something long and relatively durable for that, and for that I always turn to those pink workhorses.

Most of the foam falls into one of two categories: packing foam which is dense and relatively easy to cut into clean lines if you have a sharp knife, as it will move with the cut as it has some give in it. We'll use these for some of the hills and slopes, as well as some of the structures. We also have the "popcorn" variety made of thousands of little dots, which is lighter and easier to carve, but is difficult to make straight lines or precise cuts with due to the nature of the foam. I plan to use that for some mountain and cave terrain, where non-straight lines are ideal.

And so with that, we start work on the board.

Thursday, March 24, 2022

Quest of the Ringbearer: Pop-up Bree, Part 2

Good morning gamers,

Before we get into the meat of this post, I just wanted to note that we recently passed 1 MILLION page views on the blog (if you trust the Google analytics). From all of us at TMAT, thanks for reading the things we post - it really does keep us going!

We have our annual grand tournament here at TMAT coming up next week and for this tournament, I decided I wanted to bring my Bree board to the event. Naturally, having 17 buildings on the board wasn't going to happen (Army Leader brawl during Contest of Champions in the Prancing Pony, anyone?), but I did want the board to be finished and about 8 buildings on the board (2/quadrant). If possible, I wanted to get all of the buildings done so I could say, "It's done" - and I also wanted things IN the buildings to make them more interesting. So today, we're going to see what I did!

Board Construction

Bree - multi-functional for Matched Play or Scenario Play . . .

The board is basic - two 2' x 4' half-inch sheets of polystyrene (cut from an 8' x 4' half-inch sheet of polystyrene) that can be arranged in two ways (one with the Prancing Pony in the center of the board, one with the prancing pony left off and the rest of the town kind of staggered). While not ideal for modular play (would have been better as four 2' x 2' panels with nothing overlapping the edges), the board is designed to be used in the Escape from Bree scenario (which is why the Pony spans the middle) and does have a lot of alleyways for moving troops around. Frankly, I like it.

As I mentioned in the last post, I wanted the buildings to be removable and easily storable - and part of the removability was to have their bases affixed to the board. I glued the bases to the board with PVA and used a collection of works from William Shakespeare, Leo Tolstoy, and Sir Arthur Conan Doyle to keep them flat as they dried. Some warped a bit, but on the whole, they came out just fine. Each was cut with a knife to make floor designs and then sprayed with Kona Brown spray paint.

The ground texture was caused by a mixture of rolling a foil ball across the surface and spraying textured spray paint over the top. I've put rocks and other grit on boards before and sealing them up is really difficult. Both of the techniques I used this time either indent the board OR adhere directly to it. Because I knew I was going to be spray-painting directly onto the board (instant death for polystyrene), I decided I was going to leave the plastic layer that came with the board on it as a layer of protection for the polystyrene. It seemed to work pretty well. Everything then got sprayed in Kona Brown (I went through two cans getting the board and bases set).

Finally, a few of the buildings were going to be heavily used by animals or feed for said animals, so I put some dull grass flocking in some of the areas (glued with watered-down PVA) and then sealed it with a sealant spray. I didn't want this stuff flaking off, so the seal helped make it rigid.

Thursday, November 25, 2021

Quest of the Ringbearer: Pop-Up Bree!

Good morning gamers (and happy Thanksgiving if you're in the States),

Confession: I have wanted to build a city board with tons of houses for ages. The idea of having side streets and main roads for armies to use to maneuver has always intrigued me. But, in MESBG, there is a tendency for boards with overly-cluttered maps to become a game in and of themselves and detract from the ACTUAL game that's being played. So when I saw the Nazgul In Bree scenario in Quest of the Ringbearer sourcebook, I immediately got thinking about how to build Bree (and how to run the Depths of Moria LL, but that's a different story). :-)

I knew there were two complications I needed to tackle when it came to the buildings: first and foremost was storage. Most of the YouTube content you find out there on building medieval taverns or Bree buildings specifically are built from foam card and aren't easy to store. I don't have a lot of storage space, so I wanted to avoid having 3-4 boxes of terrain for a single board.

Second and more applicable to game play was the skyline problem. You've probably run into a situation once or twice where you were not able to get your head behind your model to see if it has line of sight to something - and that usually happens when there's a building behind your model. Well, I wanted the buildings to be easy to remove and replace so that wouldn't be a problem (since the streets will be narrow).

So how do we do this? Well, we start by eating lots of family-sized cereal (my go-to is a Post-brand cereal that has raisins in it, but I settled for others when those weren't in stock at my favorite warehouse members-only supply store).

Thursday, September 16, 2021

Quest of the Ringbearer: Terrain Update, Part 1

Good morning gamers,

Today we're back in Quest of the Ringbearer land and we'll be covering how the terrain is coming for the missions that are in Quest of the Ringbearer. If you haven't read the post on what terrain we need, you can check that out here. Today we're focusing on terrain that will apply to many, MANY missions and a few specialty pieces that we'll need. Here we go!

Trees

I got a bunch of trees from Centaur for my birthday last year and I have only recently started putting them to good use. I have twenty scatter terrain trees now (some tall, some short), which have been placed in 40mm circular cardboard bases, stacked with 25mm circular cardboard bases to give them some interesting rise. The flocking was a mixture of Green Scenics Burned Earth (I think) and some green flocking that I got from Amazon:

With the flocking, the trees look a little different from the normal board, making the difficult terrain visible but not too clashing. I have a bunch of other trees, but don't plan to have them as scatter-terrain (instead, they'll be added to other terrain features for variety). Speaking of which, we've also been working on . . .

Hills

I've made hills out of XPS before (I have a two-section hill that I love), but am not happy with the work required to make mounds of earth (glue causes warping if you don't press down on it hard enough). Thanks to a tutorial from the Terrain Tutor, I looked into expanding foam instead. After a few failed attempts, we have this:

Added some spackle/filler to smooth out the surface and added more flocking and a few big trees to finish the effect. Job's a good one! As playable terrain, their slopes are steep, but they all have pathways to the top and the rest will just require climb tests.

Thursday, April 22, 2021

Quest of the Ringbearer: What Terrain Do You Need?

Good morning gamers,

If you're like me, you were both a little surprised and kind of excited when Quest of the Ringbearer was announced. I bought the Fellowship of the Ring journeybook a few years back (Centaur and I played through it - it was great) and to see many of those scenarios get some new life breathed into them was exciting. It was also likely to field many Legendary Legions that I wanted (a Balrog-focused Moria one, a Cirith Ungol one, a Riders in Black one, a Lurtz-oriented Isengard one, and of course a scrappy Fellowship one). Yes, I'm grateful for the update to the Rangers of Ithilien too - and honestly this is the first supplement where I've looked at all of the Legendary Legions released and said, "Yep, I think I want to play ALL of these." So, needless to say, I love the book.

Photo Credit: Warhammer Community

When it arrived and I started pouring over it, I noticed that there were quite a few models that one would need to buy to play everything - I did a post on that and it came up $2000+ to buy everything (AFTER you buy the Battle for Pelennor Fields box set, the Armies of the Lord of the Rings supplement, and the Quest of the Ringbearer sourcebook). Yikes. 

But what also struck me is that unlike most of the other sourcebooks released so far, there are a LOT of different terrain boards you'd need to build in order to play the scenarios in the book. You have the rolling hills and open spaces of the Shire, the wooded terrain of the Old Forest and Lothlorien, the rocky terrain of Moria and Cirith Ungol, and the urban terrain of Bree and Osgiliath (two VERY different places). You also have some very iconic terrain pieces like Weathertop and the King's Seat which are important for the few scenarios they actually appear in . . . so . . . with all that terrain ahead of us, how does one get started (and try to get the most out of a collection of terrain)? Well, I'm glad you asked - because that's what we're going to look into today.

Thursday, August 6, 2020

Hobbit Smials Update

Hey Reader!

Been a crazy several months for me, but wanted to do a quick Shire Board update, as we finished a few more pieces for it.

ForgeWorld has a hobbit hole (or smial) set out, and my wife was so cool and got it for me for my birthday! The set comes with two windows and two chimneys, but the most interesting thing is the double-sided door/entryway:


So I decided to try my hand at cutting the double-sided entryway into two usable entryways, starting with a guiding line that would miss the inset details on either side, and then shaving down: 


And let me tell you, it was really hard because of how the resin piece is designed, but I made it through! Not super pretty, but it will do the job. And the back will be up against the polystyrene, so who cares what the back looks like, :P

So, with our ForgeWorld pieces ready, it was time to cut some polystyrene!

Wednesday, April 24, 2019

Making Trees (a.k.a. don't throw anything away)

Good morning gamers,

As the TMAT GT 2019 approaches, I'm making terrain! I've always believed that the best way to get a terrain project done is to give yourself a deadline and I've been working on forests for quite a while (read, since I got started almost nine years ago). Today's post is informed by YouTube videos from The Terrain Tutor, though there are other channels on YouTube who will show you how to do this too (I'm subscribe to Lukes Aps as well).

Saturday, January 5, 2019

Terrain Tutorial: Simple Hills, Part 2

Hey Reader!

Welcome back to the TMAT blog! As we are two weeks out from Brawler Bash 2019, I spent some time this week completing the hills that we were building in our last post. We cut and spackled our hills, and now we are ready to turn them from functional hills into more...aesthetically pleasing elements on the tabletop.

Wednesday, January 2, 2019

Terrain Tutorial: Simple Hills, Part 1

Hey Reader!

I'm working on terrain for Brawler Bash 2019, so I decided to venture out from my usual posts to do a terrain tutorial. I'm not particularly good at terrain (I have my moments), but since I am working on this, I figured I'd show you a bit of what's going on in preparation for the tournament.

Brawler Bash 2019 requires several pieces of terrain: hills for the King of the Hill match in Round 3, as well as lairs for fell wargs and cave trolls in the Living Wild match in Round 2. This means that the next few weeks you'll find me making terrain, requisitioning terrain from the gaming group, and painting up the last model I need for my force (which I'll post on the 17th when registration closes).