Good morning gamers,
If you haven't read the last two updates in this mini-series (here and here), we've got twelve 24" x 12" board panels that can be used for the Osgiliath and Minas Tirith missions from Gondor at War and Quest of the Ringbearer. I'd like to note before we continue that I had NO IDEA when I started this project that we'd be getting a new starter box with an Osgiliath emphasis - and boy am I happy I got started building this already! Centaur and I plan to go in on a box together (I need the evil stuff, he needs the good stuff), so Christmas and early 2023 should be a very exciting time!
With the instructional help of Zorpazorp (both from videos and various wall and building templates), we are well on our way to having the outer wall completed. Today we will be finishing the gatehouse (and the walls next to it) and working on getting the our first 48" x 48" of board not looking so pink. Let's get into it!
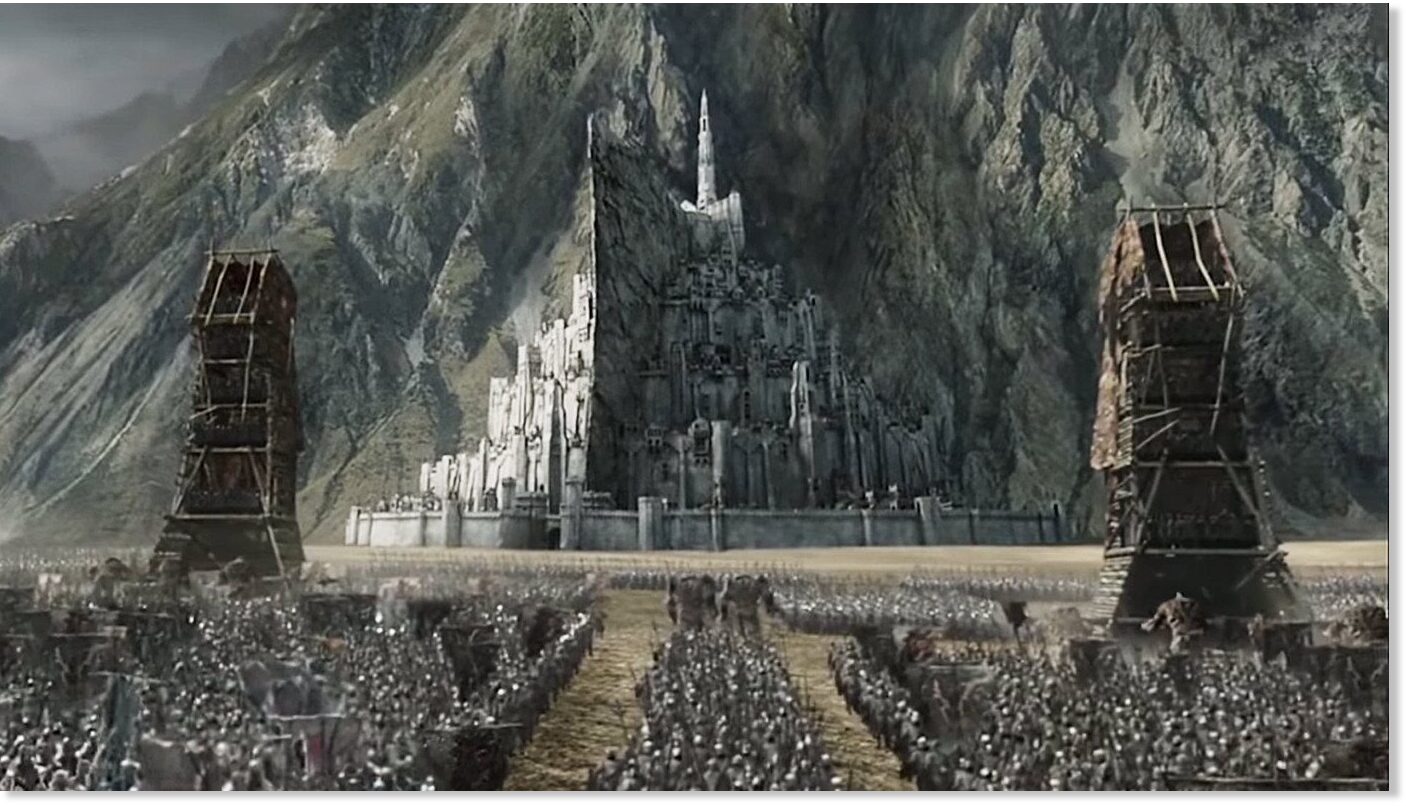 |
| Photo Credit: Sott.net |
The Outer Wall
Lachie from Zorpazorp hasn't gotten to the main gate of Minas Tirith yet, but he's given us templates for trebuchet towers which stick out ahead of the wall, just like the two ramparts guarding the main gate do. So I started by making two modified versions of the trebuchet tower, each having 9 panels that are 5" deep and 4" wide (only had 16 panels, so I had to use a few off-cuts that will get integrated into the second-from-the-bottom level of each tower). I then marked out a 1" x 1" right triangle on each of the outer corners so I can taper the front of each a bit - these all got cut off and will be used for broken pillars for the Osgiliath, Pelargir, and Harlond port/water sections:

After that, it's time to skewer everything - I did an alternating pattern of three-panels stuck together so there was increasing reinforcement in each layer as you get towards the middle.
 |
| Thanks Will for writing so much . . . |
Each of these will need brickwork done on them - more on that in a future update. With that done, I needed two more sections of wall that are 3" long that will meet the trebuchet towers - pay attention when tracing the brickwork, since I messed up the direction of the brick pattern on one side:
pic
With 6" of wall and 8" of towers, we needed the actual gatehouse to be 10" long, so I settled on 2" of walls on each side and a 6" arched gate - I relied heavily on some arched foam bits from previous Signal Tower and Weathertop projects. You can see the basic design here (the bonding of the foam is still in process):

The gatehouse itself has a series of in-set arches as you can see here - I'm not quite sure how I want to handle the main gate, but rows of in-set arches will definitely be part of it:
 |
| Photo Credit: Pinterest |
With the outer wall almost complete, I then turned to the raised sections we needed for each of our buildings.
The Building Plinths
We have five finished buildings, four of which are split in half for better storage (and flexible design). Each of these has building locations identified on our boards, so I started making the cardboard raised plinths for each of these:
 |
| I once again look to Shakespeare, Doyle, and Tolstoy for their weight . . . and to Tolkien and Jacques who I also owe a lot to . . . |
Each has slightly more area than the buildings themselves, which gives us the ability to be more decorative with the exterior (grit or grass or something). I'll do the detailing on these in a future update - before any of that happens, we need to seal everything . . .
Sealing The Board
To keep the polystyrene from flaking, I got 16oz of Mod Podge and mixed a few ounces of it at a time with black or brown paint to seal the board. With the plinths getting coated as well, the hope was that the board would stay intact despite the storage shoving that is bound to happen:

The first attempt went on really thinly as you can see above (came out as a grey instead of a black), so I decided to make it darker by adding more black paint and adding a second coat to these panels. The darker hue looks a lot better.
Conclusion

Well, here's where we're at - need to get some non-black paint on the board and just generally bring it to life, but I feel like it's coming together (and just in time, too - what with a new Osgiliath box set from the GW team). Until next time, happy hobbying!
No comments:
Post a Comment