Featured Post

Fleshing Out the Faction: Sharkey's Rogues (and The Chief's Ruffians)

Hey Reader! Welcome back to the blog! Having recently run Sharkey's Rogues at our 2024 Spring Zephyr Tournament , I've been thinking...

Thursday, October 25, 2012

Pardon the Pink: Goblin Town, Part Two

So, in today's work, we're looking at the work that's going on on my new game board.

1) Board Design
Here's the general layout of the board as it is now (unpainted - pardon the pink). Each board edge is unchanged, allowing full rotation of the boards to accommodate more board designs and set-ups. By rearranging the board elements, you can make very different maps. In this particular style, the board has a chasm (the section that has the cuts around it and has yet to be actually carved out) that leads to a civilized Dwarf hold.
2) Terrain Pieces
With the new terrain comes a few new pieces. Spanning a full 48" is a Dwarf wall (half of which you see here). The wall will receive more detail with the addition of pillars and statues, but currently sports stairs and postern gates. The natural choke-points of the wall segments (each with a 3" gate and two 1" postern gates) could skew the results of a game, but this is the benefit of a fully-modular table - or just not using the wall at all!
There are also two town "courts" which would facilitate commerce during a time of peace and now serve as rally points during a time of war (popular in the Lord of the Rings Online game). Random terrain pieces help a lot to add flavor to your fights and also make life just a little harder for archers and spell-casters. These courts cover a 6" area, making them perfect for an objective marker in a Domination game (everything on the steps is good).

3) Primer?

So the next step will be to apply primer. I picked some up at my local hardware store, and will hopefully be applying a coat to the board on Saturday morning before the tournament. I'm told that the board will need 1 hour to dry, so if I get started at 6am, I can spray up all the board pieces, campaign in LOTR Online for an hour, and then check and make sure that the board is treated enough for the tournament later that morning. We'll see how it all works out...

Looking forward to tiling the floor of most of the boards and making the board a bit more rugged near the chasm. Looking forward to the Hunter's Red October tourney this weekend!

Thursday, October 18, 2012

The A-team

I liiiiiiiive.

Wow. Time flies when you are having fun – or traveling/hosting all summer long. Actually, I blame Centaur and Tiberius for getting me hooked into LOTRO. The need to kill one. more. orc. has taken a serious bite out of my hobby time. However, last week my wife and I took a week up in the frozen north where there is no interwebs for our anniversary and I took some hobbying projects with me (yes, I did just say I was playing with little toy soldiers for our anniversary trip – but this is also the same wife who then gave me Buhrdur as an anniversary gift. My woman is epic. ‘nuff said.)

Unfortunately I have no real updates to share for the Easterlings right now (second batch of Dragon Guard is painted though, and there is some minor greenstuffing done on an Eowyn-to-Easterling captain conversion!), but I did reach back into the dusty closet to give some TLC to the forgotten army in my collection: The Fighting Uruk-Hai. (Tiberius, I’m sensing a theme here).

"I'm just a glorified extra, I don't even have a name!"

Unlike Tiberius’s force, I have invested in a larger quantity of specialists (3-4 berserkers, a few blisters of xbows, banners, etc.) in addition to the rank and file - half of which have sat with nothing more than a dose of basing sand and a quick spray of primer for well over a year. Well after a few splurge purchases on ebay, I had fodder for a few interesting conversions and an Uruk strike team.


still needs final touches - but who is going to stay and argue with  a charging pack of  these?

The first conversion was fairly straight forward once I could find a reasonable auction that didn't involve 15+ shield troops or charge $3 apiece for just a couple small plastic grunts. Just slice off at the wrist and swap out.

I really love this captain pose - it is so much more dynamic than the old shield captain model

added a few notches in the shield - this guy has been on many strawhead raiding parties 

The second conversion was a bit more complicated. What started as a "lets just trim the helmet crest a little to make him look a little different... " quickly turned to "whoops, now it's lopsided, just a little more... now it's the other side that's off." Then it was "shoot. lets just cut the whole thing off... now he just looks like a berserker with armor"


final result: vertical crest crafted from superglue-covered cardboard, and a turn of the wrist to point the sword forward 

Next, crafting a 2-handed sword for our mighty hero (since the new profiles allow those for a fighting uruk captain). Again, superglue and cardboard and a lot of slow trimming, with a flattened piece from the original crest for the guard.


who needs plasticard when you have cereal box cardboard and superglue?

I don't have a final assembly picture yet because I need to buy/beg/borrow some different glue. The joint didn't hold up with superglue. Merely turning the model upside down and tapping on the bottom to remove the excess basing sand was enough to send this carefully honed blade flying. Too bad Uruks don't get throwing weapons...


Hopefully it won't be 5 months before my next update. I have waaaaay too many projects to get through. Until then, aim true and fight fair

...ish.


Saturday, October 13, 2012

The King of the Woods: Thranduil


So my good buddy Glenstorm got me Thranduil for my birthday recently. Very, very happy with the new addition. We're going to take a quick break from Goblin month and look at a few of the new stats for the famed hero of Mirkwood. To examine how he benefits my famed Wood Elves, we'll look at his place in the army I'm taking to tournament at the end of the month. Note also that both he and his son can be included in a White Council army.
The Woodland Alliance: 

Galadriel, Lady of Lothlorien - 130 points

*Legolas with armor and Elven cloak - 105 points
Thranduil, King of Mirkwood - 90 points

9 Wood Elf Warriors with throwing daggers - 81 points
11 Wood Elf Warriors with Wood Elf spears - 88 points
4 Mirkwood Guard with Elf bows - 44 points
3 Galadhrim Warriors with Elf bows - 30 points
3 Galadhrim Warriors with Elf bows and Elven blades - 33 points

33 units, 12* Elf bows + 9 throwing weapons, 3 heroes

Stats and Special Rules
Like many Elven heroes, Thranduil has Strength 4, Courage 6, 2 Attacks, and 2 Wounds. Thranduil also sports Defense 5 thanks to his armor and has Fight 6/2+, which is the best base Shoot value in the game (unless you're a dragon with Breathe Fire). Thranduil also has 3M/2W/2F, making him a strong hero by comparison to other heroes of any army. His equipment includes an Elven blade, an Elf bow, and an Elven cloak, besides the armor we mentioned above.
Thranduil has three key capabilities for the army he assists: first, he can upgrade your Wood Elf Warriors to become Mirkwood Guard. The upgrade costs 2 points/model and makes the Fight value of the Wood Elf a 5/2+ (the best Shoot value of any warrior in the game). For 11 points each, a Wood Elf Warrior with Elf bow or throwing daggers could be a powerful tool in the hands of a skilled Elven commander.
The second and third capabilities are found in his Circlet of Kings special rule. The Circlet of Kings allows Thranduil to cast two spells once per game without using any Will points. These spells are cast "automatically" (ruled by Grand Tournament referees to mean that a 6 was rolled), and so resisting them (when possible) is difficult. The spells are:
  • Aura of Dismay: after Thranduil is done moving, all units within 6" of him cause "terror" until the end of the turn. Thranduil is one of three heroes (Radagast and Cirdan) to be able to cast this spell, though he can only use it once. The fact that most Evil units don't have good Courage ratings means that unless your foe has a shaman of sorts, you can ensure that charging the guys in your front-line is going to be hard - really hard. Also, the spell is an augment spell, and so because it doesn't target an enemy unit, it cannot be resisted.
  • Nature's Wrath: this spell is an offensive spell which knocks down all enemy units within 6" of Thranduil at the time when he decides to cast it (not where he ends his movement, like the spell above). One enemy unit who is about to be affected by the spell can attempt to resist it, but if failed, everyone who was targeted by the spell is affected. This spell is great for wounding enemy units more easily and ensuring that they don't wound your units in return for one turn (at least - more on that later).
Using Thranduil: Move Phase
The commander of every Wood Elf army knows that maneuverability is imperative to having a good game - prolonged fights end up taking a heavy toll in most cases. As such, Thranduil's greatest benefit to the Wood Elves during the Move Phase is his Circlet of Kings, which can buy two turns of shooting at your enemy's expense. As your enemy nears your force, casting Nature's Wrath can put them on the ground while your units dance away (staying within throwing dagger range, of course). On the following turn, the units who were knocked over will need to stand up and won't be able to move more than 3" (or 5-6" if they are Wild beasts of various kinds), which should mean that they shouldn't be able to charge you for another turn if you keep backing up. If the enemy has been reduced to the point where you have an advantage when you cast Nature's Wrath, you can charge into them, but this is rather risky (but still an option).
Aura of Dismay is useful as your enemy draws near again, forcing him to pass Courage tests to charge you. If they can't successfully charge you, your units should be able to shoot more or keep parts of your army fresh for the next round. If your opponent chooses not to engage, he will face the punishment that your bows and throwing daggers have to offer. Should the enemy stay out of the 6" range of your throwing weapons, you will be outside of his charge range the following turn (unless he's using cavalry to attack you), buying you an opportunity to shoot the following round. Be sure to kill enemy shamans or war priests before the enemy gets close, as these heroes will defeat this spell without any effort.
Using Thranduil: Shoot Phase
Thranduil's contribution to the Shoot phase is two-fold: his arrows and those of his Mirkwood Guard will rarely miss their targets. Having five shots that hit on a 2+ means that there should be a consistent number of hits on target each turn, and if you're wounding your foes on 5s (as will more often be the case), you're in good shape for a kill or two each turn. Thranduil and his guard will, without doubt, attract attention from the enemy. In this case, it's great that Thranduil has an Elven cloak, meaning that if an enemy unit cannot see Thranduil at the start of his move phase, the unit cannot shoot at/cast magic at/charge Thranduil for that turn - perfect for ensuring that he gets to shoot people with impunity.
Using Thranduil: Fight Phase
Thranduil is very magic and shooting-oriented, but he is by no means lacking in melee skills. To start, the spells that Thranduil casts can be useful in combat. Aura of Dismay makes it unlikely that all of your front-line fighters are engaged. If that front line is composed of spear-armed models, the units who are not engaged can support their friends who are in fights while the bowmen behind the ranks continue to fire. Alternatively, your front line can be composed of your bowmen and those who are not engaged can fire away.
Nature's Wrath provides natural benefits in close-combat: if your opponent wins the fight, he gets up off the ground but cannot wound you. If you win the fight, the unit is trapped and you double your wounding dice - perfect for making sure units die. As I mentioned above, this is risky if you plan to rely on your archery to save the day, as you open yourself up on the following turn (or in some fights that round) to being wounded and losing major casualties.
Finally, Thranduil's fighting profile is not bad: 2 Attacks with Fight 6 and Strength 4 and 3 Might points is not shabby by any stretch of the imagination, but be careful with him: with Defense 5, 2 Wounds, and 2 Fate points, you're not a durable hero. So make sure that the Mirkwood Guard are near their king and ensure he doesn't get ganged up on.
So, those are some preliminary thoughts on using Thranduil. If anyone reading this blog uses Thranduil, I'd love to hear your thoughts on how to use him. In the upcoming Hunter's Red October tournament, I'm going to be bringing Thranduil with my Wood Elves, so I'll be sure to write up what happened after the tourney.

Saturday, October 6, 2012

On Rocky Ground: Goblin Town, Part 1

So with Goblin month underway, we're going to spend much of our time working on terrain (in rapid preparation for the Hunter's Red October tournament). The focus of this post will be to provide an update on the various terrain projects I have in the works and show the new base job for the army.

1) Base-coating rocky terrain

Rocks, rocks, rocks. If you're looking for a diverse set of terrain for underground, tunnel fights, you really need a LOT of creativity. On the positive side, it can be easy to put together terrain for a game, as you just need to throw a pile of rocks together. In these cases, I've got a few pieces of terrain that are completely new and need a black base-painting.
Wall Spackle (available in many places) provides a great "smooth wall" texture for the Styrofoam used here. You can tell in this shot the difference between a Spackle piece and a non-Spackle piece. Mixing the different terrain pieces provides additional variety and can show different locales within a tunnel network.
2) Application of grey paint

Some of the underground terrain has been base-painted for a while, but now needs additional color and detail. Adding grey to the black gives a lighter tone to the terrain and also increases the "stoniness" of it. I'm also happy that the grey is being added because it will match the bases of both Dwarves and Goblins better.
3) Basing
The other day, I picked up some Gorilla Glue from a hardware store (strongly recommend it) and finished the basing for my Goblins, the Unexpected Company, and Radagast the Brown. I'm really happy that the basing turned out okay and everyone looks much, much better. You can see a close-up on a few of them below.
I'm planning to turn two of my archers into shamans to complete my warbands, as I've been unimpressed the last few games with Goblin Captains (2 Might, 2 Attacks, and Defense 6 with shields is nice, but I really need to keep guys alive and on the field...and Fight 3 is killing me).
4) New Terrain Projects (in the coming month)

We have a real board now! Gone are the days of meat paper on cardboard, welcome the real stuff! I picked up five sheets of 3/4" polystyrene foam board from a hardware store, soon to be touched up with some grey spray paint primer (not spray paint, as it attacks the polystyrene). The board will contain four modular sections which measure 24" x 24", allowing for various terrain configurations. I'm planning on taking my wife's hair dryer to a part of two sections to make what could be a chasm, river, or a ditch, depending what the players in the game want to do.

The additional segment I picked up from the store will be turned into several Dwarf hall town squares, pillars, shops, and statues - all modular. Going underground is going to be so much fun now! Coming up in the next few posts will be continued work on the board as well as finishing the bases for the tunnel terrain pieces, so watch this space!

Thursday, October 4, 2012

Rohan Update: New Units, New Poses

Dear Reader,

As I mentioned in my last post, I've been working on some new poses for a number of my units. Some of the transformations are simple switches to keep all of my units from looking alike, while others are projects that went through several phases, and I'm really excited by how they turned out. So, for all of the craftsmen out there that love seeing some variety in the soldiers they slaughter, here are a few of the things we've been working on at the Forge, :)

Some of the switches were very simple. Take these two guys as examples:


These guys just switched fighting hands. Usually the swordsman has his weapon in a defensive neutral stance (you'll see one of those later), and the axeman has his weapon raised and behind his head. So, I got to thinking, "Why can't we have an axeman in a defensive neutral stance, and a warrior brandishing a sword above his head when bracing against an attacker?" So the switch was made, and I think it turned out pretty well.

Other switches involved receiving new weapons from my good buddy Tiberius. I currently possess two axes from his Dwarves, and he has one of my Rohan swords (which you can find on his model for Thorin Oakenshield) and one of my Mordor Orc pick axes (dwarf miner, anyone?). One of the axes ended up on this guy, whose double is situated next to him in the picture:


The other axe ended up on one of my cavalrymen, and is the reason for my 7th of 8 unique riders. The traditional rider is on the left, and my new rider is on the right:


Now, the astute observer will note that there are six riders that come in a set, and thus to have eight unique riders, there must be another rider floating around that went through a transformation. The original is on the left, and the new guy is on the right in the picture below:


Step back for a moment: how many of you would have pegged these two as twin models before the transformation? :) It's amazing what trimming back ever so slightly on the model's grounding peg to set him more forward on the horse, coupled with an arm from a Royal Guard can do! I really like these guys, and they serve as blood brothers riding with the Edoras detachment.

So, if this guy received a whole new arm, where did the spear go? I hate having extra bits lying around (which is why 40K and Fantasy are driving me up a wall right now - does anybody want a ton of plasma pistols for Space Wolves?), so I took the spear and placed it on the back of my "Warden" (who will appear below; if you get the LOTRO reference, just wait until you see the unit; I really like him, :) ). After finding a spearman and switching out their hands, my Warden is now a legit Rohan Warrior with throwing spears, including an extra supply mounted on his back:


As you can see, the warden and the other new guy are the middle, with their original models on the wings. They look different enough, and yet there's a solid resemblance with the originals. I really like the new poses, and they usually form the flanks of the front rank for the Dunharrow Detachment.

There's nothing earth shattering here (nothing like Zorro's elf transformation from a previous post), but as you can tell, I've had some fun playing around with a number of the poses of my units, just as I did with my Mordor orcs, as you can see in a past post). I'm looking forward to playing with more of them, as I've not even touched the spearmen yet, and I've got 16 of them now, :)

Until the next post (which will hopefully cover my Grey Company forces), happy hobbying!

Watching the stars,

Glenstorm

Tuesday, October 2, 2012

Rohan Army Tactics: Tricks of the Trade

Dear Reader,

Greetings again from the Forge! The How has been a busy place, with lots of comings and goings, and not all of them from the world of Tolkien (as you might have noticed from the wolves in the background of my rider picture from the last post, which are definitely not wolves from Isengard or the Misty Mountaints, :D ). More on those and other things in a future post.

I promised some time ago that I'd feature my Rohan forces and some of the tactics I use in a post, and with the TMAT tournament coming up this month, I'm releasing some of my thoughts to our readership for your feedback. These strategies are ones that I commonly employ, and I'd love to hear your thoughts before I bring them out to their first tournament.

Philosophy for Rohan Forces

Before discussing some of the strategies and tactics that I have found effective in rolling with Rohan, I think it's helpful to first lay out my philosophy as a Rohan player, as the reader's thought process and my approach may be radically different. Out of all of the things I have learned from playing with Rohan over the years, three things are blazoned in my mind:

1. High Casualty Count: Your units are light - with a few exceptions, your units are primarily D4 or D5, and especially against Elves and Uruk-Hai, this creates a problem. Being wounded on 4s or 5s is "not exactly conducive to our health," to quote a science fiction rogue I know, but it is an essential gulp that every Rohan player will likely need to make: get used to the idea of losing guys. I have had some games where I only lost a handful of soldiers while taking out dozens of enemies, but these games are rare: in general, prepare for a slugfest, and plan on having to courage test.

2. Bait & Switch: Few armies get the luxury of 6" movement with throwing weapons, and even fewer of those also get shields for additional defense. Rohan's strength is in harrassing forces, whittling them down to a more manageable size, and then closing for an engulfing attack through sheer numbers (because, let's face it: how many armies of good get solid rank-and-file infantry for 6-7 points?). The primary aim of any Rohan force is to remove any spear advantage that an enemy has against them, as it will cause you to lose a lot of soldiers very quickly (unless you shield a lot, which will be covered later).

3. Archery - Or the Lack Thereof: You have archers, and their range is not bad: S2 bows at 24" with a 4+ shoot value. That said, your archers are D4, and have no special rules (like their Haradrim counterparts) to assist them in landing hits more often. More than that, they are not as good as Elves and Dunedain at landing hits on enemies, and are pretty much only useful as a cheap volley line (I'll talk about Outriders in a bit). As I mentioned in a previous post, you should always ultimately read "swordsman" when you read "archer" - they hit more often, and are generally more deadly in that role.

This point deserves further consideration in the case of Rohan Outriders. Someone will astutely point out that Rohan Outriders pass their to-hit rolls on a 3+, and thus should make for more quality archery choices than the Rohan Warriors I have referred to here. First of all, this is true: outriders give Rohan a competent ability to land to-hit rolls on their enemies. They suffer from lower defense (D3, so you have to guard them like Wood Elves), and because of this, I do not prefer using them, as they do not double well as swordsmen. Experience tells me that my archers are almost always assaulted, and I like more durable infantry than the chance of landing to-hit rolls that may not convert into wounds.

Battle Teams - How to Deploy Your Rohan Forces

Now to the fun stuff, :) What follows are some of the tactics I have experimented with, following the paradigm I laid out above.

While Easterling, Gondorian, and your standard "Fist of Isengard"-style armies can afford to place most of their troops in one concentrated block (due to spears, pikes, and halberds backing up heavy infantry), Rohan cannot function like a "regular army": battle teams and small warbands are essential to survival as a Rohan commander. The advantage that Rohan gets, however, is that your units are very cheap, and thus you can generally field more units than your average opponent (Moria being the notable exception, but more on them later).

In this vein, I developed three basic fighting styles, each of which is embodied in a different detachment in my army. Let's examine each of the battle teams in turn.

1. Westfold Warriors


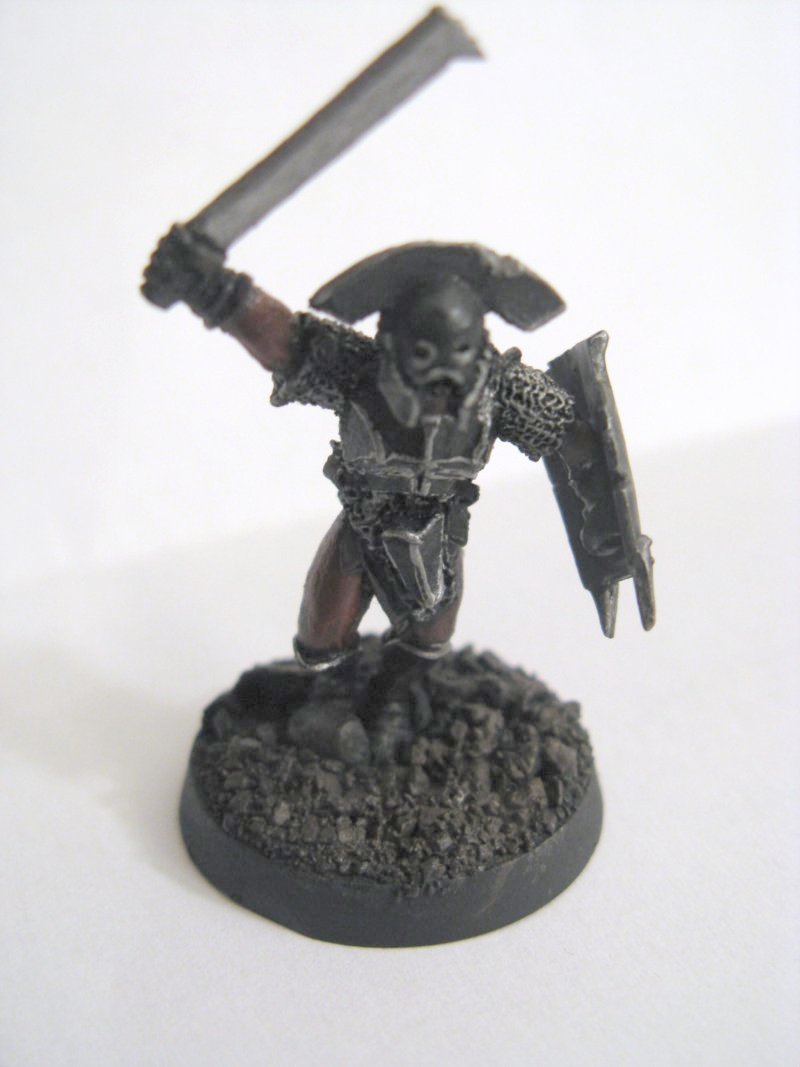
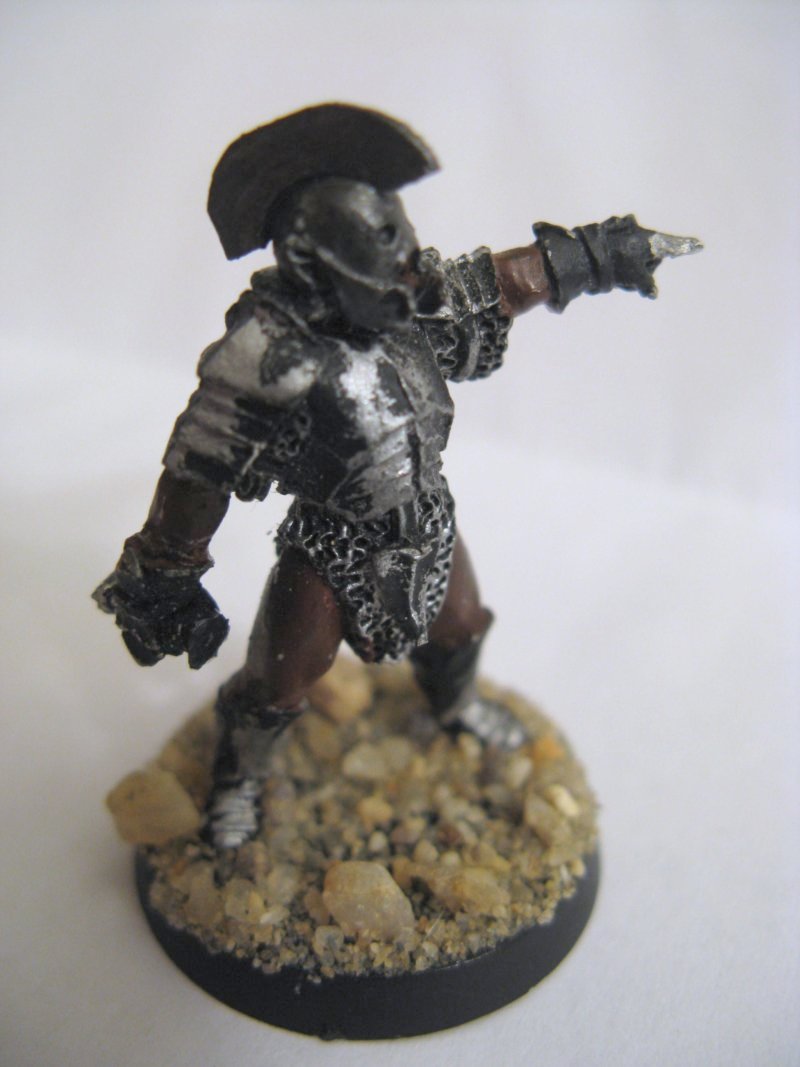
I wanted horsemen for each battle group, with Edoras having the largest number (because, after all, it's Edoras). So I chose two riders that appeared to have the lowest upkeep cost for armaments (simpler helms, leather armor as opposed to chainmail, etc.), and assigned these two to the Westfold fighters. You'll notice that most of the Westfold warriors look pretty tattered and plain: this is part of how I envision them (as Tolkien and Jackson are quiet on the issue), though I give each of my battalions two Royal Guards for durability.

The farmers of the Westfold employ my strategy for taking down bodies of archers: a wide spread of forces (to mitigate the effectiveness of volleying and picking your target), coupled with cavalry. The Scatter Formation is especially useful on an opponent's flank, as the units are 1) hard to engage while remaining in a solid formation (which eliminates the spear advantage), and can easily be obscured by enemy lines and scenery from archery as well. I don't get this option often, but when it presents itself, it is very useful.

2. Dunharrow Detachment


In Rohan's darkest days, it was the men of Dunharrow, led by Eomer, Third Marshall of the Riddermark, that kept the forces of evil at bay. I almost always use this detachment in combat, in part because I love their poses and color theme, but also because, for reasons unknown to man, they are an exceptionally durable troop. In all of the games that I have played, this body of soldiers has either killed its points worth in enemy forces and paid the full measure for the freedom of their lands, or they have refused to die (even if it means successfully shielding 7 consecutive rounds against three Uruk-Hai, on one occasion). In the 19 games that I have played with this full unit, none of them have ever run from battle by failing a courage test, either. I think that's pretty amazing, :)

What the Men of Dunharrow offer the army is one of the tactics I am most well-known for: the Wag. Like a dog's tail, this force is designed to move from one flank to the other, crushing into enemy formations to trap enemies and pepper enemy lines through throwing weapons, a few archers, horsemen, and a captain and banner to maintain their fighting vigor and potency. Placing the banner in this detachment allows me more chances to win in the more critical combats that could change the tide of a battle, and accompany him with some of my strongest units.

I also recommend to all Rohan players that they divide up their F4 units. Units like Royal Guards, Captains, and heroes (like Eomer) should never be situated side-by-side, as it takes away the opportunity to turn more of your combats into Fight 4, as opposed to a Fight 3 combat (and against Uruk-Hai especially, this can make a huge difference, as it will lead to a roll off on a tie, as opposed to an automatic win on a tie in favor of Isengard). Thus, you can see that I have split up my captain and my Guards, but all of them are still within the 3" banner range (which is also optimal).

3. Edoras Regiment


The warriors for Edoras are by far the most numerous, and form the core of the army of Rohan. Usually accompanied by the Huntsman (who is in the back by the volley line), this force relies on brute strength covering for a substantial amount of cavalry, using the Scorpion or "Flying Columns" tactic employed in Ancient and medieval military history. Most of the units from Edoras use throwing weapons, allowing them to form two ranks that will quickly become an extended single rank, providing the length and depth of warriors to surround and trap enemy infantry ranks.

Utilized by Joshua and the Israelites, Hannibal, and many other generals throughout the ages, the Flying Columns strategy presents a solid block of infantry, which will meet and engage the enemy. I primarily use the following detachment, with a heavy emphasis on shielding to keep us alive:


On either side, a body of infantry or horsemen form up to press in on the enemy position, trapping and flanking the enemy units in an attempt to weaken their morale, and force a retreat. In history, this strategy met with wild success, and in Lord of the Rings, the same holds true: when you trap a unit, you double your wound dice, and thus there is a strong advantage in using this tactic (you also remove the spear advantage that other civs have that is noticeably lacking for Rohan). My flanking bodies of infantry especially tend to use throwing weapons to soften up the enemy for the punch, much like what you see here:


This force is most effective against large blocks of infantry (like Uruk or Easterling formations). Archers throw some disorganization and chaos into the pretty ranks of the invaders, and then double as substitutes to fill in casualty gaps, allowing more of the warriors to surround the enemy block. Horsemen close the ring, striking far and fast against the middle spearmen by hurling spears while rushing to the extreme rear of an enemy formation.

And, of course, there are many more formations and deployments that you can do with these battle groups, but these are a few that I use consistently, and can now do with greater success because of the great influx of infantry and cavalry at my disposal.

Conclusion

Now, obviously, these strategies will not help players that rely primarily on Rohan's all-star cast of heroes (from their list or as allies), nor will it prove useful for those who like well-mapped out plans that detail how to adjust the formation or battle group as the fight continues. Each of these strategies is planned up until you engage the enemy in melee combat; from that point on, they are completely organic, taking new nature and form as changes are made to the balance and distribution of your forces. Above all, Rohan is designed for flexibility: they give you a lot of options in the event that a plan fails, so be open-minded to altering your plan to accommodate unforeseen developments in the scenario.

In my next post, I'll discuss some of the tweaks I made to some of my models, as some of the new poses are pretty sweet, and make my army different from your typical Rohan force. I'll hopefully also have some news on these other guys I'm working on (which you got a glimpse at in the last battle report):


(...Oh, and you can ignore the chocolate-colored knights in the back for now - I'll have more on them in a future post, :) As I said, we've got a lot of projects going on right now at the Forge, :) )

Watching the stars,

Glenstorm

"Will they follow me?" - High King Peter
"To the death." - Oreius