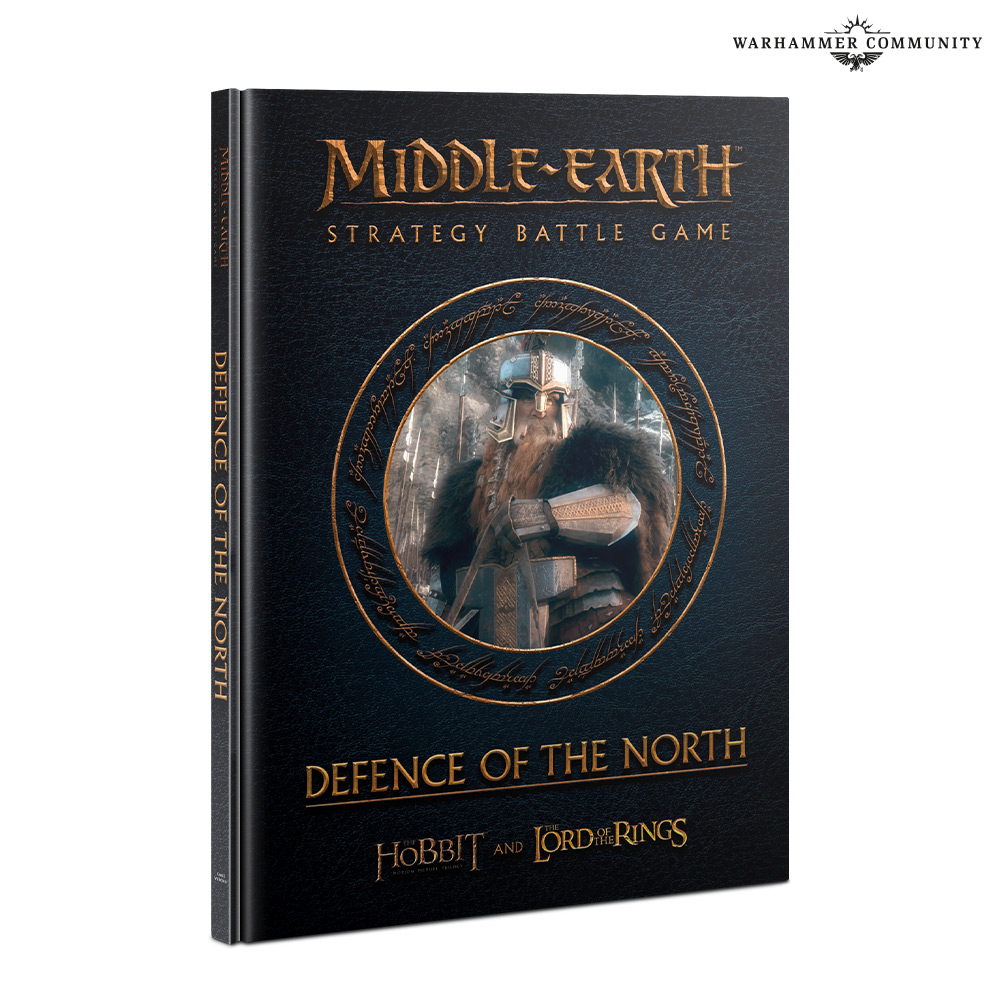
We're reviewing the most recent MESBG supplement to be released and boy was Centaur (and I more belatedly) excited to get it: Defence of the North. By now, you probably know the drill for these posts: I walk though the models you need for the scenarios, provide a cost at the end of each section to make you cry, and give advice on how to save money where you can along the way. Since this sourcebook has lots of models from the Armies of the Hobbit (and lots of ForgeWorld purchases from both the Hobbit and Lord of the Rings range), I thought it might be good to review the costs of the preceding sourcebooks:
- Gondor At War: $3500
- The Scouring of the Shire: $1100
- War in Rohan: $3700
- Quest of the Ringbearer: $2100-$3200 (depending on whether you want to play just the scenarios from the book, Fantasy Fellowships, or both)
- Fall of the Necromancer: $1100
NOTE: we should expect the prices in this post to be a bit higher than the other books because since writing those what-do-you-need posts, there's been a price hike on some of the models in the range. Still, since many of the models we need are from the Armies of the Hobbit (some of which didn't see a lot of movement), I don't think it'll have moved the needle too far to make the comparison ridiculous.
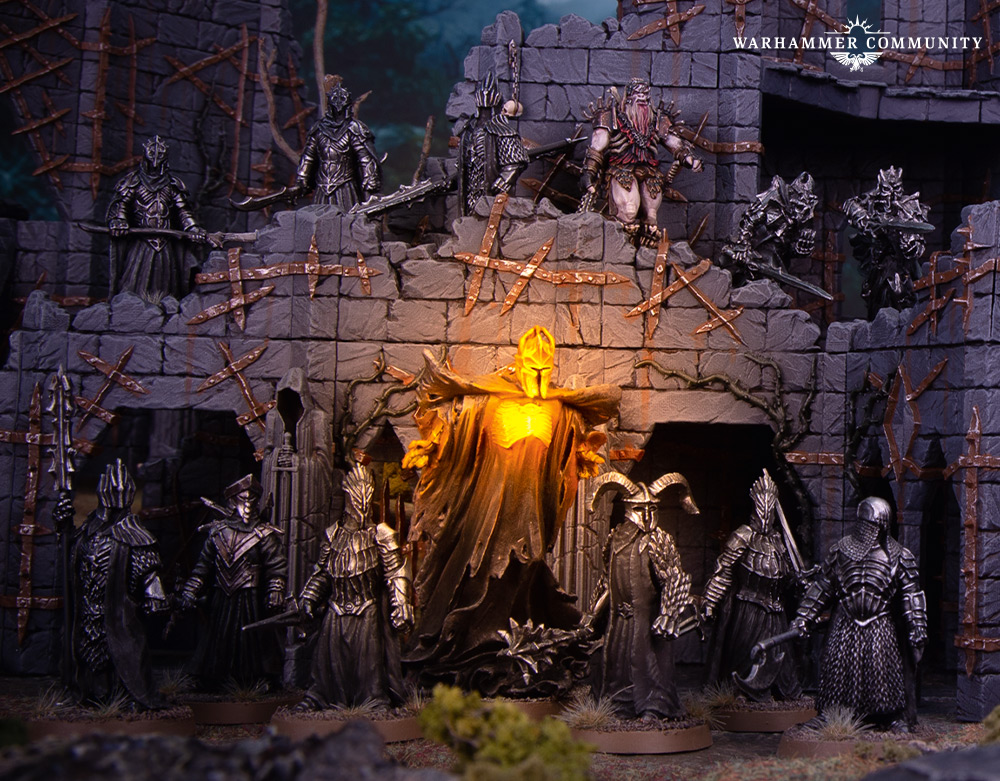
 |
| Photo Credit: Warhammer Community |
As you can see, there's quite a bit of variation, with the Gondor and Rohan supplements being very pricey, the Shire and Mirkwood supplements being "fairly inexpensive", and Quest of the Ringbearer falling in the middle (or near the top if you invest in everything you need for Fantasy Fellowships . . . which is a good chunk of what you'd need for the Gondor at War/War in Rohan supplements too). Will Defence of the North be the nastiest surprise yet? Let's dig in and find out!