Good morning gamers,
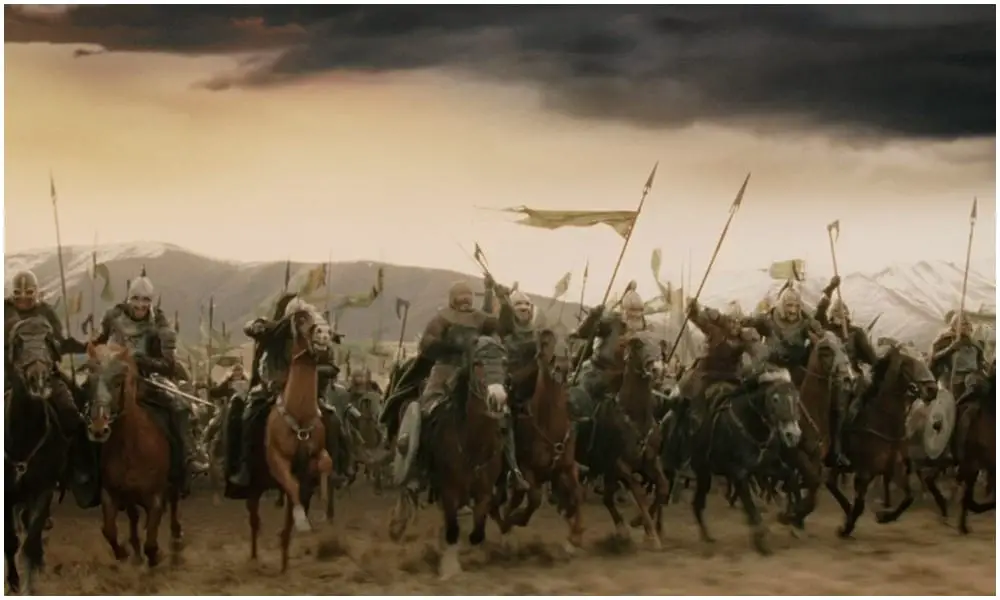
Today we're wrapping up (at least for now) our series on cavalry by talking about the most important principle for using cavalry in MEBG: reserves. If cavalry models can get the charge in MESBG, they can be absolutely devastating - often doubling their Attacks when dueling and doubling THOSE dice when fighting most infantry models. A well-timed charge can be absolutely crushing for an enemy force, but it's that NEXT turn that can really seal the deal. If you commit all of your cavalry on one big charge, you may be forced on the following turn to risk several Heroic Moves just to have the chance of getting in a few charges. Since counter-calling Heroic Moves can be a waste of Might points, it's better to have some cavalry who can't be charged on the following turn so that someone can get charges in if you don't get to move first. To illustrate this, we turn to an important battle in history - the Battle of Tinchebray!
The Battle of Tinchebray
As usual, you can find a great visual summary of the battle on the BazBattles channel on YouTube - I absolutely love their stuff! In 1100, the ruling King of England, William Rufus, the son of William the Conqueror, was killed in a hunting accident. With no heir of his own, the bid for the rule of England was up for grabs between his brothers Robert Curthose of Normandy (who was on the First Crusade at the time) and Henry Beauclerc (who was in England at the time and was crowned in Robert's absence). When Robert got back to England in 1101, Robert got some concessions from Henry, but also identified lords who were unhappy with Henry's rule. Robert had difficulties managing his duchy and from 1105-1106, Henry "invaded" Normandy and took various castles from Robert. When Henry besieged Tinchebray castle in 1106, Robert mustered his nobles to drive Henry off.
Robert formed two lines - one with a mix of heavy cavalry and infantry, the other with infantry held in reserve. Henry formed three groups - one with dismounted knights, one with infantry reserves, and the final with heavy cavalry in deep reserves. As Henry's first corps began to falter, the infantry reserves were ordered to support the main line while the heavy cavalry swept around the exposed flanks of Robert's line. Robert saw that his forces were being flanked and called in his reserve forces - but seeing the losses mounting up on Robert's side, his reserves decided not to engage and fled the field. This led to a rout of Robert's forces, but Robert himself was taken captive and imprisoned for life.
We talk about this a lot in these formations posts, but real life isn't always reflected well in MESBG. However, the importance of cavalry reserves is a HUGE deal in MESBG and historically. It's very tempting when you have cavalry to commit them all in one big charge - but that isn't always the best plan. In this formations post, we're going to look at several different formations that will give you cavalry reserves so that you can make sure you get in a good charge on two consecutive turns. Let's take a look!