Good morning gamers,
 |
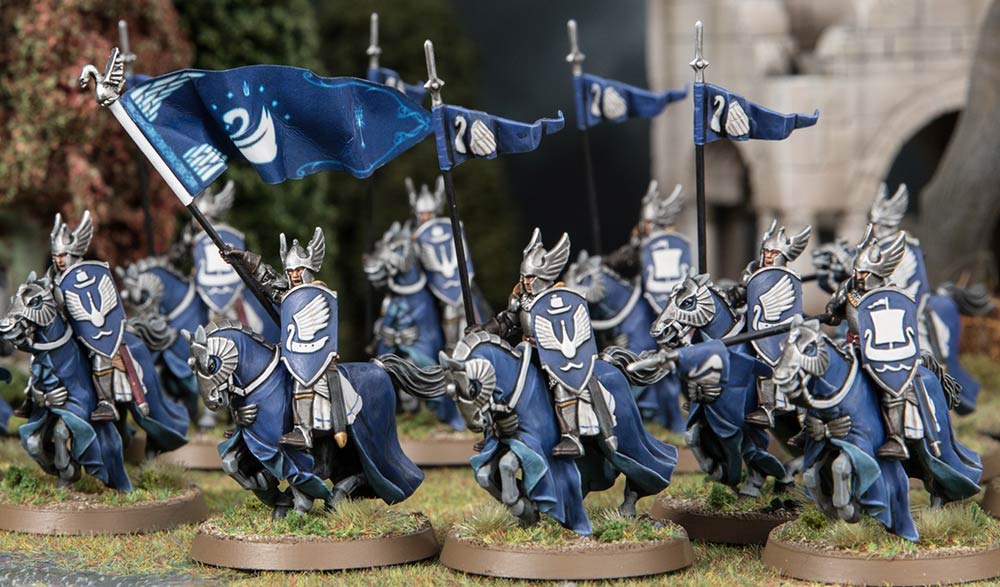
| Photo Credit: Warhammer Community |
Fantasy Fellowships: The Restrictions
There are actually a lot of restrictions for making your Fantasy Fellowship - here are the general ones:
- The entire Fellowship's starting gear cost needs to be no more than 750 points (for reference, the original Fellowship with the shield on Boromir and no extra gear costs you 750 points);
- NOTE: There are different rewards that you'll get for free during the campaign - your Ringbearer will get Sting and the Mithril Coat after Weathertop (one exception, more on that later), everyone gets Elven cloaks after Moria, Aragorn/Legolas/Gimli will get armor if they don't have any after the Warg Attack, Aragorn gets Anduril for the last mission, and your wizard will get an upgrade for Ride Out.
- Everyone needs to have the Infantry keyword (which means models like Bullroarer Took, Eorl the Young, and Dernhelm are not valid options, since they start with the Cavalry keyword);
- Only unique, named heroes are allowed in your Fellowship - and (with one exception) all heroes you choose need to be from the Forces of Good;
- You need to pick one of four models to be your Ringbearer (Frodo, Smeagol, or Bilbo - either Old Bilbo from the Shire or Young Bilbo from Thorin's Company, but NOT the Master Burglar one from Lake-town);
- You need to pick a pre-destruction-of-the-Ring Hobbit to be the Ringbearer's Companion, replacing Sam (or one of the cheaper Dwarves from Thorin's Company if you take Thorin's Company Bilbo);
- You need to pick two heroes who each cost 50 points or less to take the Merry and Pippin slots;
- You need to pick a wizard character (list provided later) to take Gandalf's slot (NOT Gandalf the White, Galadriel Lady of Light, Tom Bombadil, or Goldberry); and
- You need to take four other heroes (no limits besides the points limit and the Infantry-Good-Named stuff we've already talked about) to replace Aragorn, Legolas, Gimli, and Boromir.
Depending on who you choose, certain other options might open up for you - for example, taking Saruman the White allows you to take Grima in your Fellowship (the only Evil-exclusive hero you're allowed to have). Additionally, if you want to take Elladan in your Fellowship (or any hero who is purchased with another hero), you'll need Elrohir (or whoever the paired model is) to take another slot.
Okay, so with some of the general thoughts under our belts, let's take a look at the nine roles we have to fill, what to think about with each slot, and five (or so) heroes that might fill those slots well.