Good morning gamers,
COVID has affected all of us in different ways, but chances are if you're reading this article, you play the Middle-Earth Strategy Battle Game. And chances are that if you were playing MESBG before COVID hit, you spent at least some time while quarantined away from friends and family painting miniatures. Well, I got the Battle for Pelennor Fields box set right around Christmas 2019, which meant that, in addition to some Riders of Rohan that I got from Centaur and some Warriors of Rohan I ordered off eBay (probably from someone else's Pelennor Fields box set), I had loads of Warriors of Rohan and Riders of Rohan to paint during quarantine.
Today's article is a highlight of the army and the different things I've done to get them all painted (most of the basing still needs to happen). I'm not the best painter (I try) and I'll tell you that painting a Rohan army looks like a deceptively small task because "you don't have a lot of models," but when you consider that each mounted model has a dismounted rider, a mounted rider, and a horse, an army of 24 warriors is actually 72 models to paint up . . . which is more than many spam infantry armies have. This took me by surprise, so here is the culmination of a LOT of work that is finally being shown to you all (though I've sneaked images of my Rohan models into tactics posts recently).
Part 1: The Heroes

Like most Rohan armies, we start with Theoden. Theoden is a great auric hero and a decent combat hero. Mounted on his armored horse, he has incredible maneuverability and can pack a punch on the charge. I prefer to have him focus on clearing out troops instead of heroes.
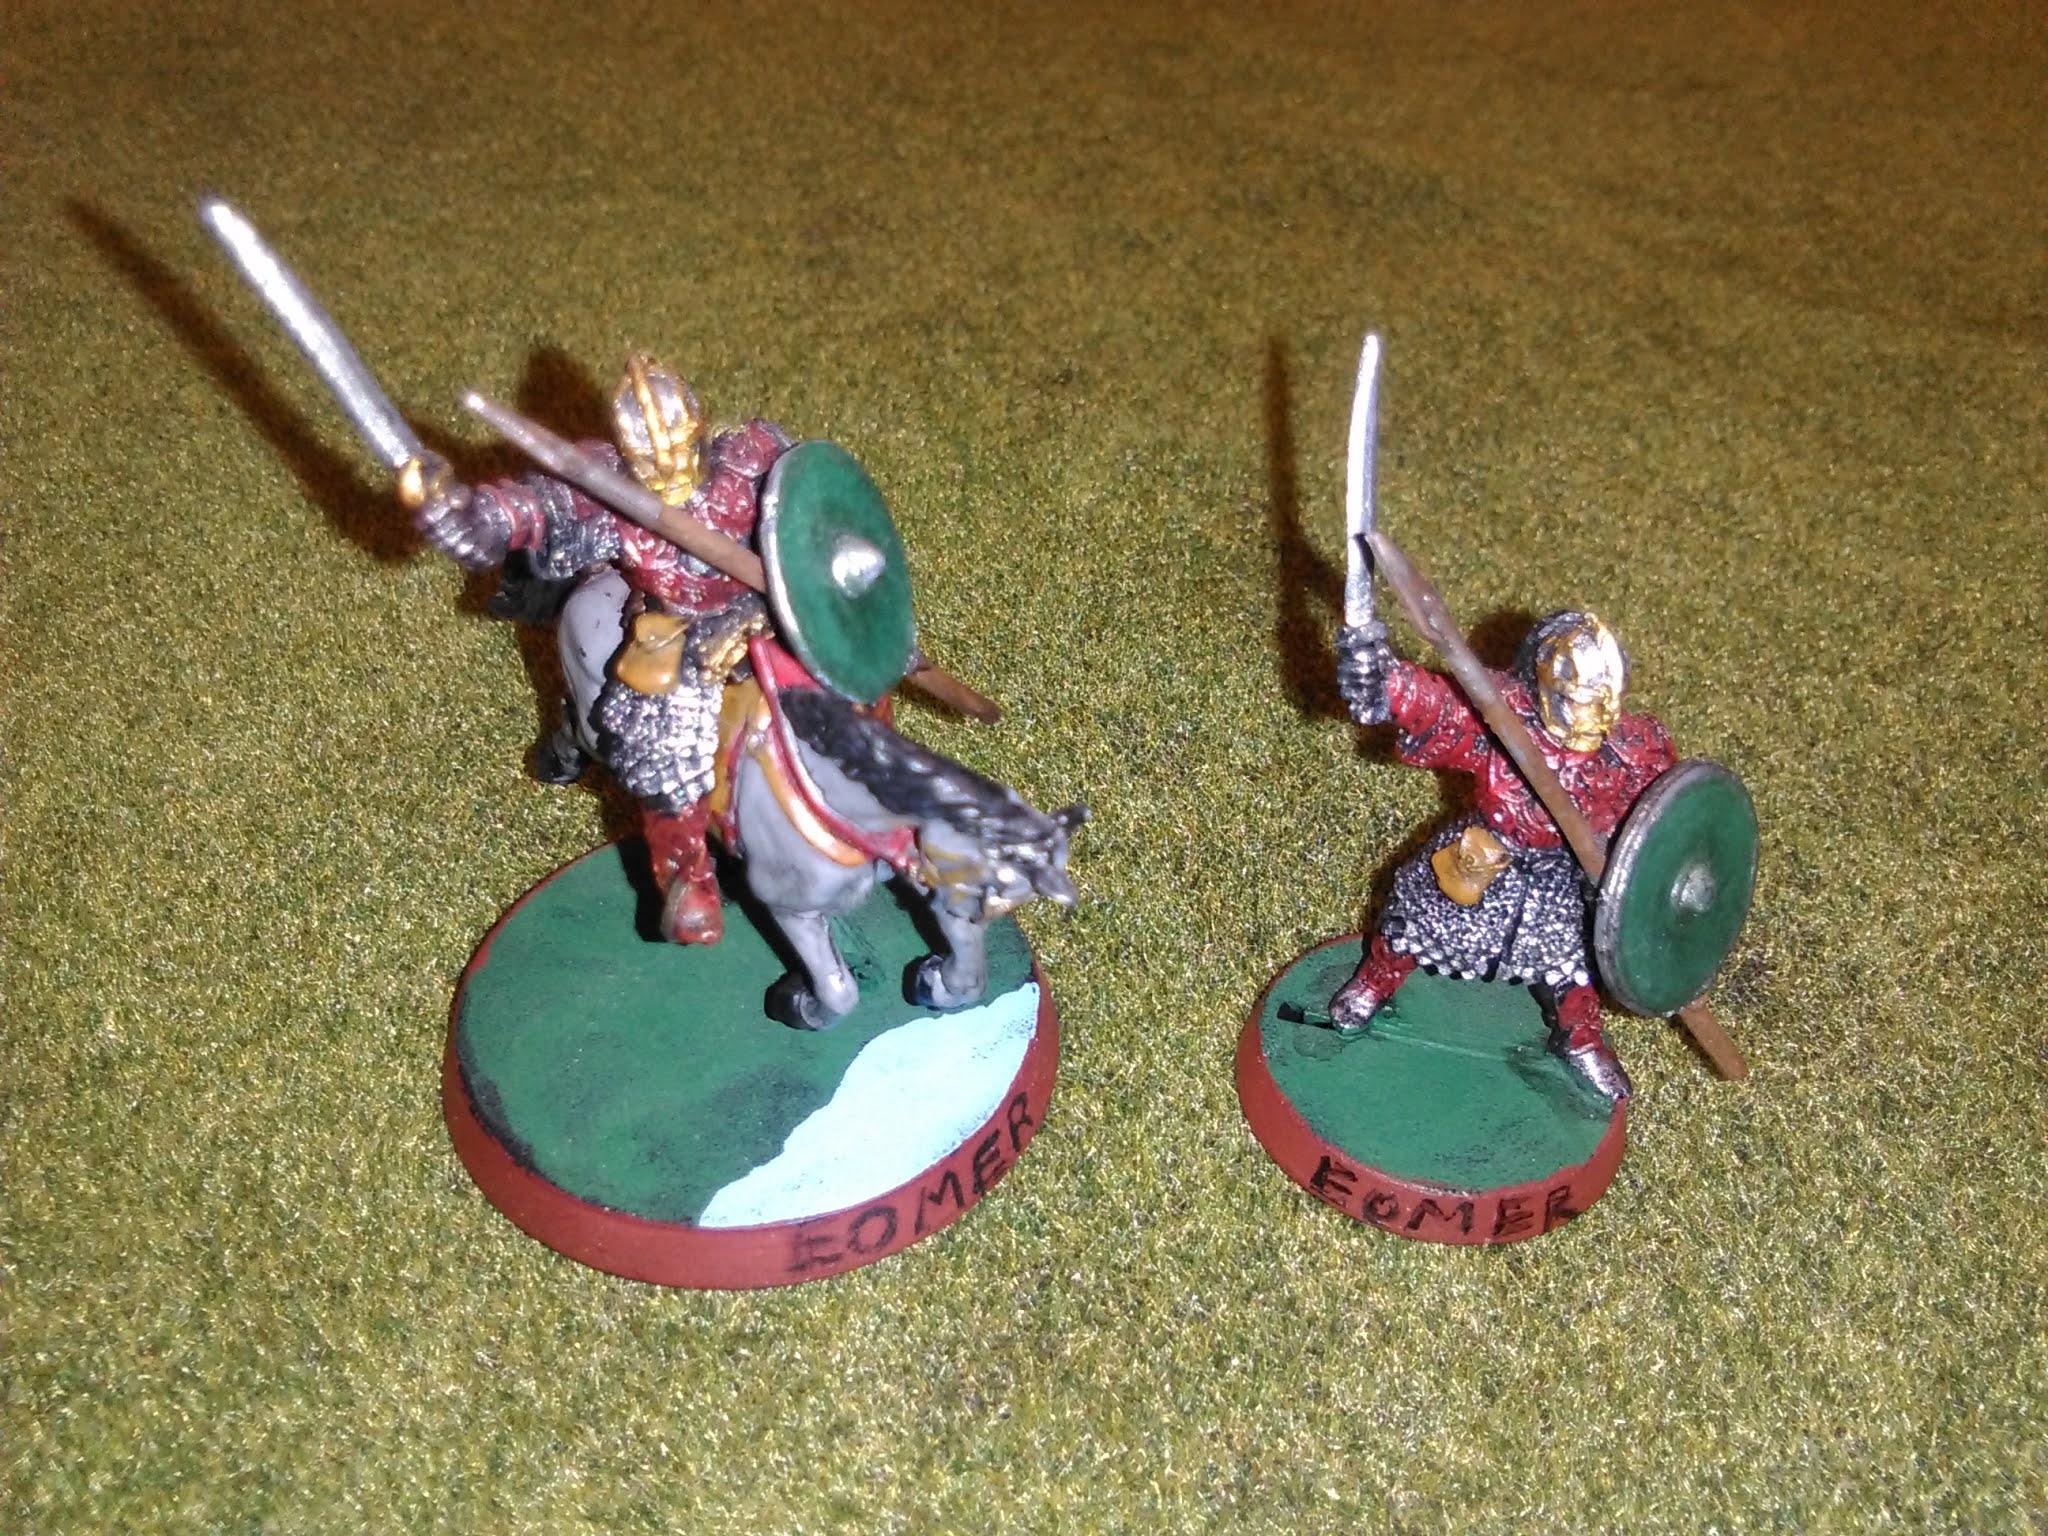
Next up is Eomer - because he's Eomer! I'm looking at getting the new Eomer sculpt (he's great), but for now I have the old one (with throwing spears and shield added). Eomer may not be a Top 10 hero for everyone, but he's devastating on the charge and can be hard to kill with 3 Wounds and 3 Fate (and maxes out at 125pts, though I normally leave the barding armor at home).

My third hero is Theodred, who is great in a vanilla Rohan army led by Theoden, Eomer, or Eorl the Young (breaks theme, but functionally it works). Why? Because Theodred is a grenade hero who can deal a ton of damage, but is also fragile (but if he's not your army leader, you're not risking any points in most scenarios).

Backing up Theodred is Gamling. I really like Gamling - even with the banner nerf - because he keeps Theodred going, which is excellent. He can also help one of the other named heroes, but I try to keep him right next to Theodred. With March and Defense, you can risk Gamling against something big to buy Theodred time OR get Theodred where he needs to be (or make it impossible for him to charge someone if he's under the effects of March - sneaky skirmishing strategy, eh?).

And yes, I free-hand-painted the horse on the banner . . . four times . . . two of which were reverse paintings . . . took a lot of time (listened to two videos from Top Table Gaming and a whole Green Dragon Podcast). Glad that's behind me. :-)
There are other heroes that I want to get - the Rohan mounted command blister and the Erkenbrand blister come to mind for the Riders of Eomer LL (since I have a bunch of Riders of Rohan), though more competitive heroes like Elfhelm and Deorwine would be nice someday too (but I'm not ready to pay the ForgeWorld prices for them yet). Some Rohan Royal Guards on foot and mounted would be great too (though I'm not ready to pay $65 for 3 models - and yes, I know you can use green stuff to convert up Riders of Rohan into Royal Guards before you jump to say that in the comments). Rohan has things I want, but they're low on the priorities for now (gotta finish getting what I need for Quest of the Ringbearer first).
Part 2: Warriors
The warriors I have are, well, Riders of Rohan and Warriors of Rohan (or Riders of Rohan dismounts). I actually think the infantry are worth taking, whether you're running a Legendary Legion or not. Not only do they give you additional numbers, but there are certain scenarios that will require those Riders you have to dismount in order to dig up objectives. By running a few infantry (like running a few Khandish Warriors in a Khand army), you have models that can screen off your cavalry from being charged on the first turn of the game, dig up objectives, be left behind on objectives, that kind of thing. So, paint your infantry well - they may see use.

Most of the throwing spears (despite my love for them) didn't make it onto the Riders. While I think throwing spears are very useful on Royal Guards (enabling them to skirmish), I tend to favor the bows on my Riders of Rohan. That said, I'm looking at getting another Pelennor Fields box and the spears on cavalry are definitely a draw for me. I have a few to escort Theodred and Eomer in my collection - several were needed for Theodred and Eomer (both of these old sculpts don't come with spears) and a few were needed for some Warriors of the Dead and Rangers of Gondor (both of which benefit greatly from spears, arguably more so than their Rohirrim allies).

While I might replace the banner in the future with the banner-bearer from the command blister, one of the throwing spear guys got some tape on him for a simple banner conversion. I like banners (in this army, I like having both Gamling and a normal banner guy so I can fight effectively on two fronts) and so having one simple banner conversion was a given (plus the Eomer LL force doesn't have access to Gamling and you DEFINITELY want a banner in that Legion).

The remaining riders (19 total - the 24th was turned into a mounted Aragorn model for my son) are the backbone of my army, capable of forming almost two Cantabrian Circles (more on that in a minute). While I'm not sure I can field all of these guys in most armies I'll be running, these guys all have bows and on the charge they can be F4/S4 (S5 if they Piercing Strike) while within 12" of Theoden (which is pretty easy to do).
From the few games I've played, these guys hit like a train - and while their Fight/Defense isn't as high as Royal Guards, the way you can use them is far more flexible (and they can potentially do more damage on the charge for fewer points). I really like them - though I do find that I use swords a lot on these guys (if you can double-up against an opponent with an axe on one model and a sword in the other, one can be F4/S5 while the other can be F[4-D3]/S4 and rerolling 1s to Wound).
One last note: I've given my bowmen shields (courtesy of a Saxon Theyns set from Warlord Games) so they can be fitting dismounts - blue tack was used on them so I can also use them as Warriors of Rohan without shields.
Part 3: The Display Box
I like display trays, boxes, and dioramas (always have) and when I was painting my Rohan army, I wanted them to look cool on display. So, I experimented with a box design that would allow me to stack some of the many Amazon packages we've received with the armies looking sharp. I would then be able to make cool designs on their bases to make the army look better on the table top - and so I have a set of rivers running through the diarama.

The infantry don't have cut-outs, but the cavalry all do (I'm going to need a second box for the infantry and additional riders, so I didn't bother cutting out slots for them here). The top flaps of the box were placed on the bottom, I cut out 40mm circles (using a base for measuring) and filed the edges down where they were too snug for the models. I did want them to be a little snug so that they'd hold the models in place, but not too much that I needed to tug on the model and risk damaging it to get it out. I then glued the cut-up top flaps down and proceeded to place the names of each model on the circle so I could get them back into the tray with their bases consistent with the scenery.

As this was my first prototype of this design, I ran into problems: I cut off bits of the side in order to make the inner contents visible, but didn't leave enough space for flaps to be placed on the top to support another layer. This just means this tray needs to be on the top, but for the other armies I've been working on the boxes for, I'm keeping this in mind and making a slightly altered design. Still, I think it looks good - need to do something about the outside though.
Part 4: Sample Army List

Here's my go-to 700-point army for this faction (though it's only 699 points):
- Theoden, King of Rohan on armored horse with heavy armor and shield
- 4 Riders of Rohan
- Eomer, Marshal of the Riddermark on horse with throwing spears and shield
- 3 Riders of Rohan
- 1 Rider of Rohan with banner
- 1 Warrior of Rohan with throwing spears and shield
- Theodred, Heir of Rohan on horse with throwing spears and shield
- 2 Riders of Rohan
- 2 Riders of Rohan with throwing spears
- 1 Warrior of Rohan with throwing spears and shield
- Gamling, Captain of Rohan on horse with the Royal Standard of Rohan
- 3 Riders of Rohan
- 1 Warrior of Rohan with bow
This list has 22 models and 12 Might points (with extra Might coming from Gamling's banner in most games). 22 models isn't a lot, but it IS a lot for a predominantly mounted force with 4 heroes (two beater heroes and two so-so heroes). We could have traded 2 Warriors of Rohan for 1 Rider of Rohan with throwing spear (an extra throwing spear for a Rider of Rohan if you drop both of the throwing spear guys). The three infantry can focus on holding objectives for our Riders, so that our cavalry are free to maneuver. I could also drop one of the Warriors of Rohan to give out 4-5 more throwing spears to the cavalry, but we'll look into that at a later date. Let's look at how this kind of Rohan army functions.
Part 4: Strategy
A while back, I did a post on historical formations that can be translated (a little) into MESBG. One of those is a formation for using skirmish cavalry (the Cantabrian Circle) where you have your horse archers in a circle so that 6/10 can shoot but you have built-in reserves so that you can't be counter-charged easily. This strategy works REALLY well for Rohan, especially if there's a hero near the formation (you can form this up by placing Theoden's warband, Eomer's warband, and Gamling's warband near each other).

With Theoden nearby, this formation is able to retreat and shoot, retreat and shoot until the enemy has been weakened enough to charge. When they do, Theoden buffs their Fight Value (to complement their increased Strength value) so that they can decimate whatever is left. It's okay that Theoden doesn't have a shooting weapon in this list - the ideal candidate for this formation is a Captain of Rohan on horse with bow and shield (and probably heavy armor) since he can be in the circle itself, but we'd still want Theoden nearby so the Captain could be F5.
I also believe in having a few infantry in each warband to be objective holders and to dig up the Prize/Heirlooms. The three infantry models I have are all skirmish-oriented (two with throwing spears, one with a bow), so they're able to lay down fire on enemy models trying to assault their positions. They're not the best archers, but they work. At the end of the day, I could have swapped two of them for another Rider of Rohan, but getting to 22 models increased my Break Point by 1, so I'm going with it. The other infantry could be used to upgrade more of my Riders to have throwing spears and/or upgrading a few to Rohan Royal Guards. I could see this being a good choice as well.
Because I have no Rohan Royal Guards, this army doesn't really want to run up the gauntlet and attack - instead, it's an avoidance army, pure and simple. I have 15 Riders of Rohan with bows and 1 Warrior of Rohan with bow, which means I should expect to hit with 5-8 shots each turn once I'm in range (slightly less if I've got a Cantabrian Circle going). Even against troops that we wound on 6s, this should be a kill each turn - which doesn't sound like a lot, but once we get to charging, it'll be a lot.
When we have to commit (which should always be on a turn where you don't have priority), F4/S4-5 is just fine (and when augmenting heroes like Theodred and Eomer, you can punch through a lot). I've found that charging your warriors into heroes and then charging Theodred and Eomer (and if it's safe, Theoden and Gamling) into the enemy warriors and getting off one round of 2-4 Heroic Combats can really even the numbers game and keep your opponent on the back foot. Most of the time, I try to have the Heroic Combats smash into models that are spear-supporting models that my warriors engaged - it makes life easier for my warriors AND means that an entire flank can be demolished in one turn (see a recent formations post for what this looks like).
If you've read the article I just referenced, you know that I highly recommend having a reserve of cavalry when you charge. Some cavalry armies (like the Riders of Eomer) want to get as many models into combat as possible when you charge because you can use the Sun is Rising rule to apply a -1 penalty to all of your opponent's rolls (read our article on the Riders of Eomer LL if you aren't familiar with the rules for that Legion). With that one turn excluded, I think you're better served by charging in some of your troops and holding some others back - keep them in charge range for the next turn, but out of counter-charge range so that your opponent can't tie you all up on the following turn (that's usually how you lose horses).
Part 5: MLP Highlight
The final six Riders of Rohan that I have are very special to me and I use them as much as I can (which is actually, not that often). Why? Because when I got the Battle for Pelennor Fields box set, my daughter was like, "Hey, can I help you paint those horses?" I, being an enabler, said, "Sure, what color do you want this one to be?" And she said, "I want to paint her like Rainbow Dash!"
I know what you're thinking - "who in the name of Eru is Rainbow Dash?"
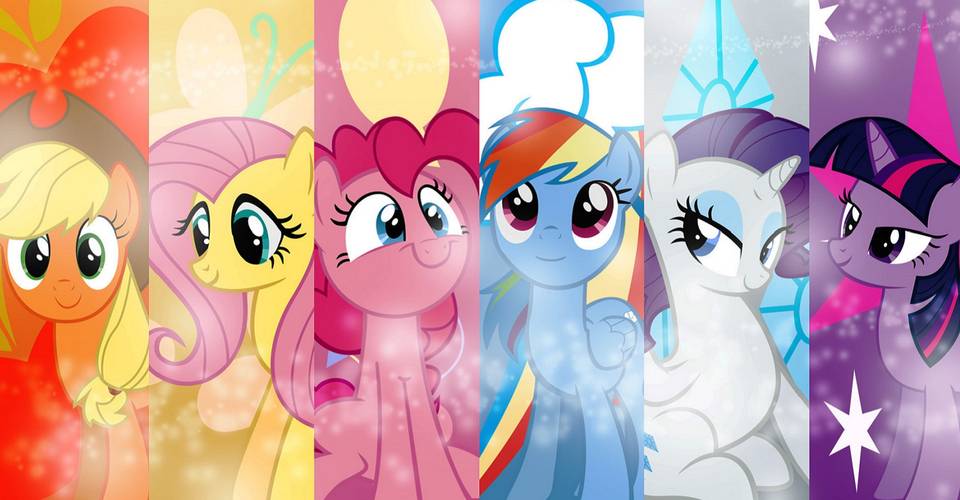 |
| I'll give you a hint . . . Rainbow Dash lives up to her name . . . |

When I can wrangle the models away from my daughter (I don't try too hard), I love bringing them to the tabletop. Why? Because I sat with my daughter for several afternoons talking her through how to paint these miniatures. I did a little clean-up on them, but for the most part, they're her work. And I think she did a good job - so I show them off. Yes, it looks bizarre. Yes, it breaks the color-scheme of this army (and any other army I could make). But I love them - sometimes it's the memories of painting a model that make them worth bringing to the tabletop. The only work left to do on them is to give them all their "cutie marks" (but I'm still worn out from free-handing Gamling's banner).

So that's it for this army update - Gondor calls for aid and Rohan will answer . . . because, as we learn from My Little Pony, friendship is magic. :-) Until next time, happy hobbying!
I mean what ya shoulda done is made all the cavalry of rohan my little pony horses. YOU SHOULD FEEL ASHAMED THAT YOU DIDN't :). the models do look good though, nice job man
ReplyDeleteThanks mate! I'm planning on getting another box set for Quest of the Ringbearer, so maybe the 12 horses from that can be minor characters from the show. ;-)
Delete