Featured Post

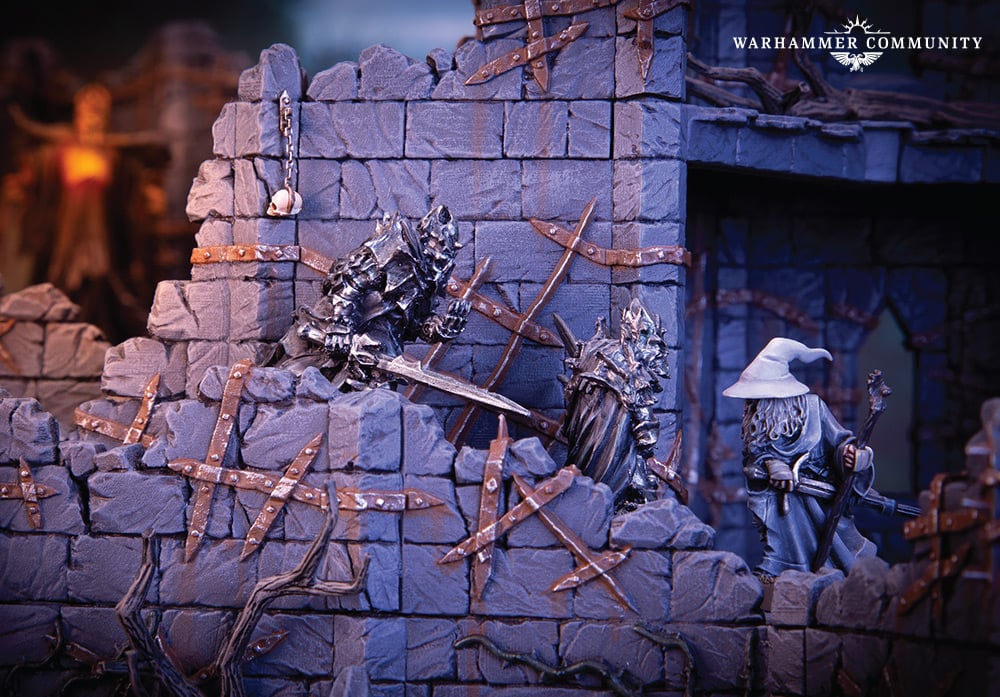
The New Age Is Begun: the Grief of Eomer Army List

Good morning gamers, Last week, we looked at the Fiefdoms army list and today, we're truncating down the Fiefdoms side of the house and ...

Monday, June 12, 2023

Armies of Middle-Earth SBG: The Army of Thror in the Middle-Earth Strategy Battle Game

Something something something GRIMHAMMERS!!!

Just kidding. There's more to this list, of course, but what can I say? I just love these models (even if I think they're about 20% too slim when standing shoulder-to-shoulder with their cousins from the Iron Hills). 

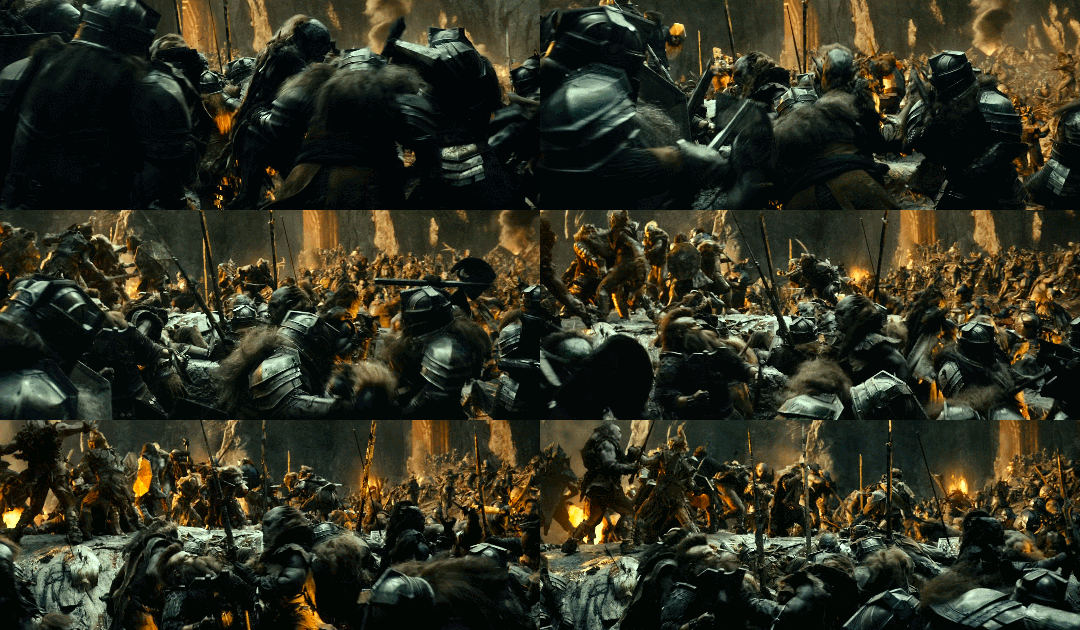
Azanulbizar, in all its... ferocity
(Don't sleep on Dwalin's head-bash in the foreground)

Thursday, June 8, 2023

Quest of the Ringbearer: Model Collection Update, Part VIII

Good morning gamers,

In this semi-annual update on my Quest of the Ringbearer collection, we have a LOT to cover since last November (and because some of the models aren't touched up/painted yet, I still have some on the workbench that will have to wait until the next update). With the arrival of the Battle of Osgiliath box set and some sweet Christmas gifts/purchases, we've got quite a few models to add (some of which have already been seen on the blog). First and foremost, we have a really cool Gothmog (who we showed off some WIP pictures in our brief review of the new box set):

As discussed in the article linked above, I have the infantry model's right arm magnetized so I can use either a mace or a sword! Mounted Gothmog has a spot in one of his legs for a magnet as well, so he has one so I can have the warg be "loose" too.

Gothmog is great, but he needs some helpers - so we have three generic Morannon Orc Captains with shields and four converted Morannon Orcs to stand in as Zagdush, Goroth, Guritz, and Gothmog's Enforcer (shown off in a sort-of-recent post on what to do with Morannon Orc overstock). The two-handed mace Captain has been included so he didn't feel left out:


Monday, June 5, 2023

Defence of the North Inspired Lists: The Dark Powers of Dol Guldur Revisited

Good morning gamers,

We come to it at last - the final post in what-you-can-do-with-the-scenario-forces-from-Defence-of-the-North. This has been quite the journey for me, discovering what kinds of armies you can build if you constrain yourself to just what's provided to you in scenario play, but today, we break all bonds and look at an army that Rythbyrt has been making popular here at TMAT: the Dark Powers of Dol Guldur.

Photo Credit: Warhammer Community
Fair warning, most of this post is about Castellans . . .

While we looked at the Rise of the Necromancer LL when we walked through the Fall of the Necromancer sourcebook, we don't have the Necromancer in Defence of the North. In fact, we don't even have any Nazgul in Defence of the North (what with this being Lord of the Rings era and both Sauron and the Ringwraiths being in different guises). Instead, we're left with a pretty hum-drum list of generic models:
  • 5 Gundabad Orc Captains
  • 6 Castellans of Dol Guldur with Morgul Blades
  • 30 Gundabad Orcs with shields
  • 30 Gundabad Orcs with spears
  • 4 Hunter Orcs with Orc bows
  • 2 Hunter Orcs with two-handed picks
  • 6 Hunter Orcs
  • 12 Hunter Orcs with whatever-you-want (because you're going to have them, but not need them for any scenarios)
  • 12 Fell Wargs
  • 8 Mirkwood Spiders
Now these are just the models available to you if you run the Dark Powers of Dol Guldur PURE. If you use their historical allies (Azog's Hunters and Azog's Legion), you actually open up a lot of other options (including 50% bow limit Hunter Orcs led by Bolg in Azog's Hunters and access to Goblin Mercenaries from Azog's Legion - along with a lot of other things). While this may not look like an inspired group of models, I can tell you that our good mate Rythbyrt has been taking these kinds of models and doing CRAZY things with them here at TMAT. While the original list looks pretty limited, we actually have a TON of options for this list and so naturally, I've included several lists for you. :-)

Saturday, June 3, 2023

Fantasy Fellowship Deep-Dive, Part 4

Good morning gamers,

Today we begin the deep dive into the "Helm's Deep" missions, which only involves three scenarios, but requires quite a bit from four of our heroes (Aragorn, Legolas, Gimli, and Gandalf). Since our wizard slot is operating solo, we're going to do a deep-dive into good models for your Aragorn/Legolas/Gimli slots as well as what the trades are for the wizard that you take - and how the changes that occur in their profile after their resurrection affect the heroes in practice. Because of these deep-dives within an already deep-dive, this post is going to be LOOOOOONNNNNNGGGG. Let's get into it without any further preamble!

Part 4: The Helm's Deep Sequence 


These are three fun scenarios with four of our most exciting members of our Fantasy Fellowship team - and ALL the scenarios are about killing stuff. Here's who we have: 

  • Aragorn (2 scenarios) 
  • Legolas (2 scenarios) 
  • Gimli (1 scenario) 
  • Gandalf (1 scenario) 
  • ALLIES: 
    • Haldir with heavy armor and Elf bow (1 scenario) 
    • Theoden with everything (1 scenario) 
    • Gamling with everything (1 scenario) 
    • Eomer on horse (1 scenario) 
    • Erkenbrand on horse (1 scenario) 
    • 12 Galadhrim Warriors (1 scenario, standard gear) 
    • 12 Warriors of Rohan (1 scenario, standard gear) 
    • 4 Rohan Royal Guards on horses with throwing spears (1 scenario) 
    • 24 Riders of Rohan (1 scenario, standard gear) 

In case you didn't pick up on it - you really have three different games that all have totally different participants (except for Legolas and Aragorn, who cross over between two of them). There's a lot of cavalry models in play (27 in Eomer's Return, 8 in Ride Out) but we also have a lot of Uruks to kill: 

  • 3 Uruk-Hai Captains with shields (3 scenarios) 
  • 20-30 Uruk-Hai Warriors (3 scenarios, standard gear) 
  • 8 Uruk-Hai Berserkers (1 scenario) 

As we saw in the Amon Hen scenario (and possibly for Merry/Pippin in the Ambush at Night scenario), it pays to be F5 (or ideally F6) in these missions. Chances are good that you had extra points to spend on these characters when you were building your Fellowship, so it would be surprising to see F4 or below models here. 
 

Thursday, June 1, 2023

Cavalry Charge: The Checker Board Formation and the Battle of Lechfeld

Good morning gamers,

In today's formations post, we're tackling an ancient and difficult problem: how do you tackle skirmish cavalry in MESBG? As a brief review, there are several different classes of cavalry in MESBG (see our first article in the Cavalry Charge mini-series for what these are) and by "skirmish cavalry," we're referring to any cavalry model that has a ranged weapon.

Before we dig into the MESBG theory, let's look at a historical battle that featured some very interesting tactics for catching enemy cavalry archers - the battle of Lechfeld.

The Battle of Lechfeld: Cutting Off Escape Routes

Per the usual for this series, you can see a visualization of this battle over on the BazBattles YouTube channel - and per the usual, it's great. In the early Tenth Century AD, the King of Germany, Otto I, faced an invasion by Magyar horse archers from Hungary. These invaders pillaged and burned most places that they invaded, never staying long in one area. Since they used their horses to avoid pitched battles, they were some of the most devastating invading forces that plagued central Europe. In 910, the first Battle of Lechfeld featured Magyar horse archers destroying a German army that tried to drive them away from Augsburg, luring the German units forward in pursuit of them and then swarming them in a furious charge. This isn't the battle we're going to focus on today (you can read about it here though), but it does serve as a cruel reminder of what skirmish cavalry can do to you if they can whittle down your numbers.

In 955, however, the Magyars settled in the German duchy of Bavaria and laid siege to Augsburg instead of just raiding - they were here to stay. Otto I mobilized troops from various other duchies in Germany and met them outside the city. The Magyars attacked one of the divisions under Otto's command and began to plunder their belongings. When the Germans launched a counter-attack with their heavy cavalry, the Magyars retreated. Otto didn't race to pursue them with his forces, however - he advanced his infantry blocks steadily and pursued the enemy until they ran out of room to maneuver (in part because harsh weather conditions made maneuvering difficult). Without the ability to fade away from the enemy, the Magyar forces were eventually caught and defeated soundly by the heavy infantry and cavalry of the Germans.

Reality isn't always mirrored well in MESBG - but the nature of skirmish cavalry is captured pretty well (well, everything except the Cantabrian Circle, at any rate). Let's look at some of the specific tools we'll need to combat skirmish cavalry - and a neat little formation that almost any army can use to break them.