Good morning gamers,
We come to it at last - the final post in what-you-can-do-with-the-
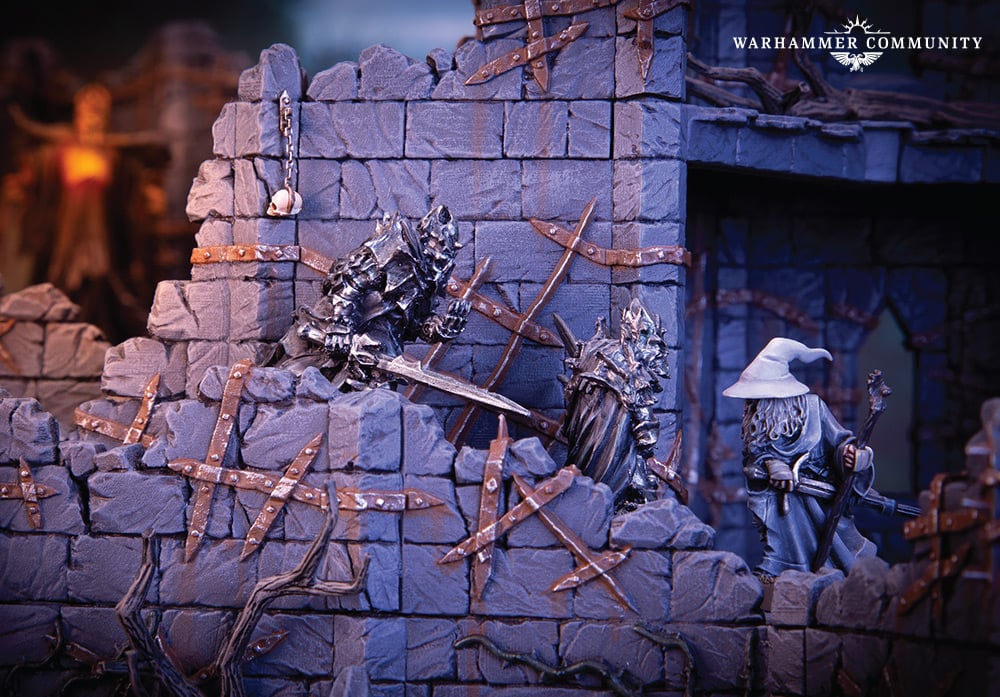 |
| Photo Credit: Warhammer Community Fair warning, most of this post is about Castellans . . . |
While we looked at the Rise of the Necromancer LL when we walked through the Fall of the Necromancer sourcebook, we don't have the Necromancer in Defence of the North. In fact, we don't even have any Nazgul in Defence of the North (what with this being Lord of the Rings era and both Sauron and the Ringwraiths being in different guises). Instead, we're left with a pretty hum-drum list of generic models:
- 5 Gundabad Orc Captains
- 6 Castellans of Dol Guldur with Morgul Blades
- 30 Gundabad Orcs with shields
- 30 Gundabad Orcs with spears
- 4 Hunter Orcs with Orc bows
- 2 Hunter Orcs with two-handed picks
- 6 Hunter Orcs
- 12 Hunter Orcs with whatever-you-want (because you're going to have them, but not need them for any scenarios)
- 12 Fell Wargs
- 8 Mirkwood Spiders
Now these are just the models available to you if you run the Dark Powers of Dol Guldur PURE. If you use their historical allies (Azog's Hunters and Azog's Legion), you actually open up a lot of other options (including 50% bow limit Hunter Orcs led by Bolg in Azog's Hunters and access to Goblin Mercenaries from Azog's Legion - along with a lot of other things). While this may not look like an inspired group of models, I can tell you that our good mate Rythbyrt has been taking these kinds of models and doing CRAZY things with them here at TMAT. While the original list looks pretty limited, we actually have a TON of options for this list and so naturally, I've included several lists for you. :-)
So Rythbyrt did a post on how great Castellans are - and if you're interested in a LOT of Castellan-oriented lists, you should check it out here. I'd like to summarize the principles of using Castellans well below - but DO read the other article if you haven't already (and if you have a lot of time on your hands - like Tolkien's works, it's a long read but worth it):
- Run them en masse (like 5-10 of them);
- On offense, having F5/S5/2A makes them good at chopping through troops (and will make heroes work to best them);
- When compared to other 2A Warriors, the Defense 6, Terror, and 12 Will to use as Fate/participate in fights makes them incredibly hard to deal with for quite a few rounds (usually);
- Lots of Will means they can at least contest magical powers or blunt big heroes for a few rounds; and
- The more Castellans you take, the more warband drops you have (to know what your opponent is doing before committing your more vulnerable heroes/more warrior-heavy warbands).
Our first list takes the 6 Castellans that we have (a good number of Castellans according to Rythbyrt) and embeds them in a battle line of Gundabad Orcs, backed up by spears. Oh, and we have a bunch of Hunter Orcs for shooting (because why not):
- Gundabad Orc Captain with shield [ARMY LEADER]
- 3 Gundabad Orcs with shields
- 4 Gundabad Orcs with spears
- 3 Hunter Orcs with Orc bows
- 1 Hunter Orc with Orc bow and banner
- 1 Fell Warg
- Castellan of Dol Guldur with Morgul Blade
- 2 Gundabad Orc Warriors with shields
- 3 Gundabad Orc Warriors with spears
- 1 Hunter Orc with Orc bow
- Castellan of Dol Guldur with Morgul Blade
- 2 Gundabad Orc Warriors with shields
- 3 Gundabad Orc Warriors with spears
- 1 Hunter Orc with Orc bow
- Castellan of Dol Guldur with Morgul Blade
- 2 Gundabad Orc Warriors with shields
- 3 Gundabad Orc Warriors with spears
- 1 Hunter Orc with Orc bow
- Castellan of Dol Guldur with Morgul Blade
- 1 Gundabad Orc with spear
- 2 Hunter Orcs with Orc bows
- Castellan of Dol Guldur with Morgul Blade
- 1 Gundabad Orc with spear
- 2 Hunter Orcs with Orc bows
- Castellan of Dol Guldur with Morgul Blade
- 1 Gundabad Orc with spear
- 2 Hunter Orcs with Orc bows
700 points, 46 models, 13 Orc bows hitting on a 5+, 16 D6+ model, 1 fast infantry AND 2 Might for Heroic March, 2 Might points
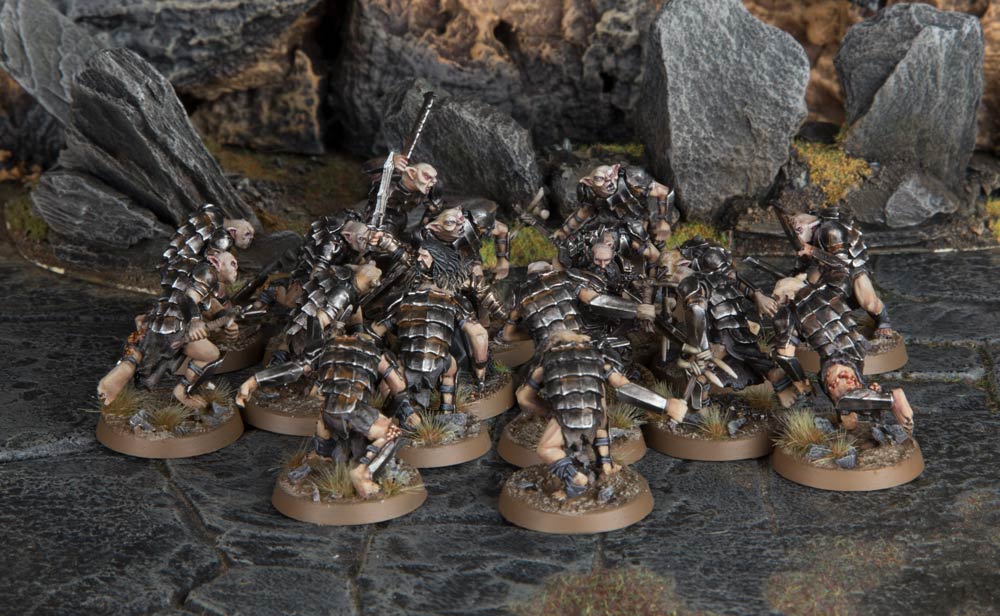
 |
| Photo Credit: Warhammer Community From experience, Castellans with Fell Wargs are a NASTY combo . . . |
Now 46 models is . . . kind of a lot of models, no? Seven warbands is certainly going to let you know what your opponent is doing before you have to commit anything important, right? Three of the Castellans can be deployed early with very little tells of where your main contingent is going to be - probably giving you full knowledge of where your opponent is and how to beat him up. There is a problem with this list though: speed. With only one Fell Warg and 2 Might for March, I can't help but feel like we're missing something here. While we could drop some of our Hunter Orcs for Fell Wargs, there's another way we could get speed in our list (and numbers): ally in some Goblin Mercenaries. The list FEELS like it can play the objective/travel games a lot better:
- Gundabad Orc Captain with shield [ARMY LEADER]
- 3 Gundabad Orc Warriors with shields
- 4 Gundabad Orc Warriors with spears
- 3 Hunter Orcs with Orc bows
- 1 Hunter Orc with Orc bow and banner
- 1 Fell Warg
- Castellan of Dol Guldur with Morgul Blade
- 2 Gundabad Orc Warriors with shields
- 3 Gundabad Orc Warriors with spears
- 1 Hunter Orc with Orc bow
- Castellan of Dol Guldur with Morgul Blade
- 2 Gundabad Orc Warriors with shields
- 3 Gundabad Orc Warriors with spears
- 1 Hunter Orc with Orc bow
- Castellan of Dol Guldur with Morgul Blade
- 2 Gundabad Orc Warriors with shields
- 3 Gundabad Orc Warriors with spears
- 1 Hunter Orc with Orc bow
- Castellan of Dol Guldur with Morgul Blade
- 1 Gundabad Orc Warrior with spear
- 1 Hunter Orc with Orc bow
- Castellan of Dol Guldur with Morgul Blade
- 1 Gundabad Orc Warrior with spear
- 1 Hunter Orc with Orc bow
- HISTORICAL ALLY - Azog's Legion: Goblin Mercenary Captain
- 8 Goblin Mercenaries
700 points, 49 models, 9 Orc bows hitting on a 5+, 15 D6+ model, 1 fast infantry AND 9 ambushers AND 4 Might for Heroic March, 4 Might points
 |
| Photo Credit: Warhammer Community From experience, Goblin Mercenaries can REALLY change the game . . . especially when there are Castellans engaging the rest of your army . . . |
While we only have 5 Castellans in this list, we upped our model count by 3 and only lost a few bows (who weren't that accurate anyway). In trade, we have a 9-model warband that can randomly arrive places to contest at least one objective or harass someone's camp. This list feels like it has more tricks than the others, but this got me thinking: is there a way to get Azog's Hunters in here too for more/better archers? As it turns out, the answer is, "yes", but also "no":
- Gundabad Orc Captain with shield
- 7 Gundabad Orc Warriors with shields
- 1 Gundabad Orc Warrior with spear
- 1 Fell Warg
- Castellan of Dol Guldur
- 1 Gundabad Orc Warrior with spear
- Castellan of Dol Guldur
- 1 Gundabad Orc Warrior with spear
- Castellan of Dol Guldur
- 1 Gundabad Orc Warrior with spear
- Castellan of Dol Guldur
- 1 Gundabad Orc Warrior with spear
- Castellan of Dol Guldur
- 1 Gundabad Orc Warrior with spear
- HISTORICAL ALLY - Azog's Legion: Goblin Mercenary Captain
- 5 Goblin Mercenaries
- HISTORICAL ALLY - Azog's Hunters: Bolg on Fell Warg [ARMY LEADER]
- 5 Hunter Orcs with Orc bows
- 1 Hunter Orc with Orc bow and banner
- 5 Fell Wargs
700 points, 36 models, 6 Orc bows with Morgul Arrows hitting on a 4+, 13 D6+ model, 1 cavalry AND 5 fast infantry AND 6 ambushers AND 7 Might for Heroic March, 7 Might points
 |
| Photo Credit: Games Workshop From experience . . . I fear this guy a lot less than his equivalent weight in Castellans . . . |
Undoubtedly, this list is "better" than what we've seen in the previous two lists in several respects. First and foremost, our army leader got beefier - no one is going to argue that a Gundabad Orc Captain is stronger than Bolg. We also got better archers - not just with an increased shoot value, but if they pluck a wound off a hero (or a multi-wound monster/mount), they can slowly kill that model over time with their Morgul Arrows. Finally, we upped our speed quite a bit not only by having a mounted hero, but also by upping the number of Fell Wargs we had (basically trading out some of our Goblin Mercenaries to get fast infantry).
But there are some trades - first off, because our army leader is beefier, he also got more expensive. Bolg himself is suboptimal in an alliance like this because he's been taken from the Azog's Hunters list (he's our only way to get Azog's Hunters into the list due to the complete lack of named and unnamed Hunter Orc Captains) and so he doesn't get Master of Battle, despite us having the Azog's Legion army bonus (which is sad). We did get the 4+ Shoot Value and Morgul Arrows on our Hunter Orc bowmen, but with fewer bows total, this Orc pack is going to do LESS with archery than the 12 bows in the first list (and about the same as the 9 bows in the second list).
But there are two bigger changes to the list that make this less appealing to me. First and foremost, we've dropped from 46 models (initially) to 36 models - and while losing 10 models on its own could be disastrous, we've "only" lost 3 D6 models, but we've ALSO made most of our models who were D5 into D4 models - and THAT is going to be painful if we run into S2/S4 shooting lists (which are "in" right now). S3 shooting lists could really deal a number to us too, but boy will this list get torn up by S2 shooting.
The other big change is what we've done to the Castellans. Not only have we dropped from having 6 Castellans (initially) to 4, but because Bolg is so expensive, we've also lost all of the Morgul Blades. Our Castellans are not only fewer in number (and therefore more easily avoided by heroes), but big heroes are less worried about a fluke accident against these guys because they can't be insta-killed. Could we have dropped 10-20pts to get 2-4 Morgul Blades? Sure, but only at the cost of numbers (or Bolg's Warg, but let's face it, we really shouldn't do that). In the end, I think the second list (which pairs 9 Goblin Mercenaries with 5 Castellans and almost 50 models) is our best bet. Let's see what it does.
Army Theory
We've alluded to a lot of what this army does, but let's summarize here in brief. First, we have 6 deployment drops at the start of the game and one warband that can deploy later in the game - which gives us incredible deployment knowledge in most scenarios. Having two "throw-away" warbands of Castellans with a pair of guys each means we're guaranteed to know where at least one enemy warband is in scenarios where we don't "go down all at once" (like in Storm the Camp, where we know our opponent's deployment area) or in maelstrom missions. Even if our opponent has another warband or two, we can use our "anvil" warbands to start forming up a shieldwall to attack where the known warband is - and regardless of what's in it, we know that we can pressure them into either fighting us quickly (where our numbers can help us a lot) or will flee from us (which we're fine with so long as we use the time to form up and hedge them away from the parts of the board that matter).
We also have 2 Might for March on our Gundabad Captain (who's pretty tough, but we don't want him fighting unless his match-ups are well managed), which gives our Castellans needed speed if we feel like a rush is required. Thanks to having our Mercenaries waiting in the wings, we know that we don't have to March to far-off objectives so long as the Mercenaries can arrive on the distant board edge or in a piece of terrain that's at least 3" by 3" in size (many are). If we can start on the center and use our Might for Heroic Moves to position our Castellans, that would be much better. Ideally, we'll get our Castellans near our Mercenary Captain later in the game so he can continue to fuel our Heroic Moves with his own Might, but we're not guaranteed that (either because the scenario will require the Mercs to be in a different part of the board than our Castellan wall OR because we'll need to use the Might to get on the board).
Speaking of Mercs, we have Goblin Mercenaries. If you read our last article, you know all about what these guys do - they can really ruin your day. Just by having them in our army, our opponent needs to play differently: flanks have to be secured big time, objectives can't be scantily manned, and an already outnumbered foe might feel a bit more hemmed in once the fighting starts. I love having these guys in a list (and fighting them is one of my least favorite chores - especially in a Goblin-town list where there might be several squads of these guys AND a Scribe). While Azog's Hunters could get you fast models, I think the Mercs are just too good to leave at home (giving us 9 models for just 130pts and some incredible board control options if we can just pass a Courage test with C3 and 1 Will point).
We also have one lone Fell Warg. While we could have gotten a vanilla Hunter Orc, I like having at least one fast infantry model for scenarios like Seize the Prize, where you might want the prize dug up on Turn 1 (or at least be able to keep the enemy away from it on Turn 1 while the Castellans roll up the field). It's also nice to have a model that can race around a flank or park a large base in a hole to keep the enemy from wrapping you. I think they're useful - especially when you have Mercenaries to do the heavy lifting on claiming rear objectives and he just needs to make his way to one objective (or support the Mercenaries).
Finally, we'll end by talking about the Castellan wall (and how we want our warbands deployed). If we have absolute control over our deployment and we know we want to get locked in quickly in the center, then our Gundabad Orc Captain will want to be near the center to keep everyone in range of his heroic actions and the 5 Castellans/9 shields surrounding him for (potentially) a 15-file, two-rank shieldwall. Of course, you can actually extend this line and up the number of Attacks you have if any of your 9 Hunter Orcs (one has a banner because none of the Gundabads could have one) are in your front line being supported by spearmen - your shield guys can then extend the line by 8-9 files and defend by shielding to get the same number of Attacks.
Anyone in their right mind is going to think twice about throwing 1 Attack models backed up by spears into a hedge like this - especially if you have enough files that you can wrap the enemy. If your opponent throws his force at the Castellans, hoping to tie them down while the rest of your army crumbles, you can use their reliable offensive power to carve big holes through the enemy formation (reforming your shieldwall to give your other fights a better chance of winning by wrapping the enemy). If they're able to stall out a hero, even better.
Okay, let's talk strategy now!
Gameplay Strategy
Maelstrom & Object Missions (Pools 1 & 3)
Maelstrom scenarios are both good and bad for our list - on the one hand, the Castellans are going to show up (or not) based on whatever they roll since they don't have any Might to modify the results they get. As a result, we want to start with those guys so we know where they are before we commit our Gundabad Captain's warband to the board. If we have the choice of placement for our Castellans, we want them to arrive near each other - groups of Castellans are more terrifying than one here or there.
On the other hand, maelstrom missions are good for us since a) we have six warbands that will attempt to walk on the board on the first turn of the game, so it's likely that we'll have some models near each other (and quite possibly be down a warband or two on the first turn). We also know that our Goblin Mercenaries can either walk onto the board to support a warband in trouble OR appear in a more strategic piece of terrain to help us with scenario objectives.
In Hold Ground, we want our Captain to arrive near as many Castellans as possible - and if we can do that without using Might, so much the better. If we can get our Gundabads Marched up to the center of the board, we can circle up with our Castellans to chop through the enemy and keep our Orcs in line. If a Castellan warband has the opportunity to charge into an enemy warband, they should - they'll tie up models for a while and probably not die (or will force the enemy to spend a lot of resources to beat them up).
In Command the Battlefield, we want our army to arrive in one area if we can - 40 models walking onto the center of one board edge to contest two quadrants at the same time. If we arrive split up (far more likely), we want to converge as quickly as we can - or get locked in quickly if our opponent appears near us. Our Goblin Mercenaries will want to choose to either a) arrive in a piece of terrain that can tip a quadrant to our control or b) walk onto the center of a board edge to immediately swing two quadrants in our favor.
Heirlooms of Ages Past is a toss-up for us, since we'll be arriving wherever we arrive, but since the heirloom tokens are likely to be scattered everywhere, we're kind of okay with that. The most tactical decision we'll have to make is where to have our Mercenaries arrive. If we dig up the Heirloom, we'll want the Mercenaries to arrive near there to protect it. If our opponent is running the Heirloom away from the action, we'll want to use our Mercenaries to hedge in the model carrying it. Ideally, our opponent will have forgotten that we have Mercenaries in our army as well and will leave the model carrying the Heirloom alone and undefended.
When it comes to the object missions, we're playing a very similar game to what we've seen with other limited-shooting lists. We probably want our Captain in Seize the Prize to start in a Pac-Man formation with a straight shot at the center, calling a March on the first turn. Our Fell Warg should be at the tip of one of the prongs to race ahead at the start, with the other forward models being Castellans and Gundabad Orcs with shields to absorb archery. If we have the Fell Warg reach the center on the first turn (he might even be able to pick it up!) and have our Castellans a few inches behind him, we should be fine. Our archers will want to guard the flanks/rear of the formation, targeting any models that are trying to get around us - having 2 Attack models on our flank is a strong deterrent against flank-charging.
We have 8 bowmen in Destroy the Supplies that can be split up between our three objectives (the banner guy should travel with the Captain and the two small Castellan warbands). Our goal with our main force is to press hard on one objective, count on the Goblin Mercenaries to clear one or two of the others, and use our three "big" Castellan warbands to hold up the enemy advance (or reinforce the Captain's division). If we have around 30 models pressing up the field (and nearly 10 models arriving in ambush), we can hopefully keep the enemy engaged away from our objectives - but even if a lone straggler or two races past us, our opponent will still have 2 Attack Hunter Orcs to deal with.
Finally, in Retrieval, we want a TON of guys sitting on the center line, ready to fight. Some bowmen should probably sit back and guard our "flag," but we want as many models as possible walking forward and chopping a hole through the enemy. The Castellans should all be in range of the banner and be leading the charge, while the Captain manages things from the rear (not exposing himself to danger). Our Fell Warg can skulk around the flanks to draw attention from the enemy, but our primary means of getting the flag off our board edge is likely to be our Goblin Mercenaries, who might be able to arrive near the flag and contest it early, then March towards our board edge with it (handing it off to the Fell Warg if he's still around).
Control Missions (Pools 2 & 5)
49 models should speak for itself, but let's get a few things clear: first, we're playing Domination, Capture and Control, and Breakthrough exactly the same way. Second, our Goblin Mercenaries can be used to either secure enemy objectives in their backfield (especially useful in Breakthrough), but they can also be used to secure objectives in OUR backfield, freeing up our Hunter Orcs to swarm the enemy and bring their 2 Attacks to bear (which will do more damage in the long run than shooting with a 5+ shoot value will do). Third, we want our Castellans (all five of them) to focus on clearing the center - we have Gundabad Orcs with shields and Hunter Orcs to hold/contest the side objectives, so use the Castellans to break the center and then fan out from there.
In the get-there missions, we have some speed, but mostly we're counting on the Mercs to do the work for us. In Storm the Camp, our opponent should expect to find 9 Goblins walk on from one of the board edges that contains his camp - if he doesn't, he will forever afterward. The main question is WHEN we do this: obliviously, we want the rest of our army to have advanced up the field and be engaging his forces so he doesn't squish our Mercenaries first, then go after the rest of us, but we also don't want to wait too long to contest the camp in case we meet resistance that takes time to defeat (or if we need help).
Reconnoitre will be tricky, as we can't walk on from the enemy board edge - we need to find a piece of terrain for them to arrive in instead. If we can get 9 models off the board, we can have 3 models left on the board if we need to quarter ourselves, but ideally we don't break and we keep less than 4 models from making it off our board edge. If we can do this, it's an easy win.
Finally, we're going to need to split up our army in Divide and Conquer. Our first two warbands are going to be our smaller Castellan warbands, while our next two warbands are going to be two of our larger warbands. Once we know where 4-5 of the enemy warbands are (which is probably all of our enemy warbands), we can choose which side we want our Captain to be deployed in (the other will get yet-another-Castellan). The Captain's warband probably wants to March towards the center, but be aware that we might need his Might for calling Heroic Moves later (do don't March more than once). Ideally, there will be either a piece of terrain where our Goblins can hop out to contest the center OR a piece of terrain where they can delay/flank one of the enemy forces moving towards the center.
Killing Missions (Pools 4 & 6)
You'd think with a wall of Castellans/Gundabads that these scenarios would be easy for us - and in some ways, they are. Wounds prevented by Will spent as Fate from the Castellans won't count towards the Fate tally in Lords of Battle, but roughly two-thirds of our army is D4-5, so taking damage isn't something that will be hard for most armies. As such, our ability to beat the enemy is going to be predicated on getting locked into combat quickly AND doing so without suffering too much damage. Similarly, we don't want to break before our opponent breaks in To The Death (ideally, we don't break at all - but let's not count on that happening).
We're going to have to be careful in Contest of Champions - we have Castellans to stall out the enemy army leader, but only if we're able to move them to engage him (with only 2 Might on the board at the start, we can't count on being able to get the charges we want). If we CAN stall him out (or kill him with a Morgul Blade), we have a very good chance of winning. Similarly, we're going to need to be careful in Clash by Moonlight - our average/low Defense is a huge liability, but if we can just engage the enemy quickly and kill a few heroes (before any of our Castellans can be killed), we should be fine.
Finally, we have some sneaky tricks we can play on our opponent in Fog of War and Assassination. In Fog of War, we're going to protect our Merc Captain and use his warband to claim a piece of terrain DEEP in the enemy's side of the board. Nine unexpected bodies on a terrain piece ought to be enough to have majority control (if not outright control) and our hero should be alive (and probably unwounded) at the end of the game. We just need to break the enemy and wound/kill a hero that he needs to commit to combat and we should be good for a win.
In Assassination, our Merc Captain has a good chance of being chosen as the hero to kill - you know, because he's the ONLY hero that's easy to kill. Sure, our opponent might take a swing at a Castellan instead, but if we're using the Castellans to support each other, we should be able to keep them alive. For our part, we want to pick any Castellan to be our assassin and if we kill the enemy hero with our assassin, great. If not, also fine. If we can kill both our target (5-7 VPs) and the enemy army leader (3 VPs - 1 VP for wounding), we can probably win handily.
Conclusion
This is the last post in this series of scenarios-to-Matched-Play (at least until they give us a new sourcebook). Hopefully you've learned a bit through the past few months of walking through scenario forces (and appreciated the kinds of units you get to use in scenario play - and which ones you don't). As we go into the summer, Rythbyrt has an article he's been working on for the Armies of MESBG series he's been running and we'll return to the In Defense Of series, starting off with a character that I slammed as one of the WORST Dwarf heroes in the game - but thanks to using him in Fantasy Fellowships, I've been looking for what it takes to bring him into Matched Play because he is, in reality, quite a heavy-hitting model for his cost. Find out more next time - and until then, happy hobbying!
No comments:
Post a Comment