We're back for scenario two of the Scouring of the Shire campaign and today Bill Ferny is back, leading a ragtag band of Ruffians and Lotho Sackville-Baggins against a company of Hobbit Shirriffs and a few Hobbit Militia bounders, led by Holfoot Bracegirdle and Robin Smallburrow. Let's see how this goes!
The Ruffians Arrive

The Ruffians and Hobbits start on opposite sides of the Brandywine Bridge in roughly equal numbers. The game lasts for 12 turns and Evil wins if they can Paralyze Robin and Holfoot and get them off the western board edge. The Hobbits win if they can prevent this from happening and if Holfoot and Robin are still alive. If either Holfoot or Robin should be killed, the game is a draw.

Centaur has been playing with the Shire for a while - so he stood and loaded. I have endured many hailstorms of rocks from Hobbits over the years, so I did what a mostly melee list needs to do . . . close the gap.

Aaaaaaaand four Ruffians fell to the stones, while one was killed by an arrow . . . not a great start.

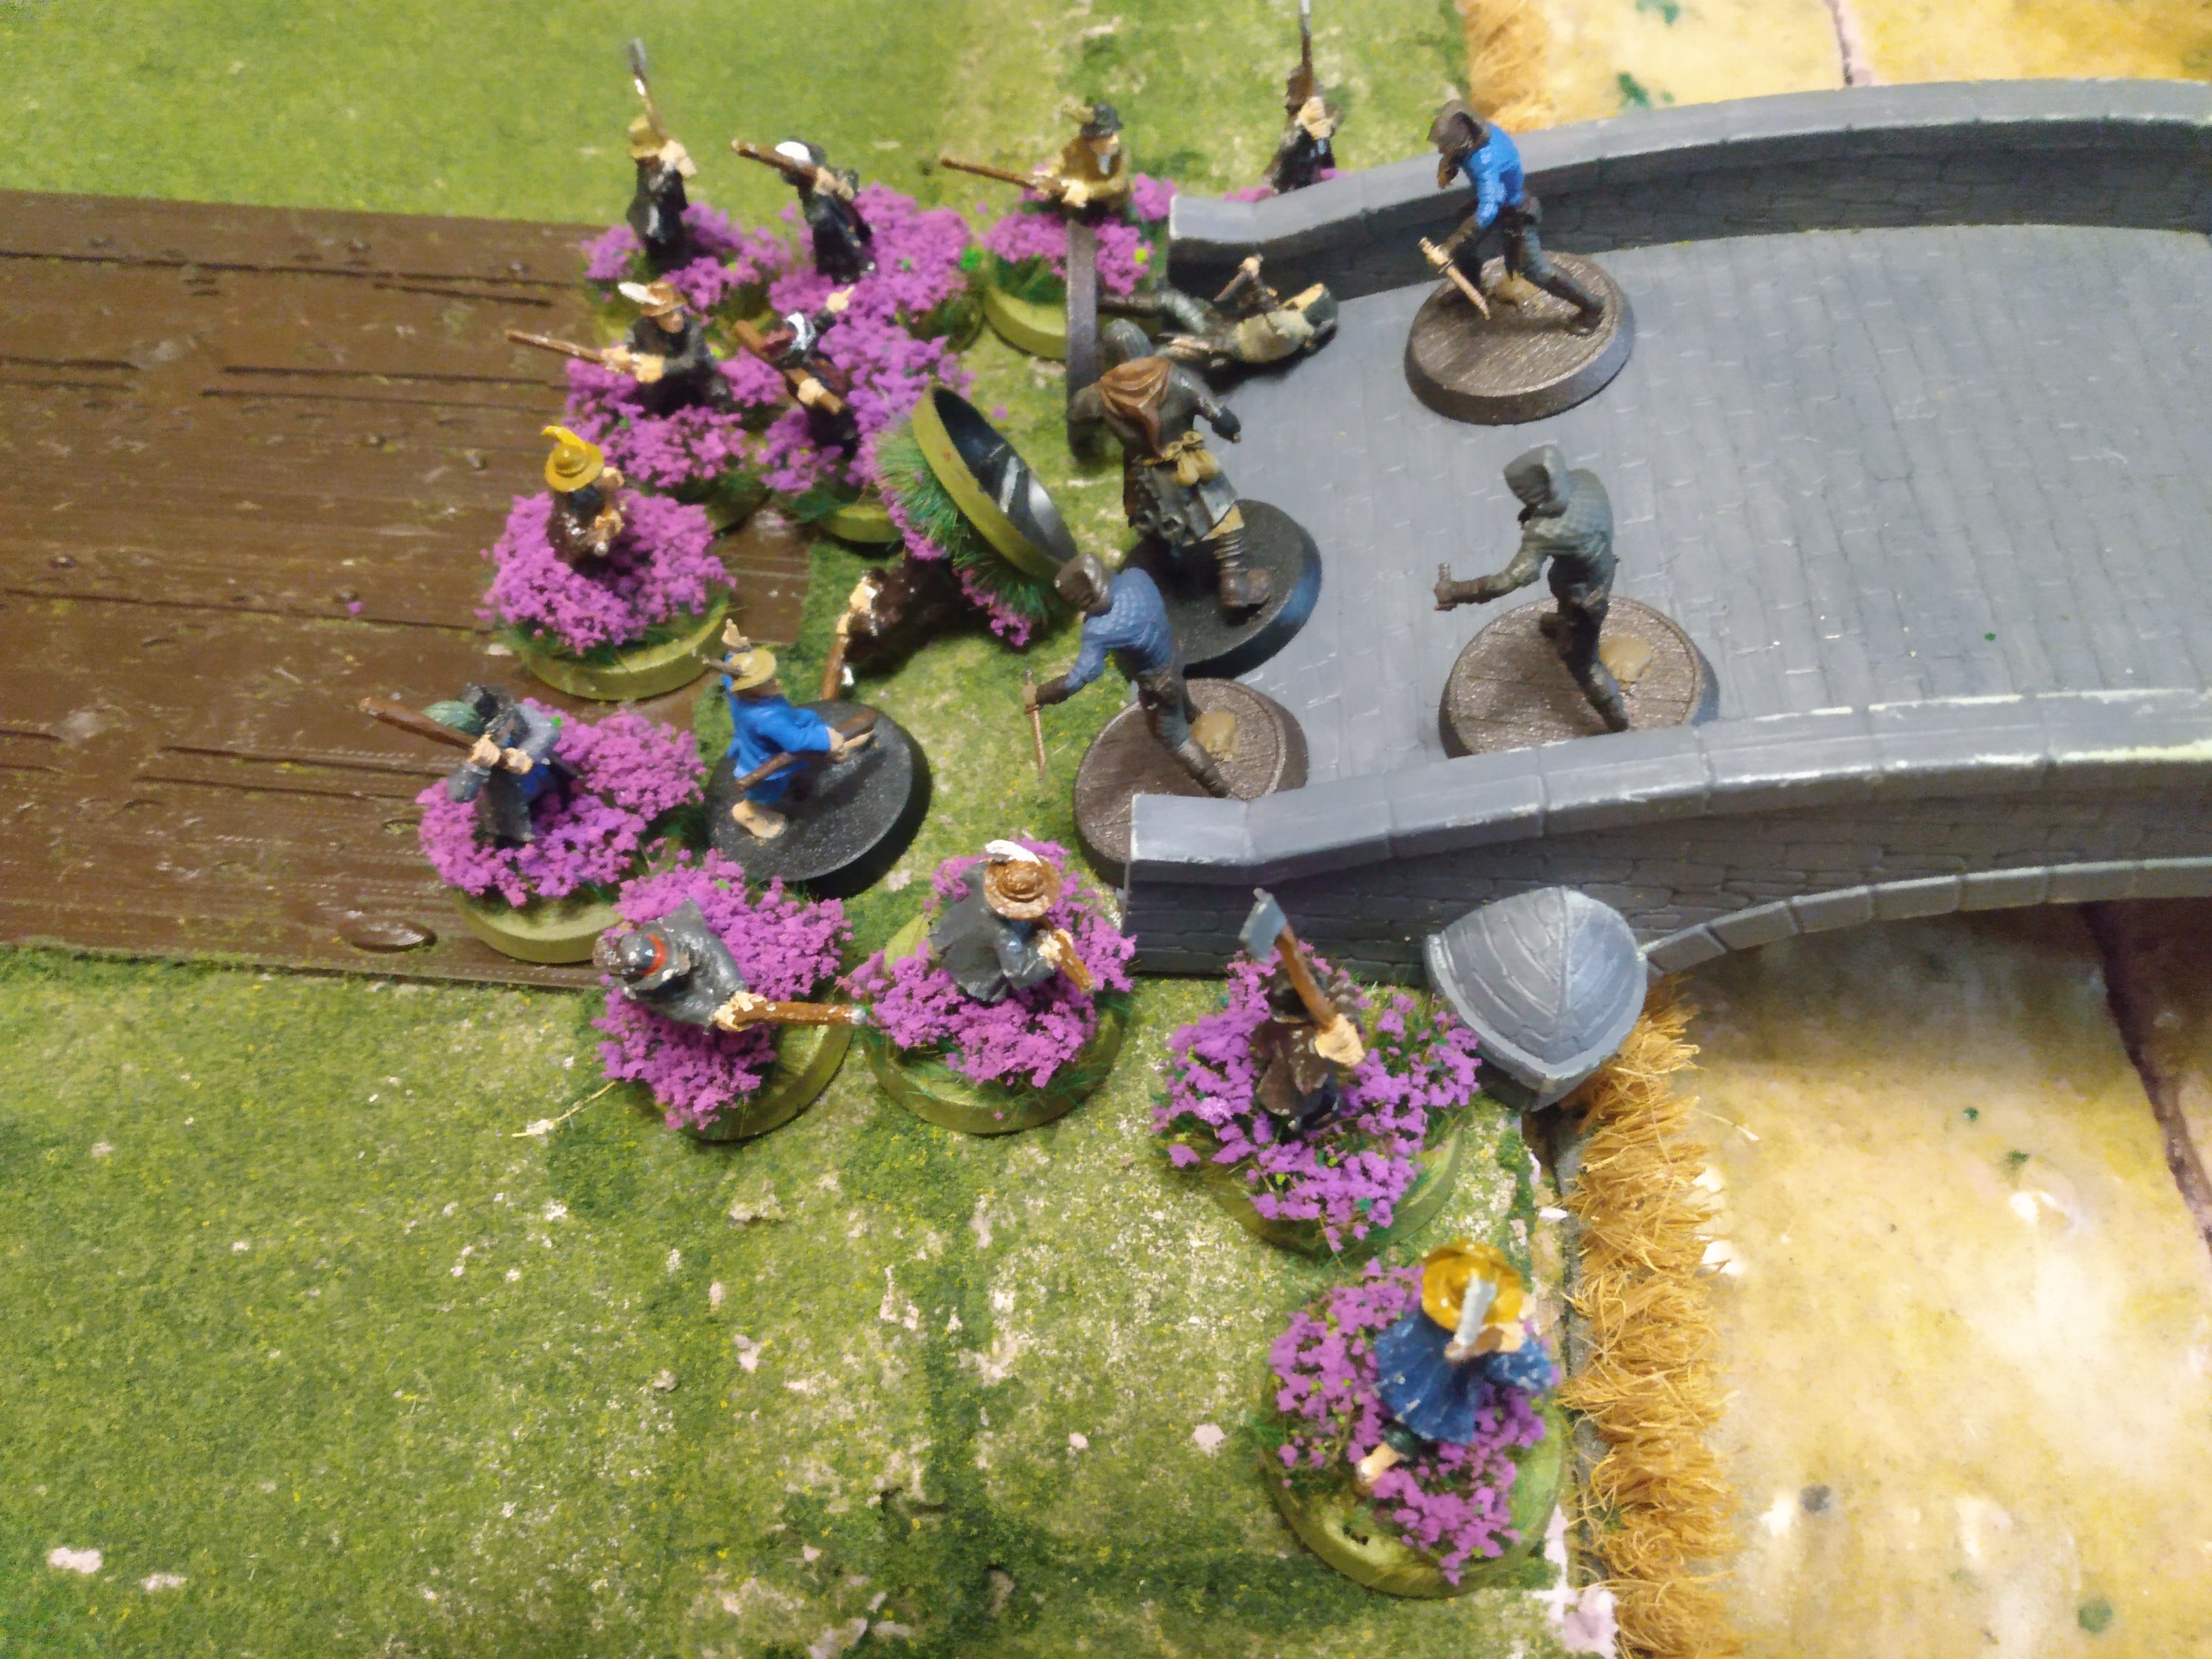
I was able to get some charges off, but because the bridge is only slightly more than 3" wide, I couldn't get a lot of fights. Let's hope we don't mess this up . . .

My archers, again, did nothing - the Hobbit Militia responded and killed two of my Ruffians with bows . . . well, we're done with the shooting game . . .

The fights were mostly a push, but I did manage to beat Holfoot and got a 5 to Paralyze him!


Bill Ferny called a Heroic Move (1/1M) so I could get the match ups I wanted and more importantly, not be pushed further up the bridge - there wasn't much to get, but whatever.

Centaur basically didn't move and I pulled Lotho and my last archer onto the bridge.

In the Fight Phase, Bill killed a Shirriff and Holfoot killed a Ruffian. Trading equal blows isn't very good for me at this point, so I may have to call an audible and change my game plan.

The Hobbits charged forward (with Holfoot leading the way), not letting me repair my line after losing a guy. Lotho and the archer respond.

Once again, we trade blows equally - I can't keep taking these kinds of losses. New plan . . .

I finally got priority back and charged Lotho and a Ruffian into Holfoot while Bill and two other Ruffians tried to hold the line.

The Fight Phase was brutal - two dead Ruffians, one dead Shirriff, and . . . wait . . . a dead Holfoot? Why yes - Centaur's press of bodies accidentally trapped him and after losing his fight, I scored two wounds. A failed Fate point later and he was dead . . . the new plan worked. :-)

The Ruffians and Hobbits start on opposite sides of the Brandywine Bridge in roughly equal numbers. The game lasts for 12 turns and Evil wins if they can Paralyze Robin and Holfoot and get them off the western board edge. The Hobbits win if they can prevent this from happening and if Holfoot and Robin are still alive. If either Holfoot or Robin should be killed, the game is a draw.
Turn 1: Priority Good

Centaur has been playing with the Shire for a while - so he stood and loaded. I have endured many hailstorms of rocks from Hobbits over the years, so I did what a mostly melee list needs to do . . . close the gap.

Aaaaaaaand four Ruffians fell to the stones, while one was killed by an arrow . . . not a great start.
Kill Count: Ruffians 0/14, Shire 5/14.
Turn 2: Priority Evil

I was able to get some charges off, but because the bridge is only slightly more than 3" wide, I couldn't get a lot of fights. Let's hope we don't mess this up . . .

My archers, again, did nothing - the Hobbit Militia responded and killed two of my Ruffians with bows . . . well, we're done with the shooting game . . .

The fights were mostly a push, but I did manage to beat Holfoot and got a 5 to Paralyze him!

At the end of the round, Holfoot failed his Paralyze recovery roll, but his three adjacent friends all got 6s . . . so yeah, I basically did nothing that round.
Kill Count: Ruffians 0/14, Shire 7/14.
Turn 3: Priority tied, Good

Bill Ferny called a Heroic Move (1/1M) so I could get the match ups I wanted and more importantly, not be pushed further up the bridge - there wasn't much to get, but whatever.

Centaur basically didn't move and I pulled Lotho and my last archer onto the bridge.
In the Fight Phase, Bill killed a Shirriff and Holfoot killed a Ruffian. Trading equal blows isn't very good for me at this point, so I may have to call an audible and change my game plan.
Kill Count: Ruffians 1/14, Shire 8/14.
Turn 4: Priority Good

The Hobbits charged forward (with Holfoot leading the way), not letting me repair my line after losing a guy. Lotho and the archer respond.

Once again, we trade blows equally - I can't keep taking these kinds of losses. New plan . . .
Kill Count: Ruffians 2/14, Shire 9/14.
Turn 5: Priority Evil

I finally got priority back and charged Lotho and a Ruffian into Holfoot while Bill and two other Ruffians tried to hold the line.

The Fight Phase was brutal - two dead Ruffians, one dead Shirriff, and . . . wait . . . a dead Holfoot? Why yes - Centaur's press of bodies accidentally trapped him and after losing his fight, I scored two wounds. A failed Fate point later and he was dead . . . the new plan worked. :-)
Kill Count: Ruffians 4/14, Shire 11/14. Because Holfoot was one of the fallen, the game is a draw!
Conclusion
I have to admit, if Centaur had never let his heroes get engaged, that scenario would have ended badly for me. I was happy to get a paralyze off, but the end of round recovery was not good. Still, like Centaur did last time, I was able to pull a draw out of the jaws of defeat - I'll take it . . .
Tiberius Scenario Rating: 2/5 stars. I think the Ruffians need a few more models because the choke point and the river makes it very hard to get any kind of presence in combat. The scenario was fun, but started off very one-sided - but as I've said for ages, shooting in low points level games can be game altering (and it certainly removed my chances of winning here).
Hopefully you enjoyed this write up - we'll be back in two weeks with the Maggot's Farm scenario. Until then, happy hobbying!
Oof, that archery was rough! Great game sense to think it through and go for the draw, it's always satisfying to pull something out of nothing
ReplyDeleteI was honestly shocked that Holfoot and Robin weren't tucked away in the back . . . that would have made the victory complete. :)
DeleteDefinitely felt like Centaur being too kind and not stepping on your throat while you’re down, but I suppose scenario play does rely on somewhat less ruthlessness. No one enjoys Frodo being Black Darted to death on turn one at Weathertip haha
Delete