Good morning gamers,
This is our last post in the how-to-use-your-scenario-focused-units-in-Matched-Play series for Gondor at War - and the last of our army reviews for the year (we have something very special planned for December, but more on that next time). So far in this series, I've avoided covering Legendary Legions - even though I could have cobbled together pseudo-competitive lists for the Return of the King, the Riders of Theoden, and the Army of Gothmog quite easily. Today, that all changes - because we're going to look at a Legion that is uniformly dismissed across the community and commonly held to be one of the worst Legions ever made: yes, it's my boys - the Men of the West (you didn't REALLY think I'd talk about Gondor at War without mentioning these guys, right?)!
With this being our last post in this series, I thought it fitting to cover a Legion that shows up at the end of the films and books. The list has the models you'd expect from both the books and the films in scenario play - mostly because you're allowed to play the Black Gate mission as either one game based on the "movies" (mostly) or two games based on the books. Here are the models we have:
- Aragorn, King Elessar
- Legolas Greenleaf with armor
- Gimli, Son of Gloin
- Gandalf the White
- Eomer, Marshal of the Riddermark
- Meriadoc, Knight of the Mark
- Peregrin Took, Guard of the Citadel
- Elladan & Elrohir
- Prince Imrahil of Dol Amroth
- Captain of Dol Amroth
- Captain of Rohan with shield
- 13 Knights of Dol Amroth (12 vanilla, 1 with banner)
- 37 Warriors of Minas Tirith (12 shields, 12 spears and shields, 12 bows, 1 banner)
- 25 Warriors of Rohan (8 shields, 8 throwing spears and shields, 8 bows, 1 banner)
While I've gone in depth before on why the cost-savings that you get in this Legion can make it playable, the world still seems against these guys - and my recent experience running them against two Aragorn lists at our TMAT GT of 2022 demonstrated to me why most people think this: if you get a tough matchup or your killing heroes are divas, you'll probably lose.
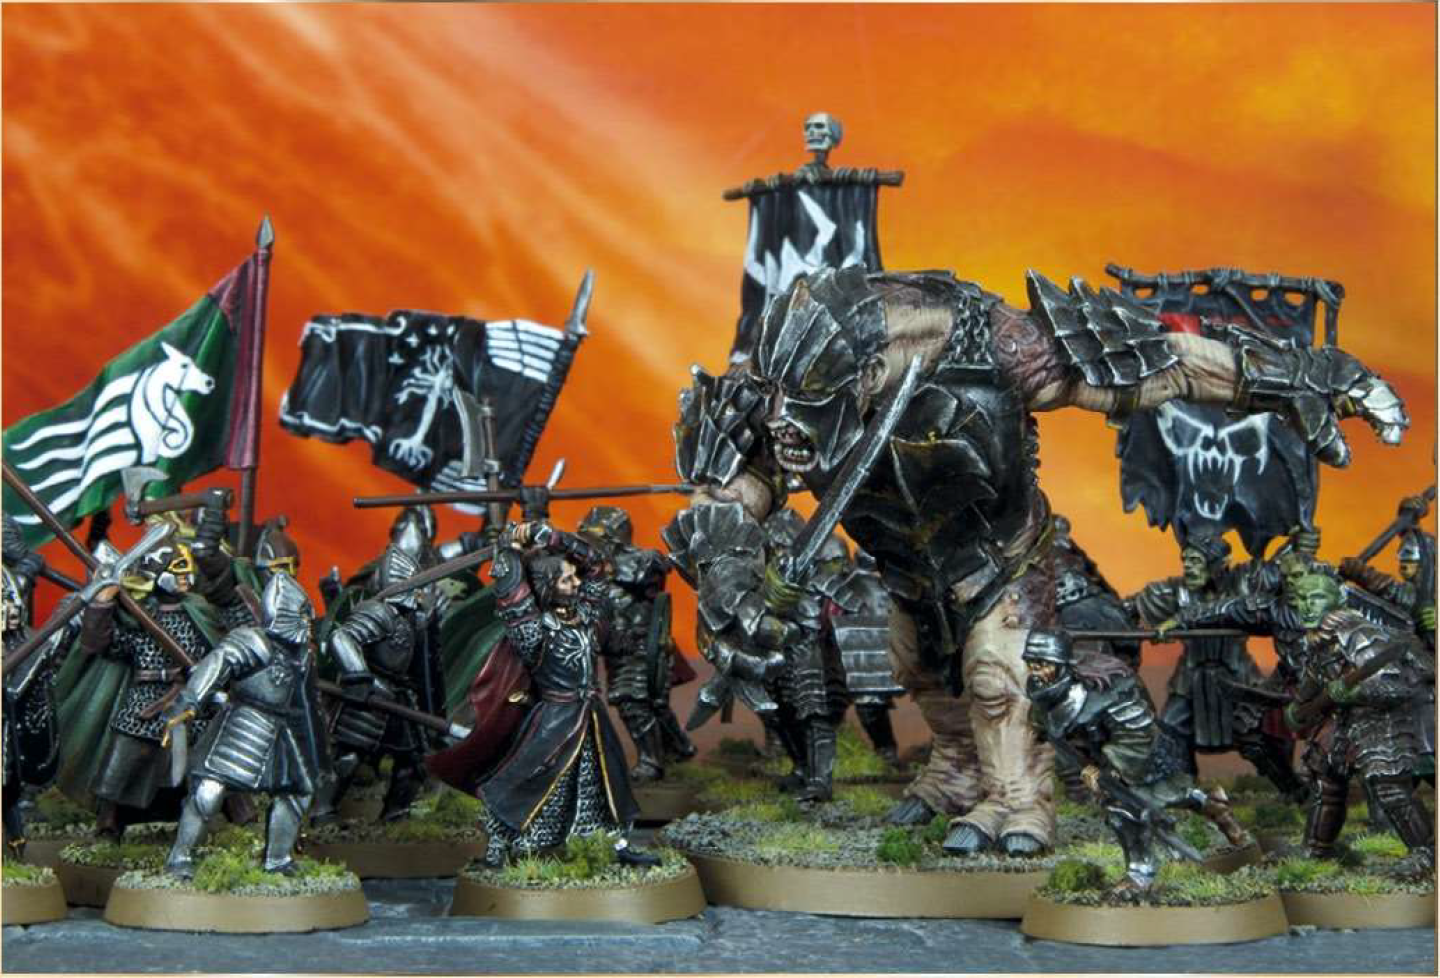 |
| Photo Credit: Gondor at War |
So, in this post, we're going to do something different: we're going to look at how to use this list at LOWER points levels (where your points are more limited, but your success rate seems to increase because the counters to your army are more limited too). Let's take a look at two 600-point lists instead of the usual 700-point lists (technically three lists - yeah, I really like these guys) to get an idea of how to bring the pain with this Legion, all while living within the constraints of the Gondor At War scenario participants!
The first list is my go-to style at 600 points (though not my exact favorite - see more on this later). It runs a collection of tough Warriors of Minas Tirith and skirmisher Warriors of Rohan led by Eomer and Aragorn:
- Aragorn, King Elessar [ARMY LEADER]
- 8 Warriors of Minas Tirith with shields
- 7 Warriors of Minas Tirith with shields and spears
- 3 Warriors of Minas Tirith with bows
- Eomer, Marshal of the Riddermark with shield
- 7 Warriors of Rohan with shields and throwing spears
- 8 Warriors of Rohan with bows
600 points, 35 models, 11 bows hitting on a 4+ AND 7 throwing spears hitting on a 4+, 17 D6+ models, no cavalry models but Mighty Hero for Heroic March, 6+ Might points
In contrast, we can drop our model count quite a bit to go with a pure Gondor army that gives us a slightly punchier supporting hero, higher Defense, and the most elite warriors this Legion has to offer:
- Aragorn, King Elessar [ARMY LEADER]
- 3 Warriors of Minas Tirith with shields
- 2 Warriors of Minas Tirith with shields and spears
- 8 Warriors of Minas Tirith with bows
- Prince Imrahil of Dol Amroth
- 6 Knights of Dol Amroth
- 7 Warriors of Minas Tirith with shields and spears
600 points, 28 models, 8 bows hitting on a 4+, 20 D6+ models, no cavalry models but Mighty Hero for Heroic March, 6+ Might points
So, what are the differences in these lists? Well, the Rohan variant is very heavily slanted towards shooting - it not only has the max bows you can get (11 - average expected value of almost 1 wound/turn if they're standing still), but it also has nearly all of the available Warriors of Rohan with throwing spears in it (7 - average expected value of ~0.76 wounds/turn if they move and shoot against a D4-5 model), which means this list can chip away at the enemy numbers decently before they arrive - and at 600 points, most enemy armies will probably be at/below your model count if you can kill 2-5 models before they can engage. Shooting lists can be very dangerous as the points level goes down because you just have to get lucky in one round to really set the enemy back.
The Fiefdoms variant has the most archers it can (8 - players who don't think this is a credible archery threat are welcome to swap them for 7-8 melee guys instead) but is heavily slanted towards melee - and does so with some F4 infantry who are likely to be F5 with a banner reroll. What can we do with this? While Imrahil's warband has 7 Warriors of Minas Tirith with spears to support the Knights of Dol Amroth and Imrahil, the Knights COULD fight on their own, relying on the banner reroll to help them win 1-on-2 fights against foes that are F4 and below OR they can shield to get an advantage in 1-on-2 fights where everyone is F5. These guys can also make an interesting blunting tool on the turn that Aragorn calls "For Frodo!" since they can be F6 if within 12" of Aragorn and 3" of Imrahil - watch those F5 heroes get mad!
Both lists have fewer spears than I'd like - though you could get more spears in the Fiefdoms list if you were willing to downgrade a Knight of Dol Amroth to a Warrior of Minas Tirith. My go-to for 600pts for the Men of the West is more like this (it can TECHNICALLY fall within the Gondor at War restrictions IF you have 10 bow-armed Warriors of Rohan as dismounts for your Riders of Rohan) - it's heavily shooting-oriented, but has a sizable heavily-armored contingent to hold ground/scrimmage with the enemy:
- Aragorn, King Elessar [ARMY LEADER]
- 7 Warriors of Minas Tirith with shields
- 11 Warriors of Minas Tirith with shields and spears
- Eomer, Marshal of the Riddermark with shield
- 5 Warriors of Rohan with shields and throwing spears
- 10 Warriors of Rohan with bows
But if you REALLY wanted to lean hard into the shooting aspect of this list, you could do something like the following, where you'd be hyper-dependent on skirmishing (26 total shots, all-but-7 models are shooting-capable), but your big heroes and what few melee Warriors of Minas Tirith would have spear-supports:
- Aragorn, King Elessar [ARMY LEADER]
- 5 Warriors of Minas Tirith with shields
- 4 Warriors of Minas Tirith with bows
- 7 Warriors of Minas Tirith with bows and spears
- Eomer, Marshal of the Riddermark with shield
- 15 Warriors of Rohan with throwing spears and shields
Okay, with all THAT out of the way, let's talk about the army theory for the two lists we've chosen to view today (because the same basic theory applies for both lists)!
Army Theory
The Men of the West gets critiqued (usually fairly) for a number of things - but most notably that it's missing elite warriors (Guards of the Fountain Court are better than Warriors of Minas Tirith, Rohan Royal Guards are better than Warriors of Rohan, Men-at-Arms of Dol Amroth are better than Knights of Dol Amroth - I agree on this last one, by the way), some of the really great heroes in this list can't lead warriors (I agree on this as well), and no one can get a mount. While I lobby for two of these to be changed regularly when the FAQ season approaches (swap Men-at-Arms of Dol Amroth for Knights of Dol Amroth; allow any hero to lead any troop but only allow Rohan warriors if you have at least one Rohan hero in your force), how do we take this Legion construction and make something good out of it (and not only good, but BETTER than if we'd just allied)?
Let's start with something simple: if we're going with just the units available in Gondor at War, this Legion IS better than allying normally. The Minas Tirith army bonus gives the Minas Tirith units in this list +1 Courage, but (effectively) Sworn Protector (Aragorn, King Elessar) is much better than that in almost every situation (and without access to Guards of the Fountain Court, Warriors of Minas Tirith might be the best warrior option we have). The Rohan models would get +1 Strength while mounted and on the charge, but they, of course, can't get mounts (and we only have access to Riders of Rohan in Gondor at War - access to 6+ Royal Guards would change things quite a bit). The rules with "*" in front of them would affect all Fiefdoms models, except that Knights of Dol Armroth, Captains of Dol Armoth, and Imrahil all naturally synchronize with each other - so there's nothing lost there either (except access to Axemen of Lossarnach and Clansmen of Lamedon - both of whom would lower our average Defense value dramatically). Instead, all of our models get Sworn Protector (Aragorn, King Elessar) and for one turn we can all get +1 Fight Value (if we're within 12" of Aragorn - which is a MASSIVE radius and not hard to do).
But what if we changed the units - would we be able to piece together a better list? We probably could - but not at this points level. If you intend to begin by giving Aragorn a mount (240pts), you have 360 points to work with - and if you get JUST Elessar and 10 Guards of the Fountain Court, you're down to 250pts left. Add in an Eomer or Imrahil (125 or 160pts respectively, with Eomer's number being slightly lower if you forego the barding on his horse and/or his throwing spears) and you've got 90-125pts(ish) to work with - that'll get you ~10 elite warriors and fewer if any of them are mounted. How does a 20ish-model army against a 28-model or 35-model army sound to you? Yes, your heroes will do more damage, but your warriors - however elite - are going to be overwhelmed. Yes, you could also take heroes other than Eomer or Imrahil to save some cash (like Theoden, Hurin, or Forlong), but you'd only be getting a few more units in your list - and I don't think they're going to be as survivable as that 3 Attack/3 Wound/3M/3W/3F hero that you're giving up.
And that's the thing about this list - no matter which way you build it, you're focusing on bringing GUYS to the fight. Warriors of Minas Tirith and Warriors of Rohan are like Orcs - they're nothing spectacular, but in large enough numbers, they can carry the day. If you don't trust to shooting (though anti-shooting shenanigans are pretty hard to fit into your list at 600pts), you could swap the bows in either list for Warriors of <pick-your-faction> with shields - fine with me. I like having options, so the bows were always going to be taken.
But what really makes this list scary is that you're paying for F3 models (or F4 models with Knights of Dol Armroth) who are going to become F4 models (or F5-6 models with Knights of Dol Amroth) for a turn - and that means for that one turn, you can go toe-to-tie with most elite armies and either hold your ground OR deal some damage early on. On the turn you use "For Frodo!", if possible, you want Aragorn and <your-second-hero> to call Heroic Combats if they can and carve through the enemy with F7 (F6 for Eomer) - against F3 troops, they can Feint without any risk of losing the FV advantage and that will enable them to reroll 1s (which is incredible with Anduril and good for a hero like Imrahil/Eomer who is probably wounding on 5s).
Okay, let's dig into the strategies for each scenario.
Gameplay Strategy
Maelstrom & Object Missions (Pools 1 & 3)
In Maelstrom, Aragorn's warband comes on second - you want to know where your other warband is before you commit Aragorn because with Mighty Hero, he can modify his roll to either not arrive (if his friend doesn't) OR to pick where he wants to come on from just as if you had Madril in your list. In Hold Ground, you want to arrive together if you're running the Fiefdoms variant, but if you're running the Rohan variant, you have an entire warband of skirmish models that don't really need to rush for the center. Yes, racing your throwing spears towards the center can be incredibly lethal, but if they arrive separate, no big deal.
The Rohan variant is more threatening in the other two scenarios since the throwing spear guys don't need to stay in "the bubble" near Aragorn - if they race off to the four winds, no one is going to care. When trying to dig up artifacts in Heirlooms of Ages Past, it doesn't matter who gets it since you're all infantry - just so long as you can circle up around that guy after he gets it. In Command the Battlefield, having a small pack of bowmen in a skirmish triangle can be absolutely annoying to drive out of the corner of a board, while Aragorn Marches the melee part of the army towards wherever the largest contingent of the enemy is.
Seize the Prize is played differently by the two lists - your shooting should all be directed towards the prize with the Rohan list, but a March from Aragorn will see your throwing spears well within range of whoever tries to dig it up after one move. Aragorn and Eomer (or Imrahil) will then be ready to pounce on the center of the board on the second round, with Aragorn read to shout "For Frodo!" as soon as battle is joined. You then don't worry too much about who picks up the Prize (either first or second - kill the enemy guy who tries to pick it up as quickly as possible) and run it full speed up the board if you can (using Aragorn to call Heroic Marches if you're in the clear).
Destroy the Supplies is a bit trickier, but because your opponent is probably going to be spread out (trying to guard three places AND try to attack yours), Aragorn becomes your beat-stick. If paired with Eomer, these two can probably punch a hole in the enemy ranks with just a few supporting models to keep them from being bogged down - and if you can clear a path to the enemy supplies, you can send a few Warriors of Minas Tirith (maybe with a hero to escort) to clear a supply area, while Aragorn presses on to the next one. Your Warriors of Rohan with throwing spears (if you have them) become gold, because they can harass any enemy squads that try to get around Aragorn's crew and sneak towards your supplies - and with the shooting that can come from the Rohan variant, you can do some serious damage to small groups that want to cut through. If running the Fiefdoms-variant, you don't have skirmishers, but you do have a second anvil you can rely on to hedge off the enemy/press towards their supplies (also very deadly).
Finally, we have Retrieval - and Aragorn (in either variant) will be starting on the center line and punching for the artifact as quickly as possible. Whether supported by Warriors of Rohan on the flanks or Imrahil's elite guard, your goal is to press forward and take the fight to the enemy quickly. Both variants have plenty of archers who can make a ring around your artifact and threaten anything short of a flying monster from getting to the artifact. If your opponent is running a flying monster, chances are good they don't have a lot else in their army at 600pts - and probably not much that will be rivaling Aragorn at their artifact. If you happen to see a Gulavhar, Fell Beast, or Gwaihir on the board, your back-up hero (Eomer or Imrahil) can be a useful speed bump for you while Aragorn moves the main contingent forward.
Control Missions (Pools 2 & 5)
This is old hat by now, but because we've got such a high-Defense front line, we want to start all three of the control missions on the center line. In Domination, Capture and Control, and Breakthrough, our archers drift to the rear objective (if we have one in Domination) or to the side objectives that have been cleared out. Aragorn wants to be in the center of the action, so starting right near the center objective is where he wants to be. Because you have a large model count (either variant, but particularly in the Rohan one), you can have 3 archers on three different objectives (or tap-and-hang-near-it in Capture and Control), which makes them pretty hard to shoot off in a single turn. Your opponent may not get a lot of time to shoot, of course, because all your melee models are going to be rushing the other objectives, forcing your opponent to abandon objectives or challenge Aragorn. Keep him alive by managing his fights and you'll see that 6" banner (perhaps paired with a 12" banner from Imrahil) carrying the day.
The get-there missions are where your army really shines though - Aragorn is a very cost-effective model at low points levels, thanks to filling in the roles of banner for your army (usually a 25pt expense), your March hero (50-100pts), and your primary beat-stick hero (100+ pts) and in the scenarios where you need sustained speed, there are few infantry armies that can compete with an Aragorn-led list. In Storm the Camp, your army races ahead, bring some archers up quickly with you to manage the mid-field and others to lag behind to catch any stragglers heading for your camp (and able to retreat to it to keep it from being taken). Your melee troops advance with a D7 shieldwall in the front to absorb whatever archery comes your way and Aragorn pressing them on with whatever supporting hero you decided to bring. Where possible, break off some melee models to race around the flanks/through a hole for the enemy camp - Rohan Warriors with throwing spears are great as skirmishers, but Knights of Dol Armoth can probably still benefit from Imrahil's banner if they race ahead (and they're usually harder to kill with ranged weapons).
Similarly, in Reconnoitre, you want Aragorn coming on with your other warband where possible so you can March up the field as a cohesive unit - but if Aragorn's warband comes on first, you can March up quickly without your other warband to challenge the middle quickly while your Rohan/Fiefdoms warband comes up later. The faster you get up the field, the harder it's going to be for your opponent to get past Aragorn to get to your side - and if you can March around the enemy, you could get some models off the board while forcing your opponent to deal with a very strong piece.
Finally, we have Divide and Conquer - getting to the middle is easy, though Aragorn's warband can get there much faster than the other warband (since they'll have to deploy separately). This isn't a problem - like Reconnoitre, Aragorn's warband can hold the ground quickly with your other units coming up in support (the Rohan skirmish warband can be lethal by cutting off enemy flanker troops, while a wall of Fiefdoms models can be a nasty prospect for any army to fight). Have fun with it, take the center as quickly as you can, and watch your opponent get frustrated with all the power he needs to deal with.
Killing Missions (Pools 4 & 6)
Warriors of Minas Tirith, Warriors of Rohan (to a lesser extent), and Knights of Dol Armoth on foot are commonly critiqued for not being able to kill things - and that's going to come into play here. Still, Warriors of Minas Tirith (and Knights of Dol Armoth if you have them) don't die easily either, so we have a decent shot in slaying scenarios of denying break points for a while if we can get some killing done with our heroes.
We begin with Contest of Champions: we have Aragorn, so getting him to crush through warriors isn't a hard ask in most cases. We can also use him to stall out a big army leader if we must (between Heroic Strike or Heroic Defense, he's pretty durable and reliable at this points level). We also have Eomer, though, so if you were to pick one of your heroes to stall the enemy army leader, I'd actually shield with Eomer or Imrahil (with the banner reroll from Aragorn, these guys get 7 dice to win the fight, which has a greater than 70% chance of getting a natural 6 as their high roll). With 3 Wounds/3 Fate and Heroic Strike from F5/6 (F6/7 on the turn that Aragorn calls For Frodo - aka, Turn 1 if Aragorn's engaged), these guys can take a punch or two without dying - and that's usually enough time for Aragorn to get an early kill lead and then sweep in to take on the diminished-stat leader. Your warriors just need to die to someone who isn't the army leader - or hold them up, or kill them (doesn't matter really).
Our strategy for To The Death and Lords of Battle very much depends on our matchup. If we're against an army that has mediocre/no shooting, we can sit back and rely on our shooting to get some early kills (especially in the Rohan variant), counting on our high Defense to keep our casualty count low (if we lose anyone at all). If we're up against someone with anti-archery bubbles or more lethal shooting than us, we want to deploy as far up as we can and March to meet them (still relying on our high Defense to mitigate losses). Get locked in, call For Frodo on a turn when Aragorn/the-supporting-hero can Combat off some troops into more troops, and get your kill counts up as quickly as possible (because you can't rely on your team lasting in a prolonged grind without the heroes contributing heavily).
When it comes to the hero killing missions, some of our decisions have been made for us. We need to kill at least 1 hero in Clash by Moonlight, which we can do if we're able to shoot the enemy OR if we can rush Aragorn/the-other-hero into the action quickly and flash-kill someone. With two 3 Wound/3 Fate heroes in our army, the enemy will be hard pressed to kill them both (and possibly even killing one of them), so we can have an early lead that way. We want to break the enemy if we can (since that's worth 3-5VPs) and keep Aragorn alive (since that will get us at least 1 VP and more if we can kill 2+ heroes on the other side). The shooting will be the big thing - but if we have the Rohan variant and our Rohan guys don't get shot out, we could have a distinct advantage.
In both Fog of War and Assassination, we'll need to keep our not-Aragorn hero alive (and that hero will be our assassin in Assassination). This isn't a problem, since Eomer/Imrahil are both good models in their own right, able to take damage without dying (and hopefully without giving up wounds), and we have a big army to deny breaking points against most foes. Aragorn is a bit of a target in Assassination (worth a few VPs if he's wounded or killed), but he can lead from the front with impunity in Fog of War (just don't let him die - the Sworn Protector buff is good).
Conclusion
I hope that you enjoyed this post - and if you've never used the Men of the West before (maybe because you heard it was garbage), I'd recommend you try it out - at least once - at a low points level. It's really fun to use, the models aren't hard to acquire, and the list itself is surprisingly competitive. And I'll stand by that no matter who says otherwise. :-)
This post closes out the Gondor-at-War series but is a nice segue into our plans for December. As usual, the Thursday post will be a formations post (first Thursday of the month and all), but in December, we're going to do something different for the Christmas holiday season - don't miss it, and as always, happy hobbying!
No comments:
Post a Comment