Good morning gamers,
Last time, I skated around the Ringwraith in the Dead Marshes, but this time, the same Ringwraith decided to take 2 Might/2 Fate in addition to his 10 Will and Fell Beast and join a band of Orcs to sack Osgiliath! Yep, I've been looking forward to this scenario for a long time and we're finally here! Let's get into it!
Osgiliath
The board is a 24"x48" setup, with 40 Orc models and a Fell Beast on one side, and my Fellowship of six models and 36 Gondorian models on the other. There are three buildings that will be used as objectives that the Orcs are going to try to wrestle away from the Gondorians:

With the units deployed, we started Turn 1!
Turn 1: Priority Good
Centaur called a Heroic March with the Western Orc Captain (1/2M) and I responded by calling a Heroic March with Madril (1/3M) - I brought most of my troops towards the eastern board edge, while the Orcs rushed to hedge out the western objective.

In the Shoot Phase, Faramir killed an Orc with his bow (1/3M) - otherwise, two Orc bowmen, two Orc two-handers, one Orc shield, and a Ranger were killed:

In the Fight Phase, I lost an OsVet in combat in the northern objective, as was one Orc:

I called a second Heroic March with Madril (2/3M). After moving everyone, I got both the Ranger and the OsVet back (full strength!). The Orcs got 1 shield, 1 two-hander, 1 Orc bow back (2 shields, 1 spear, and 1 Orc bow are permanently gone, -4 strength).

Nothing of note happened in the Shoot Phase. The Western Orc Captain called a Heroic Combat (2/2M) in the Fight Phase, won his fight, but botched his wounding roll:

The fights went as you see below. Of note, the northern Orc Captain won his fight by shielding (1/2M). Damrod and the Eastern Orc Captain escalated their fight (1/1M for Damrod, 1/2M for the Captain), the Captain won, and killed Damrod (2/2M).

Turn 3: Priority Evil
With the loss of priority, Mablung called a Heroic Move (1/1M) and Madril called a Heroic March (3/3M). The Heroic Move went as follows (with Madril and Smeagol leading the way):

The Orcs got 1 Orc spear back and lost 1 Orc shield (strength -5). The Nazgul also arrived and cast a Compel on Smeagol on a 5+ (2/10W) and forced Smeagol to charge him . . . uh oh. I got 1 Warrior of Minas Tirith with bow and 1 Ranger back (2 shields are gone; strength -3)

In the Shoot Phase, Anborn killed an Orc with his bow:

In the Fight Phase, Faramir (2/3M), the Northern Orc Captain (2/2M), and the Ringwraith (1/2M) called Heroic Combats, Faramir went first and succeeded in winning and killing the Orc he's fighting (3/3M):

The Ringwraith and Smeagol escalated (1/1M, 2/2M), the Wraith won, and Smeagol died after failing his Fate save. The Ringwraith charged into Bilbo/Maggot as you can see above, won the fight, Rended Bilbo, and got 2 wounds (2/3F, 1/2H):

I don't think the Orc Captain won his fight. The rest of the fights went as you see below:

Turn 4: Priority Good
I didn't get a global picture for this round - sorry! I charged where I could, trapping the Ringwraith with Maggot and Madril. 1 Ranger and 1 OsVet returned to the fight (but I lost 1 Warrior of Minas Tirith with spear and shield, as well as 1 Warrior of Minas Tirith with bow; strength -6). The Orcs got 2 Orc spearmen and 1 Orc bowman back (and lost 1 shield, 1 spear, and 2 two-handers; strength -9).
In the Fight Phase, Bilbo called a Heroic Combat (1/1M) and killed the Orc he was fighting:

Elsewhere, Faramir wounded the Northern Captain, but it was saved with Fate (1/1F). There was lots of pushing and shoving going on:

The important fight for this round involved the Fell Beast: the Ringwraith got snake-eyes (big red dice), suffers 1 Wound from Madril (blue dice) and 1 Wound from Maggot (small red dice), passed only 1 Fate save (yellow-pipped dice), and died:

Turn 5: Priority Good
I tied the Orcs down as well as I could and got 1 Ranger back (1 Ranger with spear and 1 Warrior of Minas Tirith with shield didn't come back; strength -8). The Orcs reacted and got 1 Orc two-hander and 1 Orc shield back (and lost 1 shield and 2 spears; strength -13):

Anborn called a Heroic Combat (1/1M), killed his Orc, and got himself and Bilbo into an Orc:

In the rest of the Fight Phase, Faramir lost and suffered a wound (1/2H) - only a few models died (one Ranger and four Orcs), but most importantly, Bilbo and Anborn lost their fight:

Turn 6: Priority Good
I pressed the attack with Anborn, Bilbo, and Maggot and got 1 Ranger with spear back (still strength -8). The orcs got 1 spear back (and lost 2 bows and 1 shield; strength -16) - the numbers are getting a bit one-sided:

In the Fight Phase, Madril lost and suffered a wound (1/2H). Otherwise, the fights were pretty even - I lost three models and the Orcs lost four models:

Turn 7: Priority Good
The summary of this round was pretty simple: no one came back for either side. As a result, I lost 1 ranger, 1 Warrior of Minas Tirith with spear and shield, and 1 Warrior of Minas Tirith with 1 bow (strength -11) and the Orcs lost 1 shield, 1 bow, 1 two-hander, and 1 bow (strength -20 - they started with 41 models, so they're basically broken):

In the Fight Phase, I decided to take a chance and Maggot called a Heroic Combat (1/1M) but lost the fight - no wounds were suffered though:

The rest of the fights were pretty one-sided in my favor - lots of Orcs died. In addition, the northern Captain lost his fight to Faramir and suffered a wound (1/2H). Without a horse and lance, this guy doesn't kill very much . . .

Turn 8: Priority Good
The recruiting was slim this round - I got 1 spear back (strength -1?), while evil got only 1 shield back (strength -2?). As you can see below, though, I got Bilbo clear of the line and only a few Orcs are near enough to do anything:

Unfortunately for me, one of those Orcs was a bowman who moved half his movement towards Bilbo. He got the 6 To Hit and then got the 6 To Wound . . . and I botched the Fate save! After a grueling fight, Bilbo was killed and the game was lost!

The combats went really well for me, even though the end result was pointless - in the area around Bilbo's dead body, I won a bunch of fights and slew a few Orcs:

The eastern objective was fully mine:

As was the northern one - and I finally killed that banner:

And after a hard-fought slug-fest, the Rangers managed to take control of the western objective too:

Postgame
Thankfully, both Bilbo and Grip got a 4 on their recover roll, so both will make a full recovery. Bilbo was in the thick of it, so I gave him bravest companion, and naturally this is the game where he decided to recover . . . 1 resource with it. :P Hey, I'm just glad he didn't get the 1 on his recovery roll! With +1 Health for the recovery (back to full) and only 1 point that could be recovered, I decided to go for the Might point instead of the Fate point and he's sitting on 1/3/0/1 - not great before fighting Shelob. Maggot recovers his Might point and is at full:

This mission took about two hours to play and Centaur and I agreed it might be the best mission we've played so far! Like Balin's Tomb and the Deeping Wall is Breached, there's more than one game being played and both players have room to display tactical genius without deviating from the very narrative story. Well done, GW team, well done . . . now for a game that didn't take long at all . . .
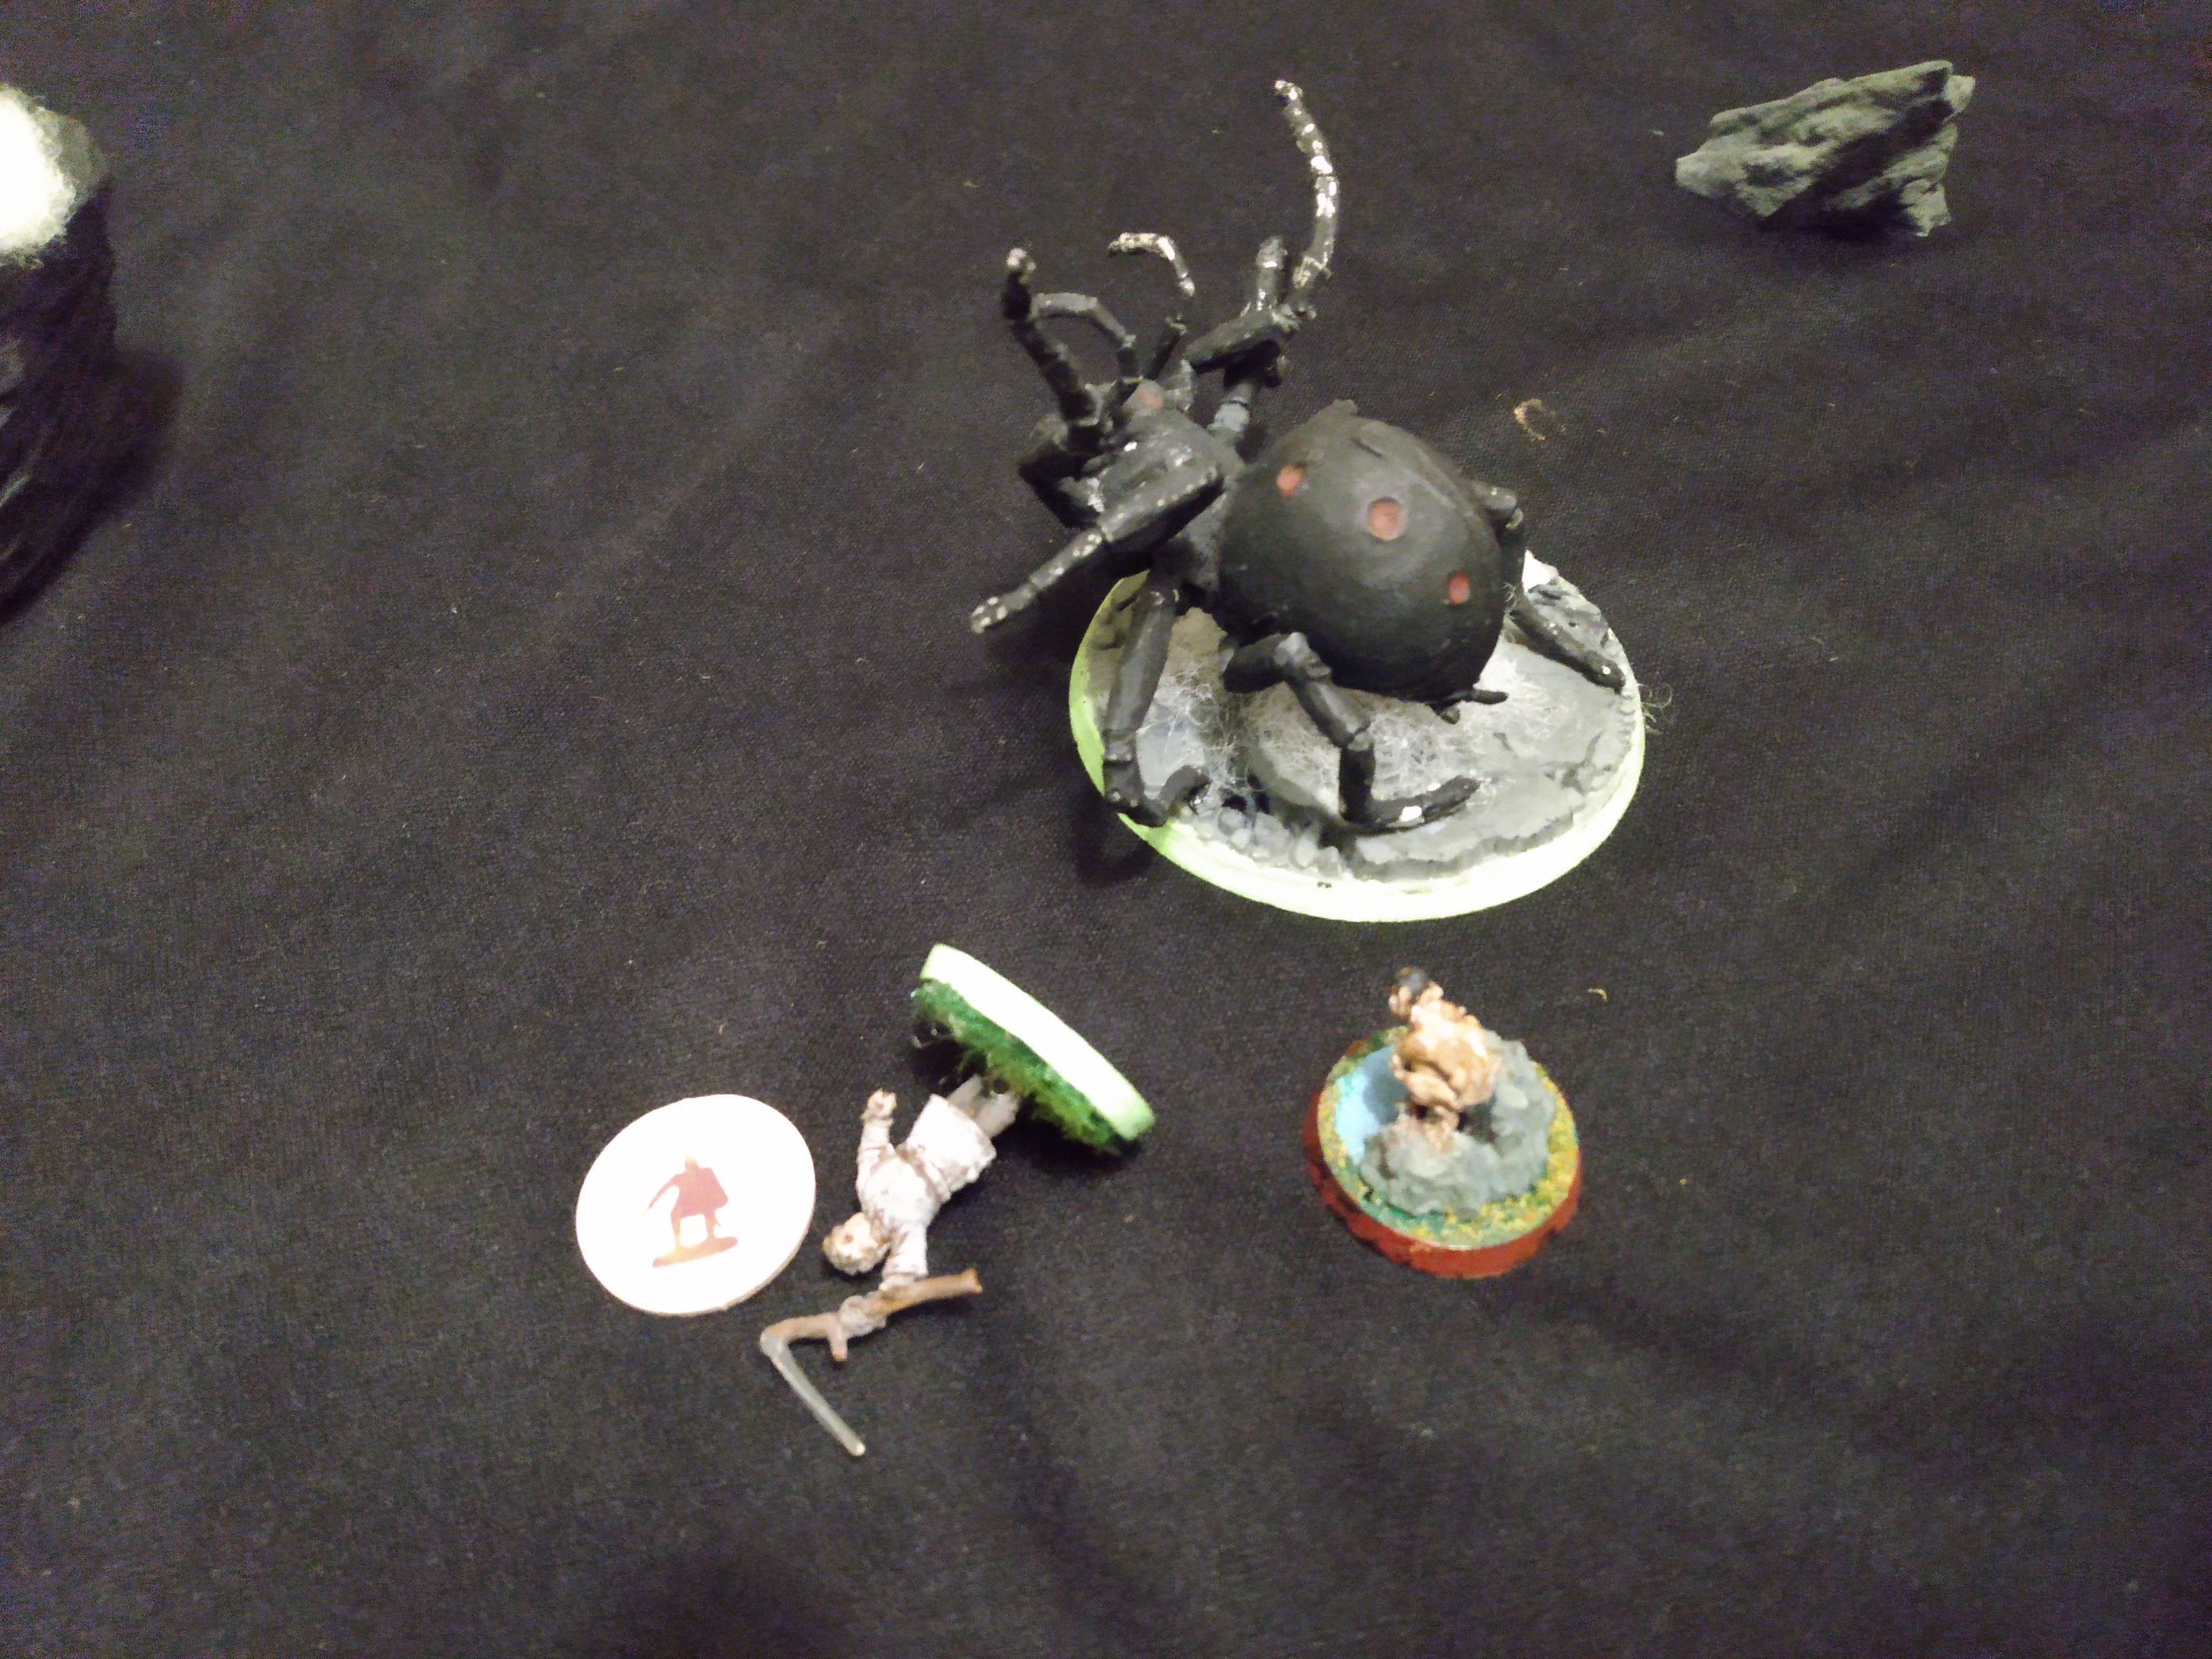
Shelob's Lair
This board is a 48"x48" board (standard size), but seemed FAR too big for the number of participants on it (four normally, seven for us because of the dogs). We had a bunch of rocks on it, but frankly, I probably should have acquired twice as many:

Turn 1: Priority Good
Well, I tried to have both Bilbo and Maggot rendezvous, but made sure that both were outside of 20" of Shelob so we couldn't be charged on Turn 2 if we didn't get priority - Smeagol skulked a little closer, while Shelob made a rush for Bilbo:

Turn 2: Priority Good
We moved again and got the dogs to flank Bilbo (shielding him from Smeagol next turn and able to support next turn if Shelob got close), but Maggot, as you can see, is still pretty far away:

Turn 3: Priority Good
I didn't want to deal with a 2-Attack Shelob, so I decided to charge her with everyone except Maggot. Wolf failed his Courage test to charge Shelob (blue dice), but with the dice advantage, we have a good chance of beating her roll if she doesn't get a 6:

But Shelob did get a 6 on the dueling roll, so our roll didn't matter - she then promptly killed Fang:

Turn 4: Priority Evil
I still didn't want a 2-Attack Shelob, so I called a Heroic Move with Bilbo - and Wolf failed yet another Courage test to charge Shelob (white dice). Smeagol then decided to pounce on the scared pup from behind - jerk that he is:

The most disappointing thing about this round was that Shelob got another 6 on her dueling roll and with nothing I could do about that, she killed Grip while Smeagol killed Wolf - it's now a two-on-two game and I'm at a huge disadvantage:

Turn 5: Priority Good
I very carefully measured that I'd be out of range of Smeagol and both Maggot and Bilbo at Shelob - time for a miracle:

Shelob didn't get the 6 this time and we won the duel. Bilbo wounded automatically with Sting and I boosted one of Maggot's rolls to deal 2 wounds to her, but her Courage 4 kept her on the field:

Only four wounds left - but now we've got Smeagol to deal with . . .
Turn 6: Priority Good
We won priority again (four-out-of-five rolls have gone my way) and I decided that if I had a 1-die vs. 1-die fight between a Mightless Bilbo and Shelob and a 2-dice vs. 2-dice fight between a Mightless Maggot and Smeagol (Smeagol still has 1 Might and I have a two-handed weapon penalty), I'd probably lose both fights and be in serious trouble. So I decided to sacrifice Bilbo (wounded on 5s, but only 1 wound left) and have Maggot have an even chance of beating Shelob. The worst case scenario is that Bilbo dies and leaves Sting on the ground for Maggot to pick up . . . which would give me two automatic wounds against Shelob if I can beat her . . . and without a two-handed penalty . . . that seems like a long-term win in my books . . . sorry Bilbo . . .

Shelob got a 1 on her dueling roll, but Maggot rolled TERRIBLY on his wounding roll (as you can see below). Bilbo lost his fight but thankfully wasn't wounded.

We're coming down to the wire - a missed opportunity to wound really hurts right now. Let's see if we can pull this one out of the bag . . .
Turn 7: Priority Good
We have priority again, so . . . let's do that again, shall we?
 |
| "This place seems awfully familiar . . ." |
I didn't get a picture of the resolution, but Shelob lost to Maggot and suffered not one but TWO wounds! She passed both Courage tests, but there are only two wounds left on her! Bilbo was . . . not as lucky and was killed by Smeagol. Remember what I said about long-term gains by Bilbo becoming a casualty? Well, I had forgotten that I'd need to win a fight against at least 3 dice with higher Fight Values . . . let's see how this goes . . .
Turn 8: Priority Good
Maggot was able to pick up Sting AND charge Shelob - which was awesome! So in I went with Smeagol right behind me.

Outdiced and out-Fight-Valued, I needed a miracle to win the fight . . . and it didn't come. Maggot lost, but only suffered 1 wound (1/2H). If I can just get the charge next turn, they should need 2-3 wounds to kill me off . . .

Turn 9: Priority Evil
Alas, I've had priority for most of the game and it finally turned against me - Maggot was now squaring off against a 2-Attack F7 Shelob and a 2-Attack F4 Smeagol . . . and I'm gonna be knocked over if I lose . . .
. . . and lose I did. Thankfully, I suffered SO many wounds, that I didn't need to burn Fate points (so I don't have to recover them after the scenario). Oh well, yet another loss for the Fellowship - but we were so close!
Postgame
Looking at the timestamps of the images, the entire scenario (with time spent taking pictures and doing record-keeping) took 22 minutes - and if Shelob hadn't gotten 6s in the first two turns, it probably would have been over in less than 10 minutes! The scenario took about as long for Centaur, who lost Maggot early and saw Frodo win three consecutive fights against Shelob and slice off her last three wounds one at a time, while Smeagol won every fight against Wolf and failed to get the required 4+ three times in a row! Yeah, this game is swingy, but it's also fun because there's a lot more Might on one side of the board . . . and much better Fight Values on the other.
I rolled for the recovery of my models and blessedly, everyone recovered (Maggot and Bilbo got full recoveries on a 4 and a 5, while the dogs didn't get 1s). Since Maggot got 1 wound back for his recovery and had only lost his Might point and his other wound, I gave Bravest Companion to Bilbo (who fought Shelob with just the dogs to help him twice), and like last time, he got a mighty 1 for his resource regeneration . . . so he's back to 1 Might/1 Wound. Since he's listed in the participants in the Cirith Ungol scenario, I'm absolutely rolling for his recovery at the end of the next scenario. Maggot got everything back, of course - because that's how he is. The Fool of a Took is easy - I'm giving it to Wolf who completely failed to get where I needed him to be (though the 6s Shelob got on the dueling roll wouldn't have made his presence felt).
Hopefully you enjoyed this update - next time, we're wrapping up Part 5 with the Cirith Ungol and Plateau of Gorgoroth scenarios (yes, we're doing the Plateau of Gorgoroth a bit out of order). Can Maggot and his dogs cut their way to Frodo? And can they navigate their way across the plains of Gorgoroth without being caught by a horde of Orcs? Find out next time, and until then, happy hobbying!
Okay, so reflecting back on this, I probably should have just given up that northern objective sooner in Osgiliath, but to be honest, I didn't want you to be able to pull everyone over near Bilbo/Maggot, so eh, maybe it was fine the way it turned out. Also, Nazgul are stupid, :P
ReplyDeleteRe: Shelob, the more I think about it, I think the strategy (assuming Smeagol and Shelob start apart) is to head toward Shelob and try to trap/put wounds on her first, as Smeagol only has 5" of movement. I went for Smeagol first as well, and then had to deal with both Shelob and Smeagol at once, and that's very hard to do with any fantasy fellowship.
But with Shelob rolling as many 6s as she did in this match, it's not particularly surprising that it ended this way I suppose.
Yeah, there's probably a strategy for having all of the Mordor reinforcements arrive on the eastern board edge to stall Bilbo and Maggot, but if you do, the Gondorians will swing everything and slow-roll Bilbo there until the reinforcements are out for the Orcs. I do like that there isn't one way to play the Orcs though - one of the best scenarios we've had so far. :)
DeleteThe Shelob mission is really swingy - focusing on her instead of Smeagol is probably a good idea. :)