As one of TMAT's resident chart/table-guys, I figured it might be helpful to have a brief description of how to read the various charts and tables that I use. Below is a reference guide with some sample charts (and tables) that I've used in our series on the Armies of Middle Earth, what they're meant to convey, and how to read them.
I'll try to keep this updated as we progress, so all this information is accessible in one place. If you have any questions about any of these, or if there are charts or tables you'd like to see, please let us know in the comments!
Thursday, June 13, 2019

Tuesday, June 11, 2019
It Has Come To Me - The One Ring: Thoughts on the Ring (and how it's changed)
Hey there readers,
I know I said that my next post would be on Minas Tirith - and I've almost got that one ready - but during the intervening time, I decided to do a little research on something I've been thinking about for a while...
A LONG time ago, I did a series of games where I played all six scenarios from the warbands sourcebooks with the Fellowship. Those were good times. During that time, I got to spend a lot of time playing around with the first Forces of Good team I ever owned (not hard, since they were in the starter set at the time): the Fellowship of the Ring. Within that force, I very quickly came to enjoy playing with Aragorn (AWESOME), Legolas (AWESOME), Gimli (AWESOME), and Boromir (AWESOME). Occasionally, I'd have the points for Gandalf, but we played at the 500-pt level back then and let's just say that with these four guys in your team, you're hard-pressed to get Gandalf in there too (even at 600-pts it's a bit of a stretch).
But during those games, the one model I enjoyed using (though I didn't think he was worth his points all the time) was Frodo. Yes, he had the Ring, but other than that, he was very expensive and wasn't good in melee.
But he had the Ring. And this made him awesome (for reasons we'll see a little later).
Fast-forward a few years and now we've got new rules. If you read through the rulebook as quickly as I did, there were a few things you skipped because there was no way they would change. And if you were like me, you probably assumed that the full-page rules for the One Ring didn't have any major changes either. Well, I was wrong. And THAT's what we're going to be talking about today - what the Ring used to be and what it is now. While some things haven't changed much, how you use the Ringbearer has changed dramatically.
I know I said that my next post would be on Minas Tirith - and I've almost got that one ready - but during the intervening time, I decided to do a little research on something I've been thinking about for a while...
A LONG time ago, I did a series of games where I played all six scenarios from the warbands sourcebooks with the Fellowship. Those were good times. During that time, I got to spend a lot of time playing around with the first Forces of Good team I ever owned (not hard, since they were in the starter set at the time): the Fellowship of the Ring. Within that force, I very quickly came to enjoy playing with Aragorn (AWESOME), Legolas (AWESOME), Gimli (AWESOME), and Boromir (AWESOME). Occasionally, I'd have the points for Gandalf, but we played at the 500-pt level back then and let's just say that with these four guys in your team, you're hard-pressed to get Gandalf in there too (even at 600-pts it's a bit of a stretch).
But during those games, the one model I enjoyed using (though I didn't think he was worth his points all the time) was Frodo. Yes, he had the Ring, but other than that, he was very expensive and wasn't good in melee.
But he had the Ring. And this made him awesome (for reasons we'll see a little later).
Fast-forward a few years and now we've got new rules. If you read through the rulebook as quickly as I did, there were a few things you skipped because there was no way they would change. And if you were like me, you probably assumed that the full-page rules for the One Ring didn't have any major changes either. Well, I was wrong. And THAT's what we're going to be talking about today - what the Ring used to be and what it is now. While some things haven't changed much, how you use the Ringbearer has changed dramatically.
Thursday, June 6, 2019
Armies of Middle Earth SBG: Standard Infantry Formations
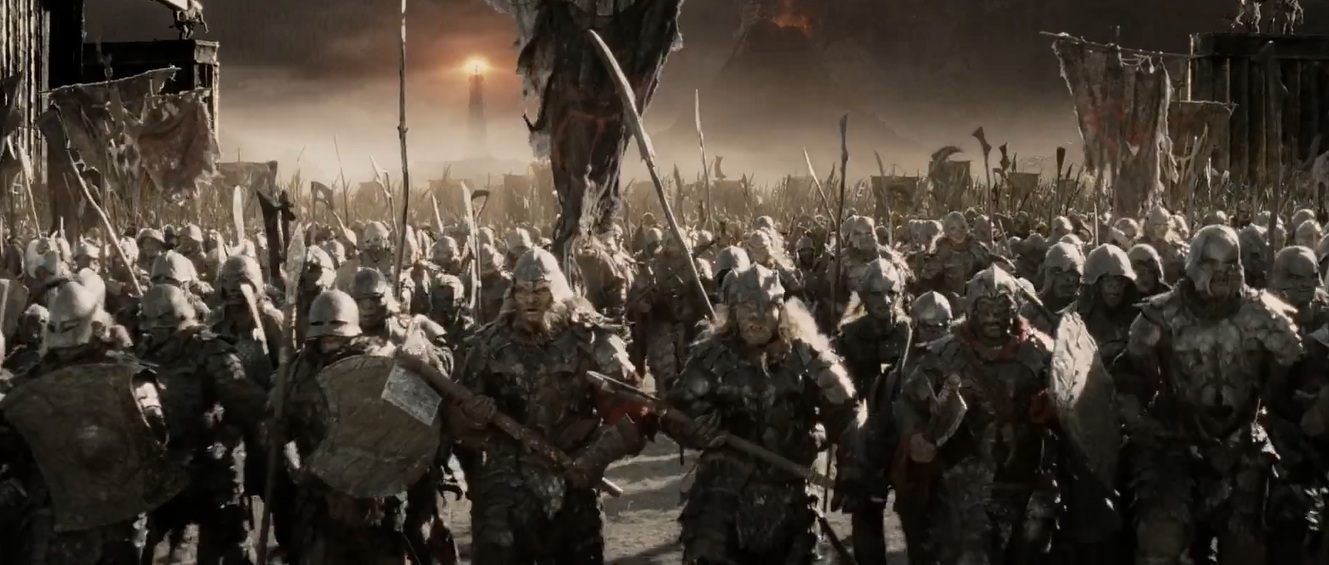
In the run-up to TMAT's grand tournament, I ended up doing an inordinate amount of number crunching using Jeremy Hunthor's excellent duel and wound spreadsheets, which I've mentioned before. There's nothing special about what I've done (it just involves plugging lots and lots of numbers into the calculator, and then copying the results and recording them), but since I've already run a lot of calculations I thought I'd share some of the observations that I found particularly interesting, beginning with the strengths, weaknesses, and baseline probabilities behind five common infantry formations you'll see in the Middle Earth Strategy Battle Game.
Understanding how these formations work generally, and the probabilities behind them, can help us better understand why some formations work (or don't) against others, and help us to recognize strengths (and weaknesses) in our opponent's formations, so we can avoid (or exploit) them accordingly. They also give us a baseline for figuring out if a particular faction's take on one of these standard formations (say, a shield-spear shieldwall formation) is above average (Iron Hills dwarves) or below average (orc warriors backing up orc warriors) when it comes to their killing power and resilience.
Understanding how these formations work generally, and the probabilities behind them, can help us better understand why some formations work (or don't) against others, and help us to recognize strengths (and weaknesses) in our opponent's formations, so we can avoid (or exploit) them accordingly. They also give us a baseline for figuring out if a particular faction's take on one of these standard formations (say, a shield-spear shieldwall formation) is above average (Iron Hills dwarves) or below average (orc warriors backing up orc warriors) when it comes to their killing power and resilience.
(As always, maths ahead...)
Monday, June 3, 2019
Is Heroic Strike Good? (Part IV: The Probabilities (Plural) of Heroic Strike)

We come
to it at last...
After a lengthy build-up breaking
down all the components of a successful duel role, we're finally read to talk
about Heroic Strike itself. When does it make sense? And when is it *gasp* a
waste?
There's actually a lot to unpack
here (far more than I thought there'd be when I originally started writing on
it). We'll start by looking at the overall mechanics of Heroic Strike, mostly
to understand exactly what benefits (and risks) it carries with it. It's that
balancing of benefit and risk that makes it game-winning or worthless (and a
lot in-between).
Because Blogger doesn't like long write-ups, this one is split into two parts. This section (part IV) goes over the three basic probability mechanics in Heroic Strike (the D6 roll to increase Fight Value, the "10" cap on Fight Value, and expected distributions of probable outcomes as dice scale upwards). Part V (which you can read here) applies those principles to a case study between two combatants (Faramir vs. Eomer), and also discusses an alternative use of Might ("boosting") and how that might--or might not--make Heroic Strike more attractive (sorry--those "might" puns were purely unintentional).
(Potential math overload ahead)
Is Heroic Strike Good? (Part V: A Case Study in Miniature)
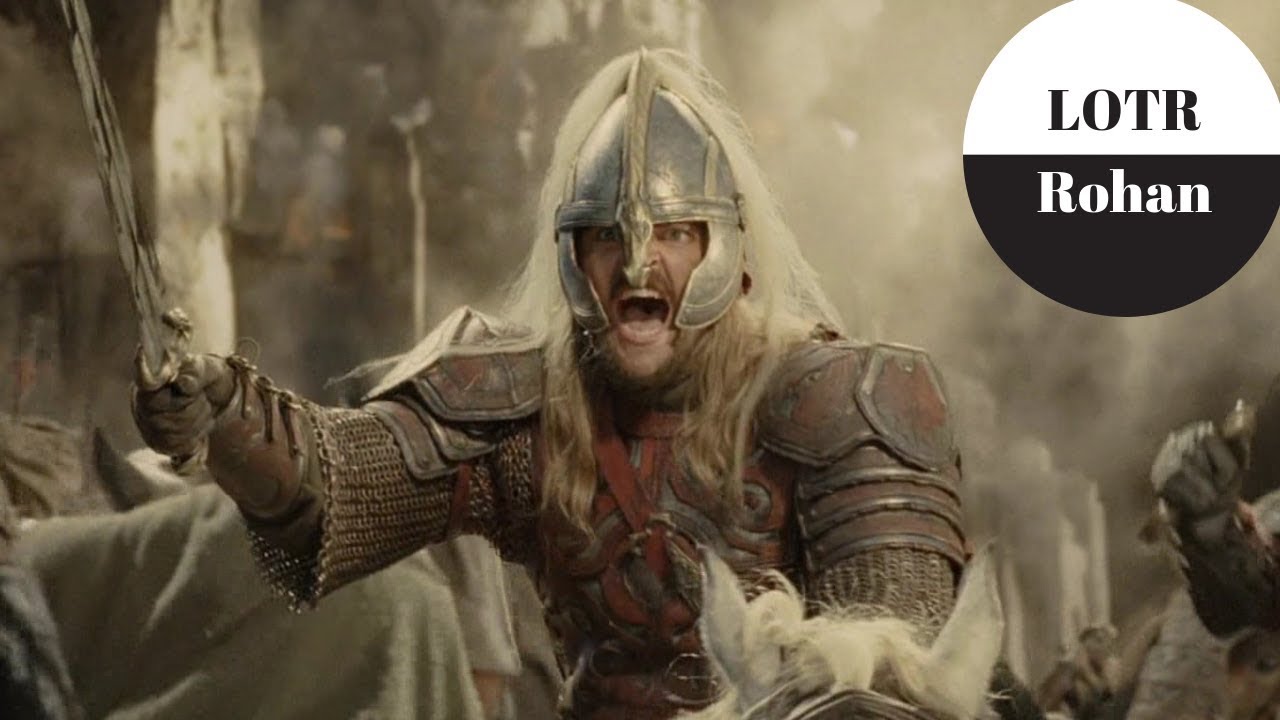
Photo Credit: Dork Lords
This is the second-part of our mathematical write-up on Heroic Strike itself (cut for length because Blogger didn't like the full feature in a single post--boo!). If you missed the first part, you can find it here. To summarize, we looked at the basic components of Heroic Strike. Here are the high points:
- Heroic Strike, like fight value boosts in general, only improve our odds to win drawn combats, and only drawn combats;
- The Strike itself has a lot of variance, since it hinges on a single, unmodifiable D6;
- That variance can be reduced somewhat by the overall Fight Value cap of "10," and can also be reduced by having higher Fight Value to start with; and
- Even though Heroic Strike only impacts the six drawn combat outcomes (of thirty-six total combat outcomes), those scenarios are among the most probable outcomes once we start rolling two or more duel dice, and only become more probable the more dice we add to the duel rolls.
(Maths ahead, as the rubber hits the road.)
Subscribe to:
Posts (Atom)