Featured Post

The New Age Is Begun: the Survivors of Lake-town Army List

Good morning gamers, We're kicking off the last month of the year for digging through the army lists in the game and we'll be buildi...

Thursday, October 28, 2021

Dueling Calculator: Dealing X Wounds

Good morning gamers,

Today we're back in the calculator and talking about wounding things. Last time, we talked about how you can calculate the "average expected" number of wounds to a target and today we're looking at the other commonly-asked question: "How likely am I to deal X wounds?" Get your spreadsheets ready (or your coffee if you're just looking for rules of thumb) and let's dig in!

Wounding Rolls: Setting Reasonable Expectations

In this post, we are going to limit our discussion to figuring out how likely a model is to deal 1-6 wounds to an enemy model - we could go as high as 10 (the Balrog and Mumaks) or 20 (Smaug), but most models are killed after suffering 6 wounds AND very few models can deal more than 6 wounds on their own. You CAN apply these principles to doing more than 6 if you want to, but I feel like that's out of scope for this article.

Finding your likelihood of getting X somethings when rolling Y dice can be solved mathematically with a "binomial distribution," which is fancy talk for "finding all the distinct values you can roll for two variables (in this case the number of dice and the probability of wounding) and counting all the things that match." Yes, there's a more technical definition, but that's what it does. :) We're going to be using Microsoft Excel for this exercise, but if you want to understand the math behind the formula we're using, check out this YouTube video (and you can also check out this YouTube video if you build Google Spreadsheets).

To find our probability of getting X successes out of Y dice, we need the following four inputs:
  • The number of dice we're rolling (we'll call these "trials");
  • The probability of wounding our opponent (we'll call this "p_wound");
  • The minimum number of successes we're looking for (we'll call this "floor"); and
  • The maximum number of successes we're looking for (we'll call this "ceiling" - though in this case, the ceiling is going to be the same as our "trials" number, since we aren't looking for "exactly 3-5 wounds" in this particular math example).

Monday, October 25, 2021

The Bare Necessities, Part XLV: The Wildmen of Druadan

Good morning gamers,

We're on the second to last army to review in this series and today we're talking about a faction that most players don't even consider playing: the Wildmen of Druadan. This army, (which began as its own faction, then became part of the Wanderers in the Wild during the "Warband era", and are now their own faction again) has seen very little change in the profiles since their original release. Due to having average stats (except for below-average Defense), there doesn't seem to be much reason to try running these guys - and with only one historical ally and a 16-model limit if you ally conveniently, there are limited options for even using the army. But as is often the case, the army everyone thinks is garbage can have surprises for you on the tabletop - let's dig in. :)

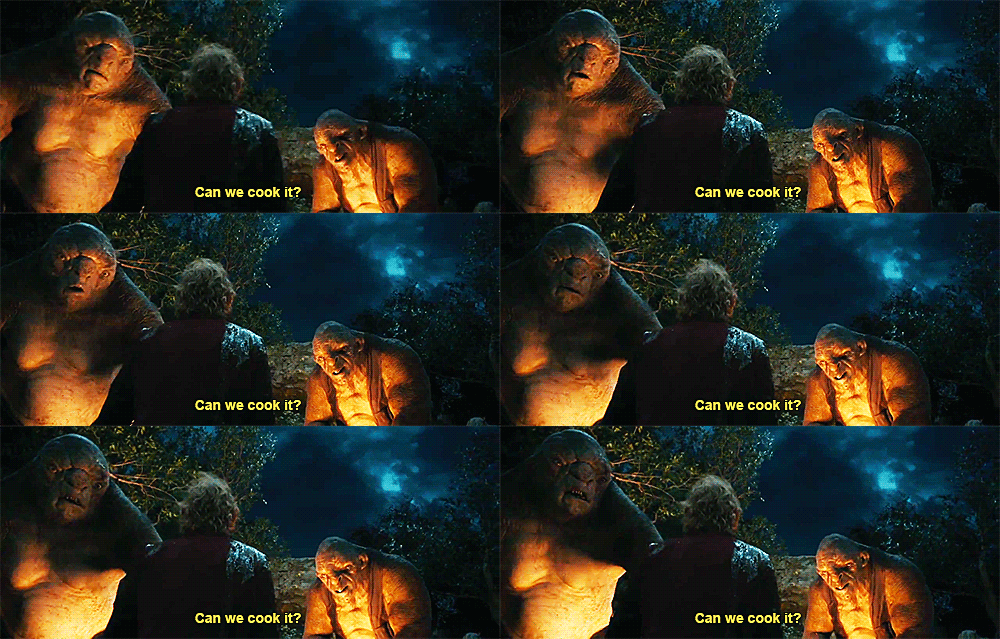
If you're not in the movies, you don't get a GIF . . . unsurprisingly . . .

The Wildmen of Druadan: The Art of the Keep-Away Horde
I don't play Druadan - though I do like their Legendary Legion. Because I don't play them (I like my Wood Elves and think they're a better list), I decided I needed to reach out to an expert on how to think about the faction and get some tips on how to run them. I asked veteran player and American legend Tim Hixon to give me some feedback on a host of questions and boy did he pile on the feedback! Here is some of the information he passed on to me:

Tiberius: At first glance, Druadan has warriors that are both expensive (9 points/model), but with spears on every model and Stalk Unseen, it would appear that you'd want to use terrain to your advantage when engaging with the enemy?

Tim: Numbers are also a crucial thing to consider and since you pay for one hero to field this force it is very cheap in comparison to other forces. So despite their higher per model cost you are not paying the hero tax in a Green alliance.

Never take on a numerically larger force. You will need to trap opposing models in order to maximize your damage output. To that end, you want local superiority to overwhelm an opponent. Also remember to use those blowpipes at every opportunity. The entire force is range capable and have poisoned ammunition.

Thursday, October 21, 2021

Dueling Calculator: Average Expected Wounds

Good morning gamers,

A while back we did two posts on how to build a spreadsheet that calculated your probability of winning fights. Both posts focused solely on the dueling roll and how to compute your likelihood of winning a duel based on the number of dice being rolled, the Fight Values of each side, and common modifiers (dueling penalties, use of Might to boost your highest roll, etc.).

For the most part, that tool works well - if only one model is participating on each side of the fight. Once you get more than one friendly model in the fight, you get some really complicated interactions - here are a few of them:

  • What happens if some models are using two-handed weapons (-1 to their dueling rolls) and some are using one-handed weapons (no penalty to their dueling roll)?
  • What happens if some models have Might that they can use to boost their roll and others don't have Might?
  • What about models (like Balin, Lord of Moria) who might be able to reroll both of their dice (but not other dice)?

None of these critiques are in any way saying that the calculator that we built is bad - it's actually quite good (and I think quite elegant for what it was trying to do - but I'm biased). But the calculator isn't robust enough to handle complicated actions - and ALL wounding roll calculations are complicated. So, before we can think about handling the wounding problem, we need to make a few changes to the dueling calculator - changes that will help us answer questions about wounding more easily. We're still going to keep our calculator limited to one model on each side - we'll tackle multiple friendly models some other time.

Wounding Rolls: What Question Are We Trying To Answer?

When it comes to determining who wins a fight, the only question we're really trying to answer is this:

How likely am I to win the roll?

There may be knobs that need to be turned and tweaked (Is Feinting a good idea? Is Striking a good idea? Should I shield? Should I two-hand?) but by an large, these are all pursuing the same question - what am I gaining or giving up in order to win the dueling roll (and do the penalties I'm suffering or the advantages I'm gaining really matter).

When it comes to wounding, there are actually two questions we might be trying to answer:

How many wounds should I reasonably expect to get?
How likely am I to deal X wounds?

These are, in fact, two VERY different questions and which one you're trying to answer determines what we need to compute. The first question is much simpler, so we're going to answer that one today.

Monday, October 18, 2021

The Bare Necessities, Part XLIV: The Trolls

Good morning gamers,

I have fought the Three Trolls a LOT over the past few years. If you've never faced two or three of them, you will not understand at all. Sure, maybe you've faced a lot of monsters in the past, but these guys are different. VERY different. While you might be able to call a Heroic Defense against most monsters to keep their high-Strength benefits from coming into play, these guys have tricks up their sleeves that will leave your best heroes crying. Today, we're looking at how to use these amazing and iconic heroes in evil armies - let's dig in!


The Trolls: Who Needs Some Muscle?
I've written about the Three Trolls before and I've talked about them in the Monster podcast we did a long time ago. I happen to think that Bill the Troll and Tom the Troll are some of the best monsters in the game and they are incredibly dangerous to forces that need to rely on big heroes smashing things (instead of shooting or magic). Tom has a great mix of options for dealing with warrior spams (with his Stomp 'Em Into Jelly Brutal Power Attack) and heroes (with his Lingering Cold ability and the rest of his hero arsenal) - and if a spell-caster happens to show up to the fight, he can forego turns of using his Lingering Cold rule in order to resist magic (3 Will for the win). Tom is pretty great.

Bill is a REALLY good hero when it comes to dealing with big heroes, as he can Strike from F7 and can use his Mince 'Em Fine Brutal Power Attack to deal wounds (not hits - WOUNDS) to his opponent based on the Strength of the target (Bill's S7 + D6 vs. the target's Strength + a D6 from them). Most of the time, you'll be up by 3 Strength (S7 vs. S4), which means if you can just match the enemy D6 roll, you can outright kill most heroes in the game (and woe betides bigger heroes if they get a bad D6 roll). Bill is pretty great.

Bert is the "other one" - slightly more expensive than Tom and gifted with a highly situational Brutal Power Attack (Roast 'Em Slowly - sets someone ablaze if you can chuck them into a fire nearby). With the profile of a Mordor Troll and 2M/1W/1F and access to Heroic Defense, Bert has less tactical options but has a solid profile and is very difficult to take down. While his Brutal Power Attack options aren't as neat as his comrades, all three have access to the Save 'Em For Later Brutal Power Attack, which allows you to Paralyze one model you're fighting - great for dealing with that pesky hero who called Heroic Defense and is going to be hard to clear (though not as good as Mince 'Em Fine, which is probably the best Heroic Defense bypass in the game). In his own way, Bert is pretty good too.

All three Trolls come in at 400 points (plus 15 points for the Campfire if you don't run a pure Trolls list) - which is a lot to spend on three models that can't lead troops, but is on-par with what other factions pay for 3 monsters (and most of those factions are buying warrior monsters who don't have Might/Will/Fate). If you pair these guys with some moderately-costed heroes (50-75pts - though one will have to be a Hero of Valor), you can get 2-3 heroes and a slew of warriors to join them in most games that are 600+ points. Not bad, really. Some armies can do this easily, but we'll be looking at a list that is inspired by something Rythbyrt ran against Centaur recently (not that he needs any more ideas).

Thursday, October 14, 2021

Quest of the Ringbearer: Model Collection Update, Part II

Good morning gamers,

We're back with another update on my collection of models for the Quest of the Ringbearer missions. Last time we focused on Part I (up to Rivendell) and today we're revisiting Part I and covering Part II (through Moria).

Part I: The Shire to Rivendell

Since the last update, I got the last of the required figures for Part I, so here they are! First up, we have a model I've been dying to find for ages - Gildor Inglorion! He gets a bad wrap from most of the community, but is pretty good with Tom Bombadil (he's the kind of model who wants more than 1 Might point and can use the Will/Fate/Wound boost too) and gets you access to cheap, fast skirmishers.

8" move with 2-4 Immobilizes a game . . . Pretty good deal.

Next we have two more Barrow-Wights (four total), but I decided that I needed to be able to tell the wights apart better, so I painted the new guys in a similar style to my old ones and then decided to play around with object source lighting with glowing blades:

The red guy turned out really well . . .

Next up, we have three characters from Bree - Barliman Butterbur, Harry Goatleaf, and Bill the Pony (who is used in Part II). Barliman was another experiment in wet blending to get some wear and texture to his hair and clothing (especially his apron). I love the details on this model and want to try him out sometime:

I think I can empathize with Butterbur more than any other character in the story . . .