Good morning gamers,

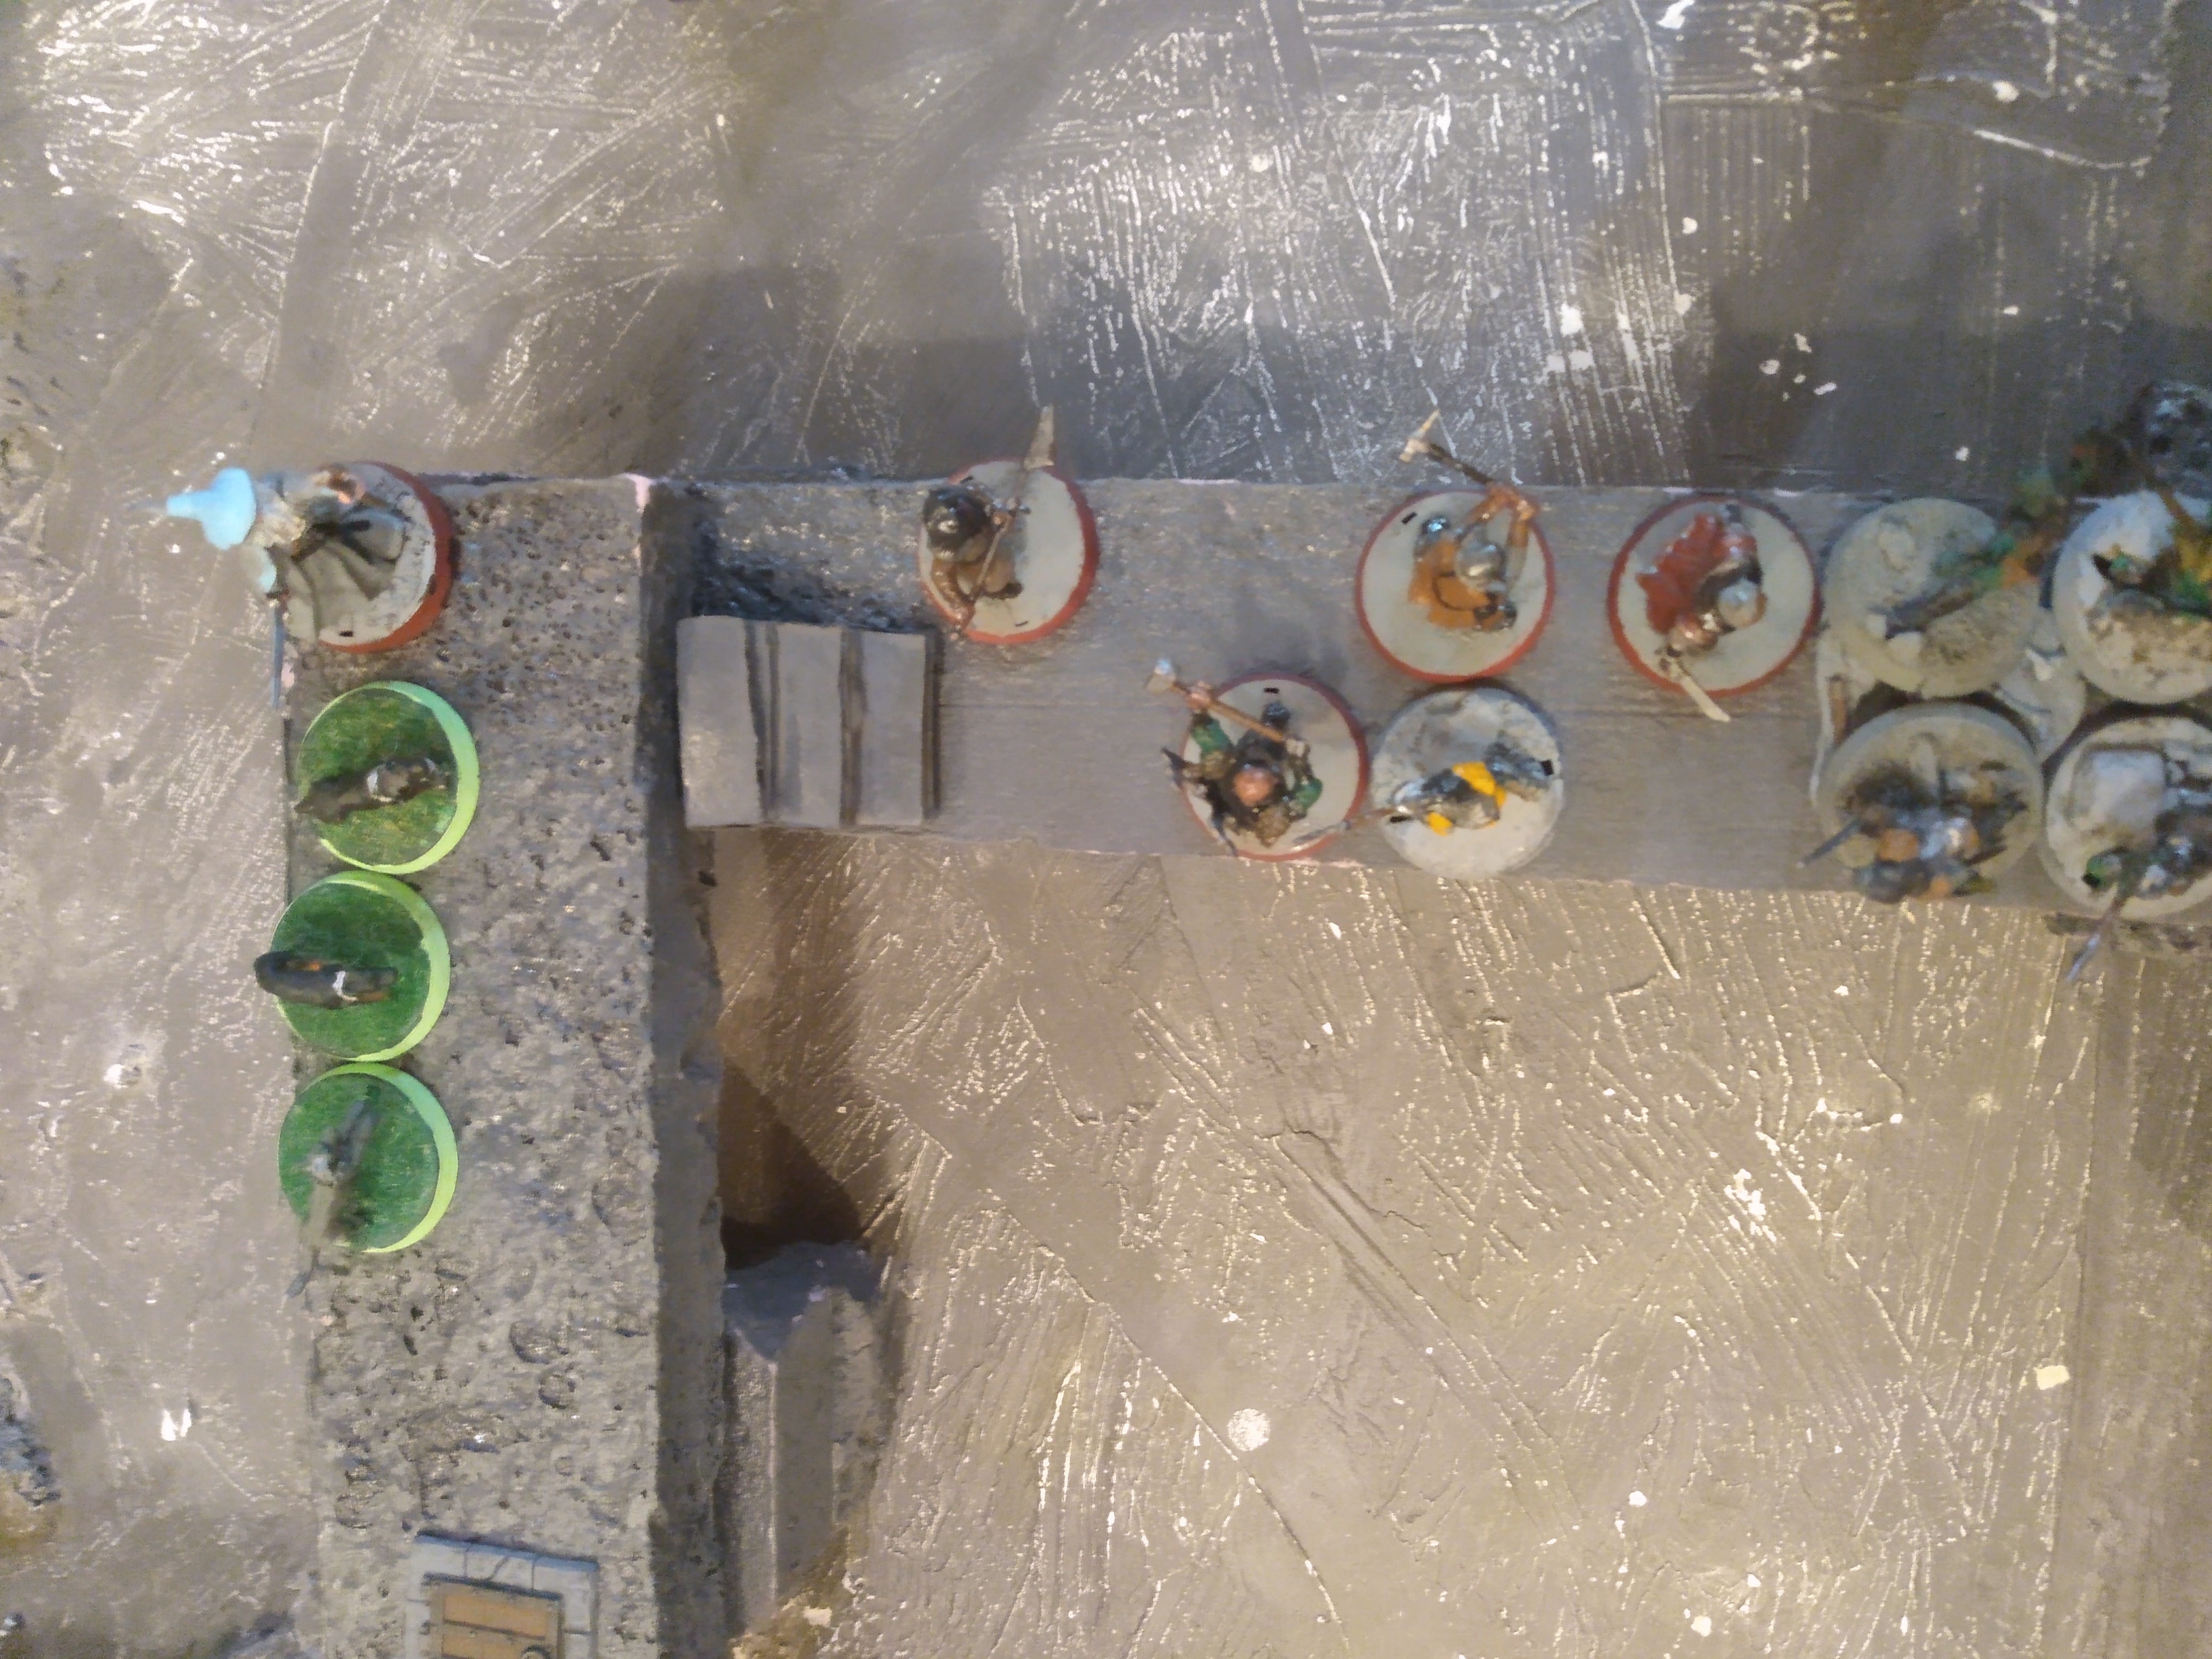
We're back - my poor broken Fellowship fled Balin's Tomb and is running down some questionable stairs. We're starting pretty battered as you can see:
With a need for five members (including Old Bilbo) to get through the gap at the end, we'll see how quickly our short legs will carry us - let's get into it!
Mission #3: The Dwarrowdelf

We deployed within 6" of the western board edge, putting Dwalin and Dori in front while Gloin and Nori (both of whom were hurting from the last mission) held the rear. Bifur (free Heroic Moves) and Bofur (lots of Might) backed up the leaders, with Gandalf and the Hobbits scrunched in the center with the dogs. We advanced quickly:
 |
| Turn 1: only one Goblin shows up . . . great start . . . |
I'm going to summarize turns 2-3 very simply - I got priority on the first three rounds, I got off one Strengthen Will on Gandalf (4 Will), I walked down the stairs, and a few Goblins showed up to challenge us (1 warrior, then 2 warriors, then a Captain and a warrior):
 |
| Turn 2 - some more Goblins show up . . . |
 |
| Turn 3 - a Captain and another Goblin shows up . . . |
Turn 4 saw a big change happen: Evil got priority, I got another Strengthen Will up (5 Will), and I moved my models further down the stairs. Oh, and a Goblin archer AND a Cave Troll appeared behind us . . . uh oh . . .
 |
| Turn 4 - Chuckles has entered the game . . . |
As Turn 5 came around, I made my first big mistake of the game: I forgot that part in the scenario rules that requires Bilbo to be one of the five models to get off the board, and decided to keep him back with Gloin and Nori to deal with the Cave Troll. The rest of my models are just pressing on. I got off a third Strengthen Will (6 Will on Gandalf) and Bilbo put the Ring on (in prep for next turn if Chuckles comes closer):
 |
| Turn 5 - we've made it to the fourth stair segment! |
Turn 6 sees Evil getting priority again and the Cave Troll charging forward, only to be counter-charged by Gloin and Bilbo. If he stayed back, I would have just retreated, so it was now-or-never for Chuckles the Troll. Gandalf got off another Strengthen Will on himself (7 Will!) and the rest of my army approaches the enemy - we're going to be locked in combat soon!
 |
| Turn 6 - we're making good progress down the stairs . . . you know, except for the one guy who needs to get off the board . . . |
In the Fight phase, Gloin didn't need to Strike thanks to the Ringbearer present, so with Bilbo getting a 6 on the dueling roll AND boosting his wounding roll (Bilbo's out of Might), the Troll was dispatched pretty easily!
 |
| Poor Chuckles - he's been killed on the stairs five times now in our Fantasy Fellowship campaign (once by me, twice each by Centaur and Gorgoroth - but this is the first time he's been killed by someone other than Aragorn!) . . . |
We got priority on Turn 7 and Gandalf cast a Sorcerous Blast (cast on his free Will point + 2 Will, 5 Will remaining) against the Goblin Captain, knocking him at an angle into the guy next to him and the guy behind him - no one died, though:

The rest of the moves were pretty predictable - the Captain and his friends stood up, holding their position while being reinforced from behind. Gloin, Nori, and Bilbo (who tested to take off the Ring so he wouldn't be walking backwards against my will) beat a hasty retreat as more Goblins form up to fire at them from behind. In the Shoot Phase, Maggot took an arrow in the leg (1/2H).
 |
| Turn 7 - retreating at the top and charging on the bottom . . . |
During the Fight Phase, Dori called a Heroic Combat (1/2M) and he managed to kill his foe and charge the spearman behind Dwalin.

In the rest of the Fight phase, Dwalin boosted a dueling roll and killed the trapped Goblin Captain he was fighting (Dwalin's out of Might), but Dori decided to botch his dueling roll and lost his fight. How annoying . . .

On Turn 8, Evil got priority, so Bifur called a free Heroic Move to send our guys forward into the action. Bofur and Dwalin charged the left-over spearman, while Dori charged into a warrior in the next rank. Gandalf cast Strengthen Will on himself (back up to 6 Will). Wouldn't it be great if we could get a Heroic Combat off in the Fight phase . . .
The rest of the Move phase looked like this - Bilbo is being escorted to the exit with Gloin and Nori guarding him from archery and a rogue Goblin from the rear:
 |
| Turn 8 - We're off of the second stair section and fighting through the fifth - we can do this guys! |
Maggot also moved closer to the rest of the group, which wasn't captured in the last picture. During the Fight phase, Bofur called a Heroic Combat (1/2M) but thanks to both he AND Dwalin getting utter TRASH on their dueling roll, the spearman won, lived, and (blessedly) none of my guys were hurt. This did mean that Dori was up against pretty rough odds and ended up losing and taking a wound (1/2H, though he escalated the duel with his second Might point, so he's out of Might too).

Turn 9 saw us . . . basically charge in exactly where we were on the last turn (with Bifur calling a Heroic Move thanks to losing priority), but Bilbo is at the end of the third lock of the stairs. Gandalf got Strengthen Will off again (7 Will again!). More Goblins have appeared in the rear, along with some support in the front . . . we have a lot of Goblins to chew through now! In the Shoot Phase, Gloin took a wound from an arrow (1/2H).
 |
| Turn 9 - boy do I miss the old Sorcerous Blast spell in moments like these . . . |
In the Fight Phase, Bofur blew another Might point to call a Heroic Combat (now he's out of Might) and this time it goes off and Dwalin sails in to save Dori, while Bofur just moves to the side.

In the rest of the Fight Phase, Dwalin killed his man while Dori won his fight and dealt only 1 Wound to the Captain, who saved it with his Fate point. Ironically enough, he also stabbed that round, got a 6 on the stab roll, and took a Wound - HA!

On Turn 10, we got a tied priority roll . . . which means Centaur got to place a chasm marker. Being a jerk (which is a term of endearment from me), he pulled a maneuver that I pulled against him when HIS Fellowship was playing this mission and placed it right where his guys were trying to walk . . . perfect.
 |
| Let's hope the dogs don't get 1s on their Jump tests, yeah? Oh, and do you recall that Bilbo is out of Might? |
The rest of the Move phase went as you'd expect - I jumped over with Bifur (got a 6!) and he moved in to support Dori, who had charged into the frey with Dwalin. Gandalf made it across but just barely, while Maggot and his dogs moved up to the edge of the chasm. Bilbo and his Dwarves continue to move up, with the Dwarves shifting to protect him from the archers at the exit. Alas, this didn't stop Bilbo from getting hit by an arrow from the OTHER side (1/2H - saving my Fate points to reduce the resources I need to get back):
 |
| Turn 10 - we're making it, but there are a lot of bodies in front of us . . . |
The Fight phase . . . didn't go well. Dwalin lost his fight and took a Wound (1/2H), and Dori lost his fight and ALSO took a wound - and one failed Fate point later and we'd lost our first Companion:
 |
| Didn't see that coming, did you? Neither did I . . . |
On Turn 11, Gandalf cast Sorcerous Blast (with his free Will point + 2 Will, 5 Will remaining) and hit the Captain into the guy behind him - the Captain went down, but the other spearman wasn't killed. Dwalin charged the two remaining Goblins. In the Shoot Phase, Nori got hit by a stray shaft and lost a Wound (1/2H):
 |
| Turn 11 - forgot to take a big shot of this round, but you're not missing anything . . . |
The rest of the Fight Phase went predictably - Dwalin, backed up by Bifur, didn't wiff the dueling roll and they killed both Goblins:
 |
| I finally feel like we're making headway - time for something to go wrong . . . |
Turn 12 saw a few mega changes - we won priority, Dwalin charged into the frey backed by Bifur, and everyone else tried to power through. Gandalf cast Strengthen Will on himself again (6 Will - this spell has been a real blessing this game!). Both Nori and all three dogs jump over (two of the dogs on 6s!), but Nori had to spend his only Might point to get over after rolling a 1 (now he's out of Might)! Bilbo and Gloin are standing on the other side (Gloin still has 1 Might, Bilbo is out), ready to jump on the following turn. Oh, and another Cave Troll showed up (we're calling him Guffaw, since it's the Chuckles model):
 |
| Turn 12 - we've almost made it . . . but they have a(nother) Cave Troll! |
In the Fight Phase, Dwalin kills two guys - easy stuff:

On Turn 13, Evil wins priority and Bilbo (who is out of Might, remember) manages to get across the chasm and Gloin also gets across - but only at the cost of his only Might point because he got a 1 (just like Nori - now he's out of Might). Dwalin charges in, gets supported, and Bofur has to help out because we're outnumbered.
 |
| Turn 13 - We just have to clear out a path, guys! |

In the Fight phase, we kill some Goblins - yaye:
 |
| We can see the exit, guys - just gotta fell that Troll! |
Turn 14 sees me doing some risky moves - and making my second big mistake of the game: I threw a one-die Immobilize on the Cave Troll and got . . . a 1. I COULD have boosted it with Gandalf's 2 Might points, but I decided that I didn't want to - the way I figured, I'd just have Dwalin win his fight and everything would be fine. As it happens, I should have thrown an extra Will point (and maybe burned Might to make it work) so the Cave Troll wouldn't be a factor in the Fight phase. Alas, that's gonna come back to bite me. In other news, the Goblin Captain who showed up at the top of the board (oh yeah, there's a Captain on the other side of the board) called a March and pushed the archers further on:
 |
| Turn 14 - this game has gone on far longer than any of our other Fantasy Fellowship games have gone . . . #HeroicMarchSavesLives #AragornIsAce |
In the Fight Phase . . . yeah, Dwalin lost and died. Ouch. Maggot was a boss, Gandalf was a boss, and a little breathing room was made, but not as much as we could have had . . .
 |
| Third big hitter down . . . not looking good . . . |
As Turn 15 began, I'm down 3 Companions (Dori, Nori, and Dwalin) and, as a reminder, I can only lose 1 more Companion (dogs don't count) or we lose. We threw our guys into the enemy with Gandalf casting Immobilize on the Troll and successfully stalling him out:
 |
| Turn 15 - we need to get out NOW! |
This turn, the Troll goes down against Gloin and Bilbo (with Bilbo getting a 6 on the dueling roll AND getting a Wound in too) while we lost a dog. Maggot and Grip killed a Goblin while Fang also got a kill in. Notice we're about to be flanked by a single Goblin . . .
 |
| We're almost done! |
As Turn 16 began, Gandalf cast Sorcerous Blast (free Will point + 2 Will, 4 remaining) to make a hole for us to escape - and managed to kill the Goblin he targeted!
 |
| KABOOM! |
We then remembered to test for the Ring and . . . Mr. Bilbo went wandering off looking for mushrooms again (seriously, man, we're underground)! In an act of desperation, I charged two models with Gloin, one model with Maggot, and that kept the control zones out of the way for Bofur and Bifur to get off the board (2 down, at least 3 to go). The dogs, being dogs, found ways to be helpful:

In the rest of the Move Phase, the Goblins closed in from the other side - not much else to say:
 |
| Turn 16 - COME ON MR. BILBO!!!!! |
In the Fight phase, Gandalf calls a Combat (1/2M) and he and Fang win and kill their foe. Fang drifts while Gandalf pulls someone off Maggot:

The Fight phase went . . . awfully, actually: Gandalf won his fight but didn't wound his guy, Gloin killed two guys (which was good) and Grip killed his guy (because dogs), but Maggot went down - AAAAAHHHHH!!!! One more Companion killed and we lose!
 |
| NOOOOOOOO!!!!! |
Turn 17 came around and I lost priority - I called a Heroic Move with Gandalf (who is now out of Might), I cast Command (free Will point + 1 Will, 3 remaining) to pull the Goblin out of the walkway, Gandalf walked off the board. I had control of Bilbo (another terrifying roll), and Bilbo yanks off the Ring and walks off. Gloin walks off too so we got 5 Companions off - a very narrow win. Oh, and the dogs got off too - can't leave them behind, naturally. :)
Ouch - just ouch! Our stat regrowth was "fine", but with most of my guys being out of Might and Fate AND Wounds, I'm pretty beat up going into what is commonly held to be one of the hardest scenarios in the campaign. Here's how our stats look:
Mission #4: The Bridge of Khazad-Dum
Well, my plan for this mission was simple: wait for the Balrog to arrive, trap him, and kill him in one go. Before he arrives (if we have time), we can try to paste through Goblins, but since most of our Heroes are out of Might (or very low), that may not be in the cards for us. Ultimately, though, since I have a free Will point each turn, I don't have to rush for the bridge - if I kill everyone, I can walk to the bridge and one-die cast against the thing until it breaks. So . . . we're just going to kill Goblins (and a Balrog). :-)

The secret to this scenario is that it's played like a Maelstrom scenario - you know where everyone is going to be and you smash one flank before the other can reach you. That's what I did here - I deployed as close to one side as I could, then watched as the Goblins set up to counter me.

On Turn 1, Gandalf called a Heroic Channel and cast Blinding Light (1/1M, 3/6W). The rest of my boys all advanced towards the Goblins, with the Goblins counter charging Dwalin, Bifur, and Bofur.

In the Fight Phase, Dwalin (2/3M) and the Goblin Captain (1/2M) called Heroic Combats - the Captain beat Bifur, wounded him twice (0/2M), and Bifur saved the wound with Fate (0/1F, 1/2H). Dwalin won, killed his guy, and charged two more Goblins.

The fights were mixed, but good for me - Dwalin killed these guys too, while Bofur lost but was only wounded once (1/2H).

On Turn 2, Bifur called a free Heroic Move and we slammed into the enemy. Gandalf cast Strengthen Will on himself (4/6W).

In the Fight Phase, Bifur called a Heroic Combat (1/2M) and after a clutch kill by Bofur (1/2M), Bofur got into Nori's fight, Bilbo got to a safe spot, and Bifur got into a great position for a Heroic Move next turn.

The fights went as you'd expect - Dwalin had to burn a Might point to win, but killed his guys (1/3M), Nori and Bofur made quick work of their guy, and Gloin killed one of his guys.

Turn 3 saw Evil take priority again, but I didn't want to call a Heroic Move because if the Balrog arrived, I wanted to respond to him. Turned out I was right, because the big man showed up! I sent most of my muscle towards him, with Maggot and the dogs angling towards the remaining Goblins. Bilbo put on the Ring.

Gandalf and the dogs killed the one Goblin who lived - shocking, I know.

On Turn 4, I got priority and Gandalf cast Sorcerous Blast (2/6W) on one of the Goblins, hitting two other guys adjacent to him. The target and one other guy were killed! Bilbo drifted to the safety of our ranks.

Evil advanced and got very close to my guys - we can feel the excitement!

Then, the unexpected happened - the Balrog lashed at Gandalf and got the required 6 To Hit! We wounded him too (2/3H), which . . . wasn't good.

Aaaaaaand . . . in a totally expected eventuality, Gandalf died. Well, we can't win the scenario now so we're just trying to not lose any more heroes. Grrrrr . . . I should note that Centaur had forgotten that Gandalf was needed for winning the scenario and felt really bad about doing this, but whatever.

Dori lost his fight, but was unwounded.

On Turn 5, Evil won priority and Bifur did his thing - free Heroic Move for the win! He then promptly failed his Courage test to charge the Balrog and we learned that Bilbo wasn't under my control . . . yikes . . . Well, we have four heroes who can get in (Dwalin, Gloin, Nori, and Bofur) - let's trap him!

Evil advanced and engaged Dori, while Maggot and his dogs got into the archers. Notice how Bilbo drifted away from the Balrog? Yeah, he's beyond 4" of the Balrog . . . gggrrrrrr . . .

Dori had some archers shoot at him - and quite by accident, I'm sure, they shot their friend . . . yaye?!?!

In the Fight Phase, Dwalin called a Strike (0/3M) and amazingly, he got to F10! Dwalin, Gloin, and Bofur all two-handed and thanks to Bofur boosting his dueling roll (0/2M), we got a 6 and won the roll-off!

Five wounds were gotten on the 16 dice that needed 5s and Nori didn't get any with his 6 dice and a reroll . . . for those keeping track at home, we have 1 Might left in the fight and still have to deal 5 wounds . . .

Elsewhere, Maggot was a beast and killed his guy, Bifur killed his guy, and Dori lost his fight and suffered a wound (1/2H). The dogs pushed where they were.

Turn 6 saw us get priority and we had control of Bilbo, but he could only charge a Goblin. I got Bofur, Gloin, and Dwalin into the Balrog and planned on him not getting a 6. Nori, Bifur, and Dori jumped into a bunch of Goblins - hopefully they don't get overwhelmed.

Well, I didn't call a Strike against the Balrog and he got a 4-high. Gloin got the highest roll, so he struck first and dealt 4 wounds! Bofur flubbed, but Dwalin came in clutch with two more wounds! Dori killed both his guys, Nori killed both of his guys, Maggot killed his guy, and Bifur won but didn't kill anyone. Not bad guys!

On Turn 7 saw Evil getting priority and so Bifur did his thing. I didn't have control of Bilbo, so he's just walking on by again . . . which I'm fine with.

Elsewhere, we got some charges, but Maggot and his dogs are feeling alright.

In what we decided was the end of the game, a bunch of Goblins are killed, but Maggot lost and the Goblin chose to wound Wolf! Centaur was then informed that there was a chance that the dog would die because the bridge can't be destroyed and he chose to change it to a wound against Maggot (maybe because he felt bad for killing off Gandalf). Thanks, mate, I will take it. In the post-game, we rolled for Gandalf and he recovered just fine (we rolled for Wolf and he would have gotten a 1 - phew, dog saved).
Takeaways from Part 2b
So . . . ouch. The Stairs were a lot harder than I expected, mostly because I had the other two Fantasy Fellowship games in my mind. With Aragorn - Strider with Elladan (or was it Elrohir?) Marching/charging in one Fellowship and Aragorn, King Elessar and Thorin, King Under the Mountain Marching/Combatting in the other Fellowship, the Goblins never had a chance to build up their numbers. In my Fellowship, we had no March and we don't really have any shooting - so we were slow, sitting ducks for the Goblins to shoot at.
The chasm marker made things even more interesting because two of my hitters lost their only Might points jumping over it - and one of them never made it into combat! I probably should have just ran from the Troll, but knowing how much those thrown stones hurt (and how much Centaur loves chucking rocks at people with his Trolls), I didn't want to risk it. Oh well, lessons learned.
As far as the Bridge mission is concerned, not blowing up the bridge really should make it a draw instead of a loss - especially for Fantasy Fellowships. Losing Gandalf on a lucky lash dashed my chances at a win, which was awful. Had that lash not worked, I think things would have been very, very one-sided (which I would have been okay with). Having an unlimited Will spell-caster is great, too, since you don't have to actually blow up the bridge - you can just kill all the Goblins and then say, "Yeah, we walk across the bridge and Gandalf throws a 1-die Sorcerous Blast every turn until it blows up." Simple, quick, easy (this is what Gorgoroth did - he was the only one of us who actually won this mission because Gildor Inglorion failed to blow up the bridge . . . amazingly enough). But alas, it wasn't to be today.
Conclusion
Well, we're going into Amon Hen with everyone - and while I was pretty frazzled for most of those two missions, I came out alright in the end. Hopefully, I served as an example for all of you - comment below with your thoughts! We'll be back in two weeks with another deep-dive on the scenarios leading up to Helm's Deep, so until then, happy hobbying!
Another great series of adventure. I'm waiting for these to pop up every fortnight.
ReplyDeleteGlad you're enjoying them - we've been loving it too!
Delete