Good morning gamers,
The scenario we've got lined up for today is the Old Storehouse, which will involve Hobbit Militia backed by Hobbit Archers, Fatty, and Baldo trying to steal stuff from "the storehouse" (in the form of a pig, some ducks, and two sheep). My Ruffians will start as sentries in this game (we LOVE sentries), and the entire board has the "nighttime conditions" in effect (can't shoot beyond 12", +1 To Wound with your shooting attacks). I've faced Centaur's Hobbits in nighttime conditions one too many times (and an unfortunate number of those times has been with D3 Wood Elves), so I know that his shooting attacks are going to be deadly. If any Shirriffs are killed in melee, they'll instead be Paralyzed.
The Old Storehouse

Baldo got three extra traps for this scenario for winning a previous scenario, so Centaur got to put out a few extra traps in addition to the eight that were already there. Centaur had to split up his models between the two opposing board corners, so he put all four archers on one side with Baldo and two Militia near the bottom-right corner and then put Fatty and the other six Militia at the top-left corner. I spread my guys out at the top-left and bottom-right of the storehouse because . . . you know, I've got sentries and don't want them spread out in a useless position. With the board set, Good claimed priority on Turn 1 and we got stuck in!
Turn 1: Priority Good


In the Shoot Phase, the Hobbit Archers who had only moved half-speed shot at one of my sentries. If they had failed to Wound, the alarm would have been sounded. As it worked out, the last model wounded him and the alarm hasn't been raised. Pity . . .
Kill Count: Ruffians 0/14, Shire 2/13.
Turn 2: Priority Good

My sentries were pretty stupid again this round and two of them triggered pit traps and fell in! I did what I could to try to get my sentries within 3" of the Hobbits so I could sound the alarm that way, but Fatty and his Militia buddies were hanging out in the bottom corner not rushing me . . . odd . . .
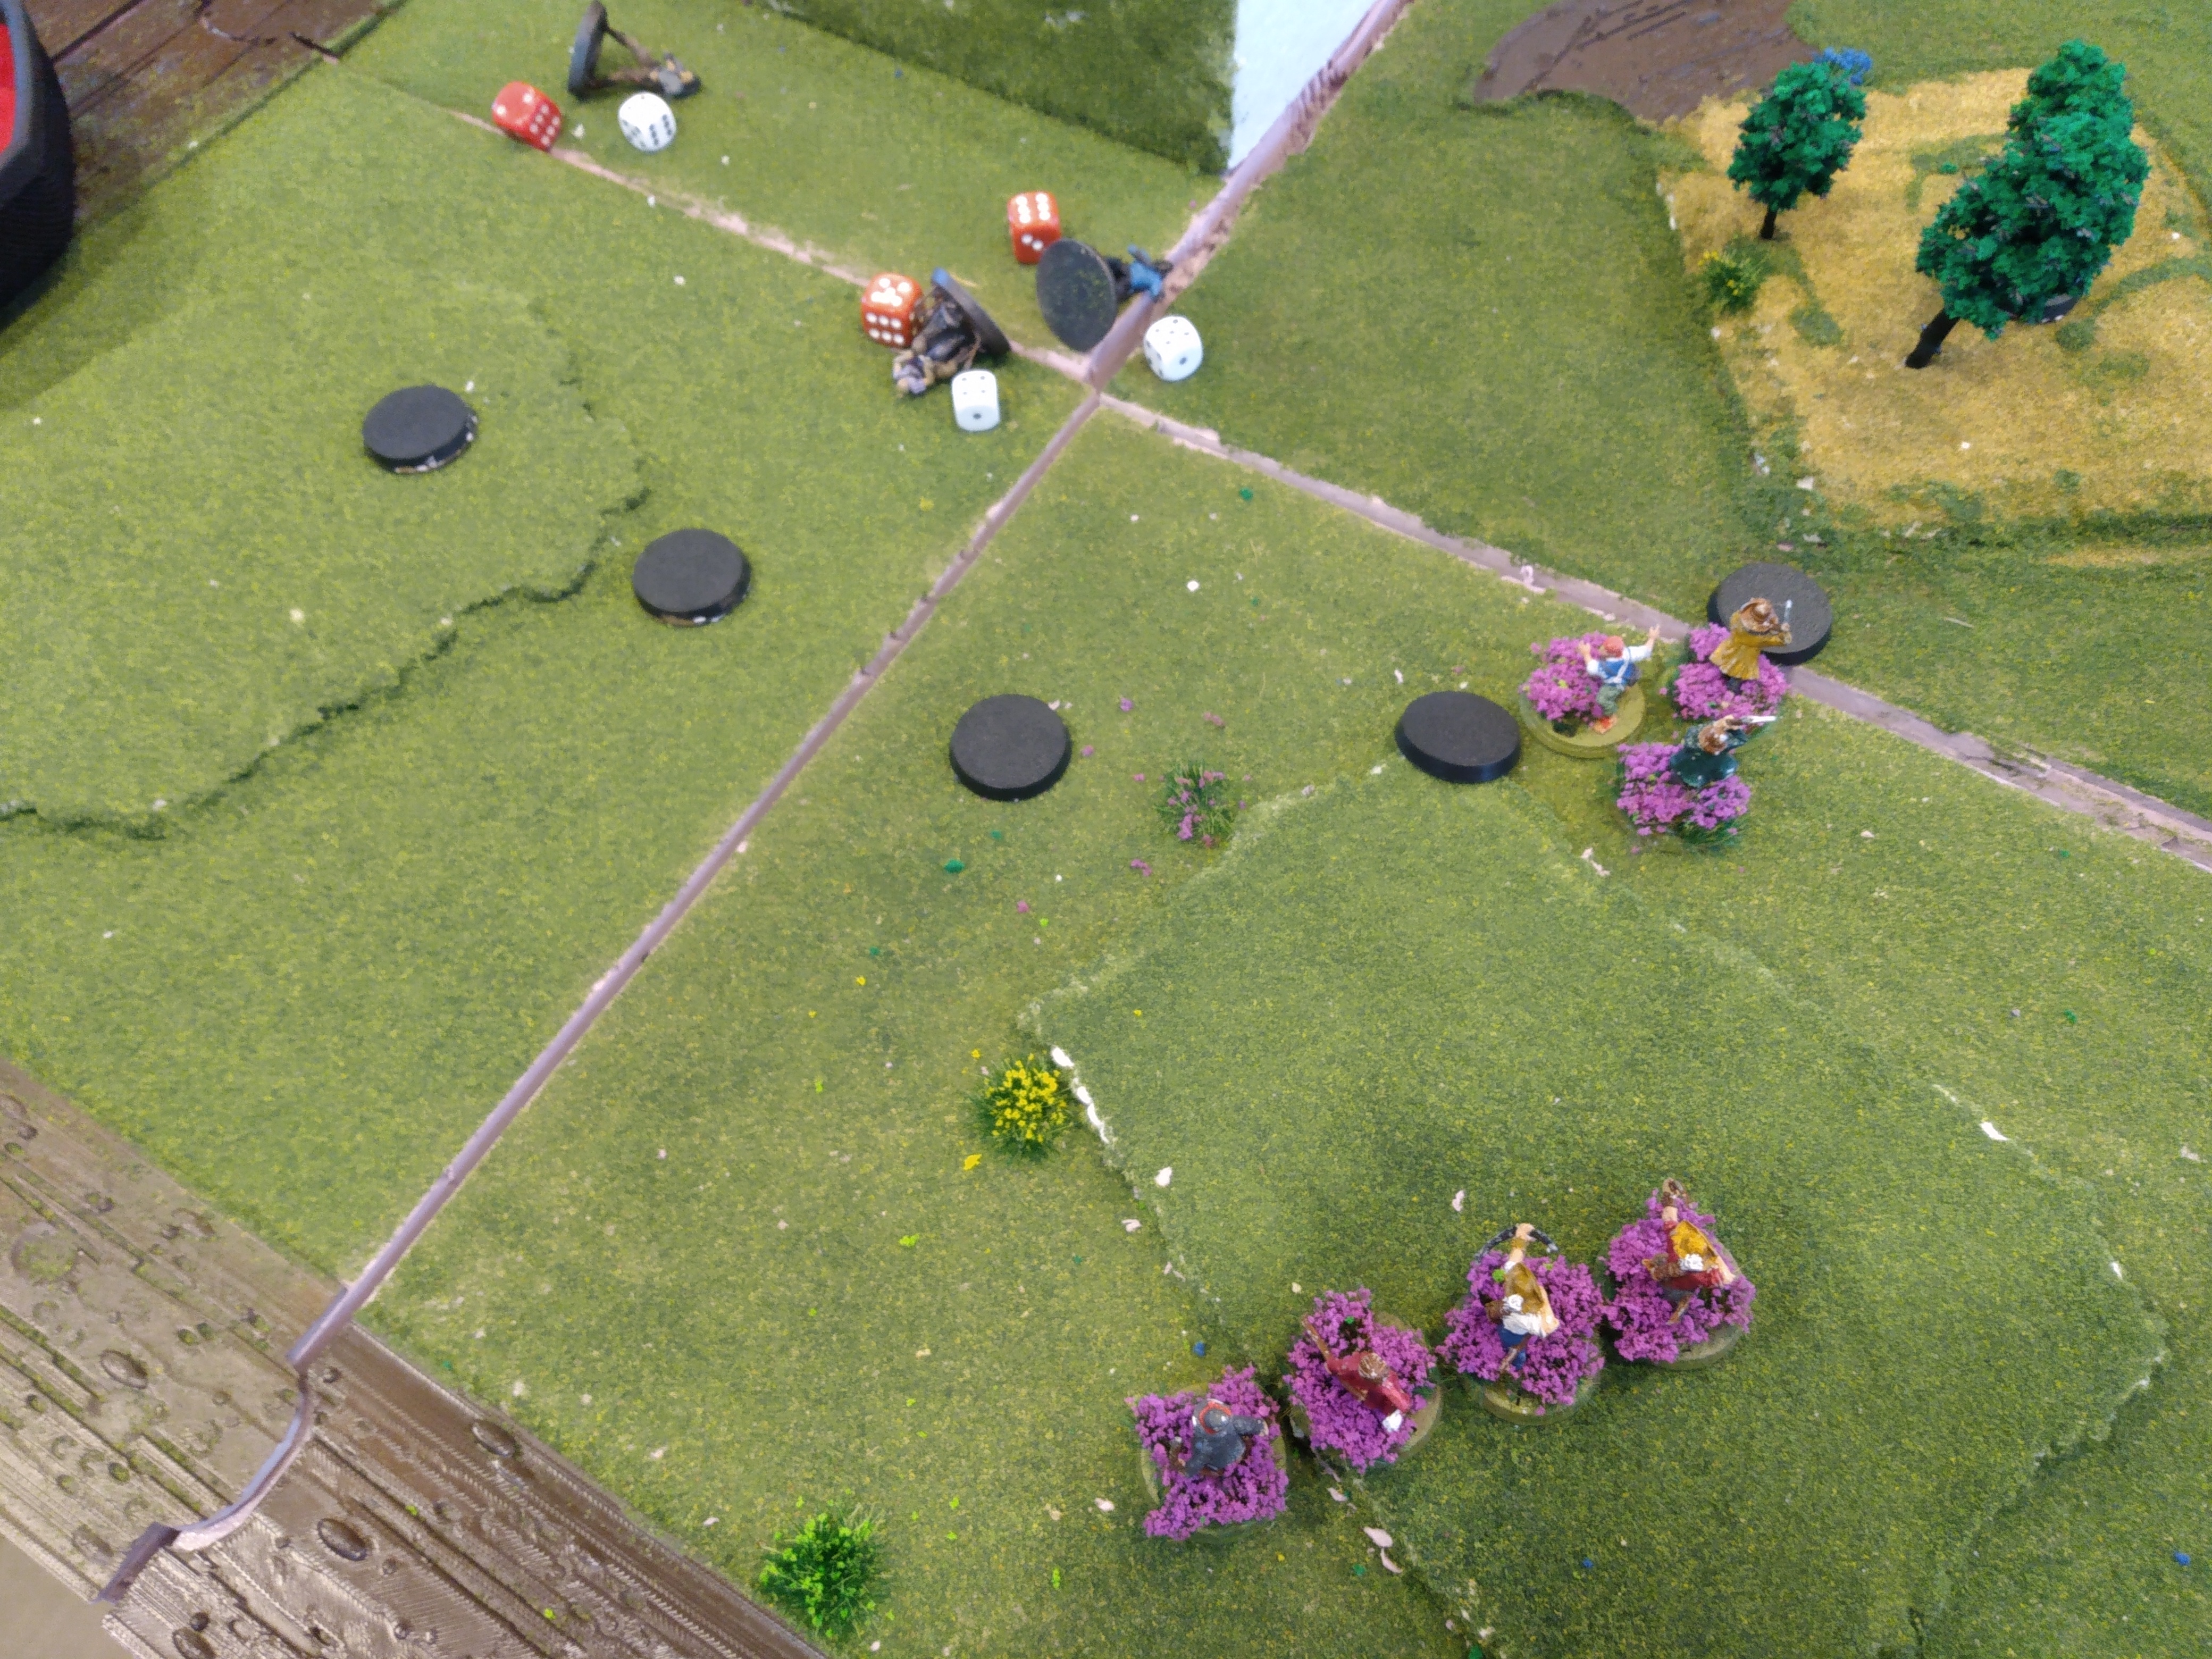
In the Shoot Phase, the Hobbit Archers decided to stand still and they absolutely MURDERED my guys on that side. Recall that if they hit someone and don't kill him by the end of the Shoot Phase, the alarm is raised . . . well, three kills and no failed attempts is pretty slick. Also, as you can see, there's a straight path to the storehouse now.
Kill Count: Ruffians 0/14, Shire 5/13.
Turn 3: Priority tied, Evil

Nothing much to report this round - one of my Ruffians stayed in the pit (must be mushrooms in there or something) while another hopped out with all of his movement. Everyone else maneuvered, especially Baldo and his friends who were racing to the storehouse unopposed.
Kill Count: Ruffians 0/14, Shire 5/13.
Turn 4: Priority Evil

Lots of maneuvering happened this round and more of my Ruffians were fools (the "pit guy" is still in the pit - Centaur got to move him and in a stunning turn of events, he didn't come out). One of my Ruffians at the top-left, however, got a full move under my control and closed the required 3" gap to spot the Hobbit Militia with Fatty! Here's to hoping . . .

. . . or, you know, he could be killed by stones . . . sadness abounds . . .

The first two of the store tokens were collected (pig and ducks - the sheep have been left for last) and Centaur is well on his way to victory . . . especially since I don't have anyone near there to challenge him!
Kill Count: Ruffians 0/14, Shire 6/13.
Turn 5: Priority Good

More maneuvering happened this round (except by "pit guy" - he's still under Centaur's control), with some of the stores being run out of the storehouse while other Hobbits came for the last of the required four stores . . . time's running out for me!

Here's how the retrieval efforts are going at the end of the round - archers watching the firing lane along the rear of the storehouse and four store tokens being taken to safety . . . and a hedge of traps soon to be between them and any of my guys.
Kill Count: Ruffians 0/14, Shire 6/13.
Turn 6: Priority Good

The Hobbit Archers stood their ground, getting ready to shoot again while I did my best to get in range of him. Amazingly, I got to move "pit guy" . . . who proceeded to fail the 4+ roll to get out of the pit . . . I tell you, working with slackers is hard. Centaur shot with his archers, got some hits, but he didn't kill anyone! ALARM SOUNDED!
Kill Count: Ruffians 0/14, Shire 6/13.
Turn 7: Priority Evil

More moving by me to try to catch the Hobbits with the tokens and Centaur's archers prepared to volley into my guys again! I'm also really happy that everyone is under my control at last, so I had one archer stand and get ready to shoot.

In the Shoot Phase, Rowan (top-center) got a kill with a whip . . . which we THOUGHT he had, but apparently he doesn't. This is what you get for not double-checking war gear, but it's not going to change the outcome of the game, so whatever. Additionally, my Ruffian archer didn't hit but was killed by a Hobbit arrow. Yeesh, I'm losing guys all over the place.
Kill Count: Ruffians 1/14, Shire 7/13.
Turn 8: Priority Good

I forgot to get a wide shot of this round, but suffice it to say that I engaged where I could - and in the Shoot Phase, two guys got killed by rocks. I also got into a Hobbit Archer and managed to not lose anyone to the Hobbit bows, which is a plus.

In the Fight Phase, I used a niche rule on Rowan Thistlewood to call a free Heroic Combat in order to try to get into Fatty Bolger - I needed to spend Rowan's only Might point to boost my dueling roll in order to win (1/1M), but then proceeded to roll a 1 and a 2 To Wound . . . GRRR!!!! As you can see in this shot, Centaur moved two of the models with stores off the board this turn, so we're looking at only one more turn in the game . . . which is fine with me at this point.
Kill Count: Ruffians 1/14, Shire 9/13.
Turn 9: Priority Evil

Four models off as you can see - the game is gonna be over. I charged whoever I could, trying to get as many kills as possible to fight for a draw - which would require 7 kills with Rowan pulling off another free Combat (which could kill four models) AND shooting someone this round with my one remaining bow AND killing guys with both of my other dagger boys . . . I basically can't win or draw at this point.

Oh, and in the Shoot Phase, my archer got shot without killing anyone . . . so yeah, game over.

In the Fight Phase, we measured and Rowan was JUST within 6" of Fatty, so he called another free Heroic Combat and while he managed to win handily this time, he only killed one guy . . . so yeah, the other trapped boy "died" (actually Paralyzed), the mono-e-mono guy won but didn't kill anyone, and the game was over.
One last thing I wanted to note is that Centaur was TERRIFIED that I'd get into Fatty's half of the army and break me that way. So, he did a tactical move that I didn't notice until the very end, which was putting one of his seven guys on that side tucked into the smial that they started near . . . he got in nine good turns of gardening as you can see below . . .

This was a nice tidbit of knowledge to wrap up the game - and it was a maneuver that was very, very Centaur.
Kill Count: Ruffians 2/14, Shire 10/13.
Victory for the Shire! In the Brockenborings scenario, Centaur will get to place eight traps . . . in addition to the bonus Might Point that Lobelia gets for winning a previous scenario . . . that one's gonna be hard . . .
Conclusion
This was a pretty good scenario - the sentry rules add a lot to the flavor of a game and Centaur's archers were just on fire, so I can't really argue with it. I do feel like you need roughly 50% more models if you're going to have sentries on one side because they can be spread out way too easily or not stay where you need them, but once the alarm is sounded, you really don't want TOO many models on the one side. It's a difficult balanced, but I feel like the scenario was pretty good overall.
Tiberius Scenario Rating: 3.5/5 stars. Baldo and Fatty weren't really players in the scenario and Rowan did almost nothing, but the scenario wasn't bad, the participants were fine, and besides having a bit too few Ruffians on the board for my liking, the scenario was good fun. Also, getting the traps as a reward really added to the gameplay experience.
Next time, we'll be revisiting one of the OLDEST scenarios for the game - and one of the first scenarios Centaur and I ever played - with the Bounders Strike Back. Prepare for trap madness next time - and until then, happy hobbying!
No comments:
Post a Comment