"...we put the thought of all that we love into all that we make." ~Wood Elf Leader, The Fellowship of the Ring
Pages
Featured Post
Back to Basics Revisited: All the Tests
Good morning gamers, We're continuing our how-to-play series and we're covering seven different tests that you may need to make in a...
Thursday, March 28, 2024
Fleshing Out the Faction: Sharkey's Rogues (and The Chief's Ruffians)
Monday, March 25, 2024
Armies of Middle-Earth SBG: Countering Angmar, Part 4 -- Avoiding (Avoidable) Mistakes on the Table
Editor's Note: This article is part of a larger series on dealing with Angmar. Click the links for Part 1, Part 2, Part 3, and Part 4.
* * *
The semester's over, so I'm back baby! (Raise your hand if you had an article from me on your bingo card for today ;-P )
As some of you may recall, over the Summer we explored strategies to counter Angmar (if you missed it, or need a refresher, you can check out the previous articles on dealing with Terror, maintaining control over our own pieces, and weathering magic spells by clicking the links). In terms of list-building, these are the primary tactical issues that we'll want to make sure we address, or at least think about. And as we discussed at length, most armies have at least some tools available to counter these tactics (or at least make things harder for the Angmar player).
What I want to talk about in this fourth and final discussion, however, is something that often gets lost in all the tactics: mental overload. I touched on this some in my write-up of the Angmar faction proper, but playing with and against Angmar lists (especially optimized Angmar lists of the magic-heavy variety) is a taxing thing for both sides. And in taxing situations, it's easy to forget things that should be obvious, scrap our game plan because we think we see "ghosts,"* and make mistakes. So here's the big-picture idea:
Whenever Angmar has a lot of nasty debuff pieces, you want to make their job harder (not easier) by planning ahead, avoiding simple mistakes that play into their hands, and pressing on.
Admittedly, that's easier said than done, especially against an experienced Angmar player. But here's a few "meta-tactics" (plus a few practical tactical tactics) that can help us accomplish that primary goal.
* Although when playing against Angmar, you may in fact be seeing actual ghosts...
Thursday, March 21, 2024
The Road to the TMAT Spring Zephyr Tournament - Tiberius's List
- Dwarf King
- 5 Dwarf Warriors with Dwarf bows
- 4 Dwarf Rangers with throwing axes
- King's Champion
- INDEPENDENT: 2 Heralds
- 6 Dwarf Warriors with shields
- Haradrim Commander with War Mumak of Harad with Rappelling Lines [ARMY LEADER]
- 5 Haradrim Warriors
- 5 Haradrim Warriors with bows
- Eomer on horse with shield and throwing spears
- 4 Warriors of Rohan with bows
- 6 Warriors of Rohan with shields and throwing spears
- 4 Rohan Royal Guards with throwing spears
- CONVENIENT ALLY - The Fellowship: Gimli, Son of Gloin
- Lurtz with shield
- 4 Uruk-Hai Marauders
- 4 Uruk-Hai Marauders with shields
- 5 Uruk-Hai Marauders with Uruk-Hai bows
- Mauhur
- 3 Uruk-Hai Marauders
- 4 Uruk-Hai Marauders with shields
- 3 Uruk-Hai Marauders with Uruk-Hai bows
- Theoden, King of Rohan with heavy armor and shield
- 6 Warriors of Rohan with shields
- 1 Warrior of Rohan with throwing spears and shield
- 4 Galadhrim Warriors with Elf bows and spears
- Legolas Greenleaf with armor
- 4 Warriors of Rohan with shields
- 1 Warrior of Rohan with throwing spears and shield
- 2 Galadhrim Warriors with Elf bows and spears
- Theoden, King of Rohan on armored horse with heavy armor and shield [ARMY LEADER]
- 5 Riders of Rohan
- Gamling, Captain of Rohan on horse with the Royal Standard of Rohan
- 4 Riders of Rohan
- 1 Warrior of Rohan with shield and throwing spears
- Denethor, Steward of Gondor [ARMY LEADER]
- 4 Warriors of Minas Tirith with shields
- 2 Warriors of Minas Tirith with shields and spears
- 1 Warrior of Minas Tirith with shield, spear, and banner
- 1 Knight of Minas Tirith with shield
- 3 Rangers of Gondor
- 4 Citadel Guard
- Madril, Captain of Ithilien
- 6 Warriors of Minas Tirith with shields
- 6 Rangers of Gondor with spears
Monday, March 18, 2024
Sharkey's Rogues: A "Game Master" Army
Hey Reader!
In preparation for the upcoming TMAT Spring Zephyr Tournament, I've been playing around with Sharkey's Rogues, 1) because I've owned the models for a while, 2) because I painted SO. MANY. of them, so I need to use them at some point, and 3) because a 350pt tournament is about the highest you can go before you're worried that you're being outclassed (450 is probably the highest I'd ever go, maybe 500), so when is this opportunity going to come up again? :P
But as I started practicing with them in earnest (and doing okay, actually), I realized why I enjoy playing them so much: it's a "Game Master" army, and as someone who has been a game master semi-professionally for roleplay games for over 10 years, it means I have the mindset to use them correctly. And that's what I wanted to chat about today.
Thursday, March 14, 2024
Literary Corner: What the Hobbit Films Did Better Than the Book
Monday, March 11, 2024
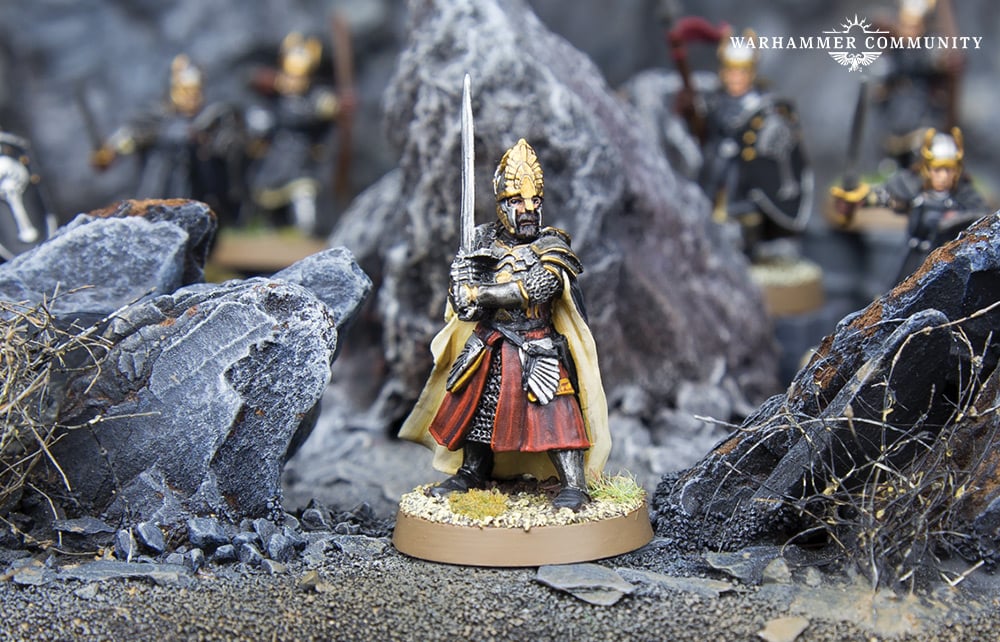
Nemesis: How to Fight Against Elendil
 |
| Photo Credit: Warhammer Community |
On Defense, Elendil is no slouch, with D8 if you give him a shield (and aren't two-handing - otherwise he's D7) and has 3 Wounds/1 Fate, which is "fine" and expected for someone who died in the story. Elendil is the quintessential "a good offense is a good defense" character (well, him and Gulavhar, I guess), which means that once he gets into combat, it's very hard to pluck a wound off of him - especially if he's backed by a banner (for a reroll on one of those 4 dice he gets on the charge).
Monday, March 4, 2024
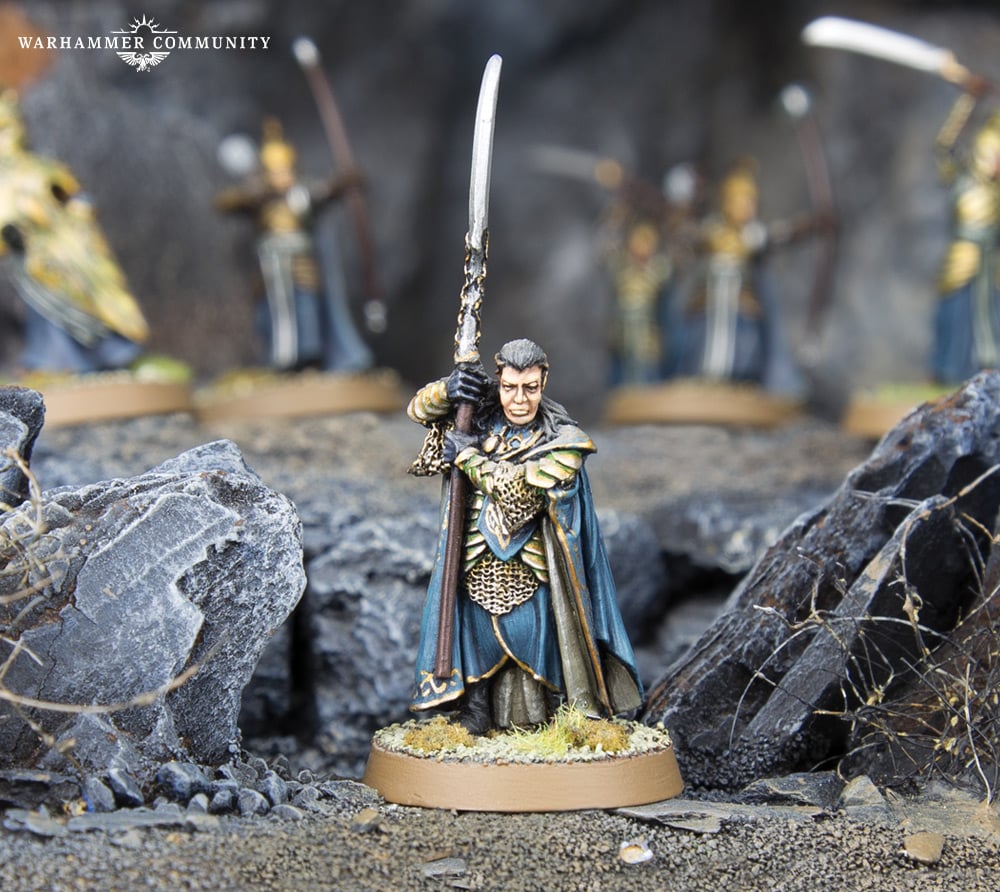
Nemesis: How to Fight Against Gil-Galad
 |
| Photo Credit: Warhammer Community |
The pairing of Fight 9 and the Blood and Glory special rule make him particularly dangerous against heroes, most of whom will have to declare a Heroic Strike (if they even have that option) to tie or beat his Fight Value and if he manages to kill the hero (not hard if he can knock the model prone while on the charge or if he's got some help in trapping the target), he gets a Might point back. Striking from F9 can be unnecessary, but if you're going to get the Might point back, it's probably worth doing anyway.


