Featured Post

First Impressions: The Kingdoms of Men, Part II

Good morning gamers, NOTE: there has been an update based on a comment made below - the change is in red . I have not yet seen the War of th...

Monday, January 27, 2020

The Bare Necessities, Part IV: Hero Hunting (or shutting down heroes in general)

Good morning gamers,

In our previous three posts, we’ve gone over three of the five important parts to building a list with an eye towards being able to score maximum victory points in a scenario (fast models, banners, and numbers). As a reminder, the five principles we’ll be covering in this series are:
  • Fast troops who can claim objectives or exit the opposing board edge;
  • At least one banner;
  • Ways of delaying/avoiding being broken (often in the form of large numbers);
  • Means of killing/inhibiting enemy heroes; and
  • Means of keeping your own heroes alive/augmenting their damage.
Today we begin a two-part discussion on heroes: our focus today will be on hindering enemy heroes, while the next post will tackle making our own heroes better. When I first got started playing LOTR SBG, I found that some heroes were really hard to keep from killing things (most of the members of the Fellowship, Elrond, Cave Trolls), but over the past few years (and as the rules changed), there have been several tactics that I've picked up that can be used to reduce the efficiency of enemy heroes. The most straight-forward (and dangerous) of those is the most direct approach: taking enemy heroes head-on.

Friday, January 24, 2020

Armies of Middle-Earth SBG: Isengard in the Middle-Earth Strategy Battle Game

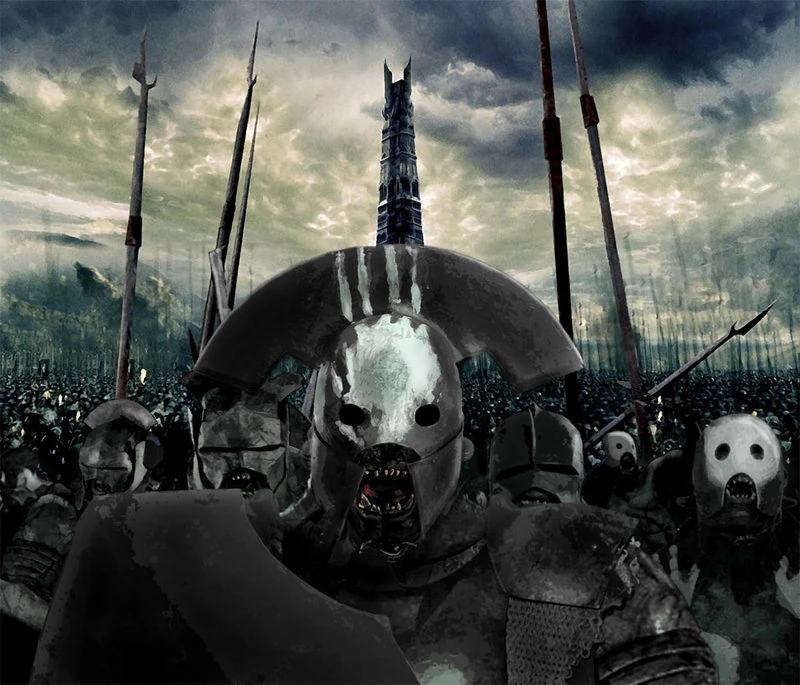
Image result for isengard uruk-hai
Photo Credit: Ancar-Network

After a couple-month hiatus due to work and more work, we're back for man-flesh (and yet another awesome score, which you should totally listen to while reading this)!

The recent release of War in Rohan seems like a good time to dig into one of the most popular factions in the Middle-Earth Strategy Battle Game: Isengard. Isengard as a faction now contains four fairly developed subsets of troops and heroes: Uruk-Hai scouts (led by Lurtz, Ugluk, and Mahur), their more heavily armored / firepower-boosted siege variants (Saruman and his siege captains), warg riders and orc warriors (Sharku and Snaga), and now the disenfranchised hordes from Dunland (Thrydan, Frida, Gorulf and the Wildman Oathmaker). Thanks to the new legendary legions in War in Rohan, you can run each component as its own independent force (with some cool new buffs) or keep them all together for the ultimate Isengard horde.

Monday, January 20, 2020

The Bare Necessities, Part III: Numbers (or not-being-Broken)

In our previous two posts in this series, we’ve discussed the benefits of including fast models (cavalry in particular) and banners (not just units that count as banners) in your army because of the points they can score you in certain games. The five points that make up the series are reprinted here as a roadmap for today’s discussion:
  • Fast troops who can claim objectives or exit the opposing board edge;
  • At least one banner;
  • Ways of delaying/avoiding being broken (often in the form of large numbers);
  • Means of killing/inhibiting enemy heroes; and
  • Means of keeping your own heroes alive/augmenting their damage.
Today’s post covers what most new players tend to value in an army: raw numbers. While having raw numbers doesn’t score you points in and of itself, it does make your army (in general) harder to break, which in most scenarios will give your opponent some points. Having greater numbers also makes it easier for you (in general) to trap your opponents – and traps win games.

So, today we’re going to discuss some of the subtleties of numbers in a points match game and different ways you can avoid being broken in a game (and other ways you can take advantage of numbers).

Monday, January 13, 2020

The Bare Necessities, Part II: Banners (and pseudo-banners and anti-banners)

Good morning gamers,

Today we continue our discussion of the Bare Necessities of an army in MESBG that wants to be able to score maximum victory points in a game. As a refresher, here are the things you’ll need to consider:
  • Fast troops who can claim objectives or exit the opposing board edge;
  • At least one banner;
  • Ways of delaying/avoiding being broken (often in the form of large numbers);
  • Means of killing enemy heroes; and
  • Means of keeping your own heroes alive.
In our last post, we talked about cavalry/fast models and today we turn our attention to banners. As I mentioned in our last post, I took a long time to come around to using banners. I did this for several reasons: first and foremost, when I got started playing the LOTR SBG in September 2010, banners cost different amounts of money based on what unit was holding it (Orcs/most Men could take a banner for 25 points, Dwarves/Uruk-Hai could take a banner for 30 points, Elves could take a banner for 35 points). Back then you couldn't take extra gear with a banner, so the innate Defense of these units didn’t go up and the person carrying the banner became a very expensive target (an Uruk-Hai Warrior carrying a banner costed 39 points – if you ignore the cost of the Uruk-Hai Warrior carrying it, that’s the equivalent cost of 3-4 models right there).

Second, while a banner could be handed off to a friendly model if the banner-bearer was killed, you couldn’t take any additional equipment if you carried a banner (no adding a shield, pike, spear, bow, or anything to the banner-carrying model). This meant that banners usually stood around doing nothing while everyone else fought off the enemy. If you had an Uruk-Hai Warrior with shield (D6) near an Uruk-Hai Warrior with a banner (D5), if the banner-bearer was killed by an Elf bowmen (S3 bow wounds D5 on 5s), the shield-toting Uruk could drop his shield to pick up the banner (which would reduce his Defense from D6 to D5, reducing the difficulty to kill him from 6s to 5s). It wasn’t a cool thing.

Third, banners have very limited range (in general), so taking one banner was unlikely to do much for your army as a whole – you might be able to make a single hero or a squad of troops fight better, but you couldn’t make your whole army better without bringing several of them (and did I mention that taking a banner would undercut your army by 3-4 warriors)?

Let’s just say when we first got started, almost nobody took banners.

Except Centaur.

For a while, he was the only hold-out in defense of banners. And without fail, we’d face off against his army and he’d roll lower than us and say, “But I have a banner…” and then he’d roll a 5 or a 6 and beat us. And we’d all be scratching our heads, asking ourselves, “Why aren’t we winning?” Turns out, it may have been because of banners.

Saturday, January 11, 2020

Tiberius Battle Company Log, Entry #2

Good morning reader,

In our first post, I talked about the strategy for my Last Alliance battle company, as well as how my first two games went (close games - one victory, one loss). Today, we see what two adventures befell my battle company last weekend.


Battle Company after Game 2: 8 models, Rating of 145

Monday, January 6, 2020

The Bare Necessities, Part I: On Cavalry (or Fast-Moving Infantry)

Good morning gamers,

Today’s post kicks off a new series on the “bare necessities” for any well-balanced army to employ based on the scenarios you may have to play. While not all unit types (cavalry, archers, and monsters in particular) are available to all factions, most armies can find a way to get cavalry-like movement, archer-like shooting, or monster-like heroes into their armies. In this series, we’ll be looking at some of the most basic things to include in your army in order to give you the opportunity to score maximum points in a game (assuming that the scenarios you play are random and not pre-defined). All games are based on both how you play AND how your opponent plays AND both of your dice rolls, so while your army list doesn’t guarantee you a victory, it does decide how many points you are able to get. As a review, the following categories give you points in different scenarios:
  • Getting units off your opponent’s board edge (Reconnoitre);
  • Getting units within a given radius of one or more objectives/points on the map (Domination, Hold Ground, Capture and Control, Heirlooms of Ages Past, Fog of War, Storm the Camp);
  • Having 1+ banners alive at the end of the game (To The Death, Heirlooms of Ages Past)
  • Wounding/killing the enemy army leader or enemy heroes (every scenario, but most importantly Clash By Moonlight, Contest of Champions, Fog of War); and
  • Wounding lots of models, either because you’re counting models or because you’re trying to Break/Quarter the enemy army (every scenario, but most importantly To The Death, Lords of Battle, Contest of Champions)
When you break down these five points, it leaves you with five elements of your army that you would need to include if you wanted a chance at maximum points in a scenario:
  • Fast troops who can claim objectives or exit the opposing board edge;
  • At least one actual banner;
  • Ways of delaying/avoiding being broken (often in the form of large numbers);
  • Means of killing enemy heroes; and
  • Means of keeping your own heroes alive.
These five points will be the crux of what we’re going to be looking at over the next five posts. I figured I’d begin with the one that I’ve only recently come to appreciate: the inclusion of fast troops in your list for strategic purposes. In this post, we’ll be looking primarily at cavalry, though we’ll also be looking for ways you can get access to cavalry-like speed without cavalry (for the factions that don’t have access to them). For additional reading on cavalry, I highly recommend some thoughts Centaur wrote in 2012, a very detailed analysis of what mounts get you from Rythbryt in May 2019, and some of my own thoughts on throwing weapons (if you’re looking into skirmish cavalry).

Wednesday, January 1, 2020

Last Month on TMAT (December 2019)


As we closed out 2019, we finished a series on shooting and started a new series on heroes, causing us to revisit some of our oldest posts on heroes and tactics.