This is Centaur with another battle report! So, I owe you all an apology: it's been almost two months since my last battle report. :( I suppose I could blame scheduling craziness on the part of myself and my gaming buddies, but the truth is I've just been woefully lax in putting up battle reports recently. I hope to change this as we prepare for the Hunters Red October Tournament in four weeks!
In preparation for the THRO Tournament, I decided to playtest my Grey Company list that I'll be using in the tournament, in part so that I can get comfortable with the feel of Grey Company again (as it's been a while since I've played them), and also so that I can showcase some of the terrain and board ideas I'm thinking up for the tournament. I met up with Zorro last Friday night, in part so that I could test out the new stockpile rules for terrain, but also because he wanted to test one of the armies he is considering bringing to the tournament. The lists looked like this:
The Grey Company (Grey Company, LOME)
Detachment 1
-Aragorn, Isildur's Heir (Army Leader): 200 points
-1 Dunedain (Rosseloth): 24 points
-3 Rangers of Arnor w/ spears: 27 points
-9 Rangers of Arnor: 72 points
Detachment 2
-2 Rangers of the North (Culang and Dannassel): 50 points
-1 Dunedain w/ spear (Daerdan): 25 points
-1 Ranger of Arnor w/ spear: 9 points
-7 Rangers of Arnor: 56 points
Detachment 3
-2 Rangers of the North (Cadan and Torchirion): 50 points
-1 Dunedain w/ spear (Astiul): 25 points
-1 Ranger of Arnor w/ spear: 9 points
-7 Rangers of Arnor: 56 points
TOTAL: 603 points, 36 units, 10* Might, 36 bows
Arm of the Angrenost (Legion of the White Hand, Isengard Raiders, LOME)
- Vrasku - Army Leader
- 3 Uruk warriors w xbows
- 6 Uruk warriors w shields
Detachment 2
- Uruk Captain w heavy armor & shield
- 6 Uruk warriors w shields
- 4 Uruk warriors w pikes
- 3 Berserkers
- Uruk Drummer
Detachment 3
- Uruk Captain w heavy armor and 2h
- 6 Uruk warriors w shields
- 4 Uruk warriors w pikes
- 3 Berserkers
TOTAL: 603 points, 39 units, 7 Might, 4* xbows
Strategy for Glenstorm: This game I'm going to experiment a bit. I've deployed my 3 detachments pretty far apart, hoping to draw off some of the uruks from the main body that has formed on his board edge. Drawing from the tactics post I did in January, I'll be utilizing a Wheel on the far right anchoring off of the tower, and two bullpens in the center and far left. I'm guessing that Vrasku is going to sit in the tower, so I'll attempt to force him out or take him down from the perch to obtain my oath.
Strategy for Zorro: Strategy...right. Part of the reason you don't see the same strategy posts from me as you do from Tiberius and Glenstorm is that I don't do too much pre-planning or meta-gaming with formations and numbers crunching. I like to field armies that can roll with the punches and adapt on the fly. In this particular matchup, with S4 against D4, I knew I had a decent chance once I closed to melee - assuming I still had an army left at that point. I've been at the mercy of ranger bows before (see THRO12's writeup for that nasty business) and I was hoping not to replicate that. So close the gap quickly, and hope that the Uruks can ply their trade faster than Aragorn can swing his sword!
Scoring
We will be playing a Lords of Battle scenario, using the following rules:
- Game ends when one force is reduced to 25% or less of its starting models
- 1 Victory Point is awarded for each Wound or Fate point spent by your opponent. Unspent Fate points on a casualty result in scored points.
- 1 Victory Point is awarded if the enemy force is broken. 3 Victory Points are awarded if the enemy force is broken and your force is not broken at the end of the game.

As a quick note on the pictures going forward: I turned off the flash because I didn't like how it washed out everything after this shot. In retrospect, this may have thrown off my auto-focus, so a number of the pictures are blurry. I am SOOOO sorry for some of them - they are really messed up. So, it's my bad: I don't recommend enlarging some of them, as they'll be an eye-sore. The pictures get better as it goes along, but for your convenience I'll give you a warning ahead of time for the pictures that are really blurry.
Before going into combat, we also selected our Oaths of Battle for the game. Aragorn declared that he would out-kill Vrasku, and Vrasku declared that he would end his movement within 3" of the tower near my board edge.
And with that... (For death and glory!) (Aarrrghwaaarsnarl!)
Turn 1 (P: Grey Company)

Both armies advanced, with all of my elements moving up 3", and Zorro's horde marching forward as the Uruk Drummer sounded the advance (and thereby increasing the movement of all of his Uruk-Hai by 3"). One of the crossbows in the top-left corner discovered a barrel of tar in the stockpile near him (wonderful: +1 to wound on a crossbow! Yikes!) (fairly useless to me, I was just glad it meant it wasn't on your side of the board), and one of the uruks discovered a cache of throwing weapons near the top-right corner. I quickly realized as we moved to the Shoot Phase that I wasn't going to get very many of these in this game, due to the D6 front line advancing 9" every turn, :P This will be interesting...
 |
| Bad blur: sorry!!! |
Turn 2 (P: Uruk-Hai)
Sorry - forgot to take a picture of the Move Phase. To describe it, the armies continue to advance toward each other at an amazing rate (wow, those uruks are booking it!!!), and my forces on the far right formed up around the tower for extra flank defense. The far left detachment, realizing that the entire Uruk force was heading East, split off with most of the force making their way to reinforce their comrades on the far side.
 |
| A bit of blur - sorry! |
In the Shoot Phase, Vrasku did 1 wound to Gwonil (a Dunedain ranger), who failed her Fate save (1/1F, 1/1H), and got no supporting kills from the other crossbowmen.
 |
| Bad blur - sorry! |
The Dunedain responded in kind - and added a bit of interest. There are rounds every now and then where the Grey Company surprise me in terms of how much damage they can do through archery, and this was one of them. My archers did no less than 7 wounds (and, as a reminder, all wounding on 6s!) through archery, 6 on swordsmen, and 1 on Vrasku, who fails his Fate save (1/1F, 1/2H). As a note to the non-Grey Company players out there, this is highly uncommon; I've only seen more than 4 wounds done in one round of archery twice, and this is one of them (yeah, the other time was against one of my D6 armies too =P). So, be ye warned: this is not normative, :) Zorro's force was itching for blood as we headed into Turn 3.
Turn 3 (P: Uruk-Hai)

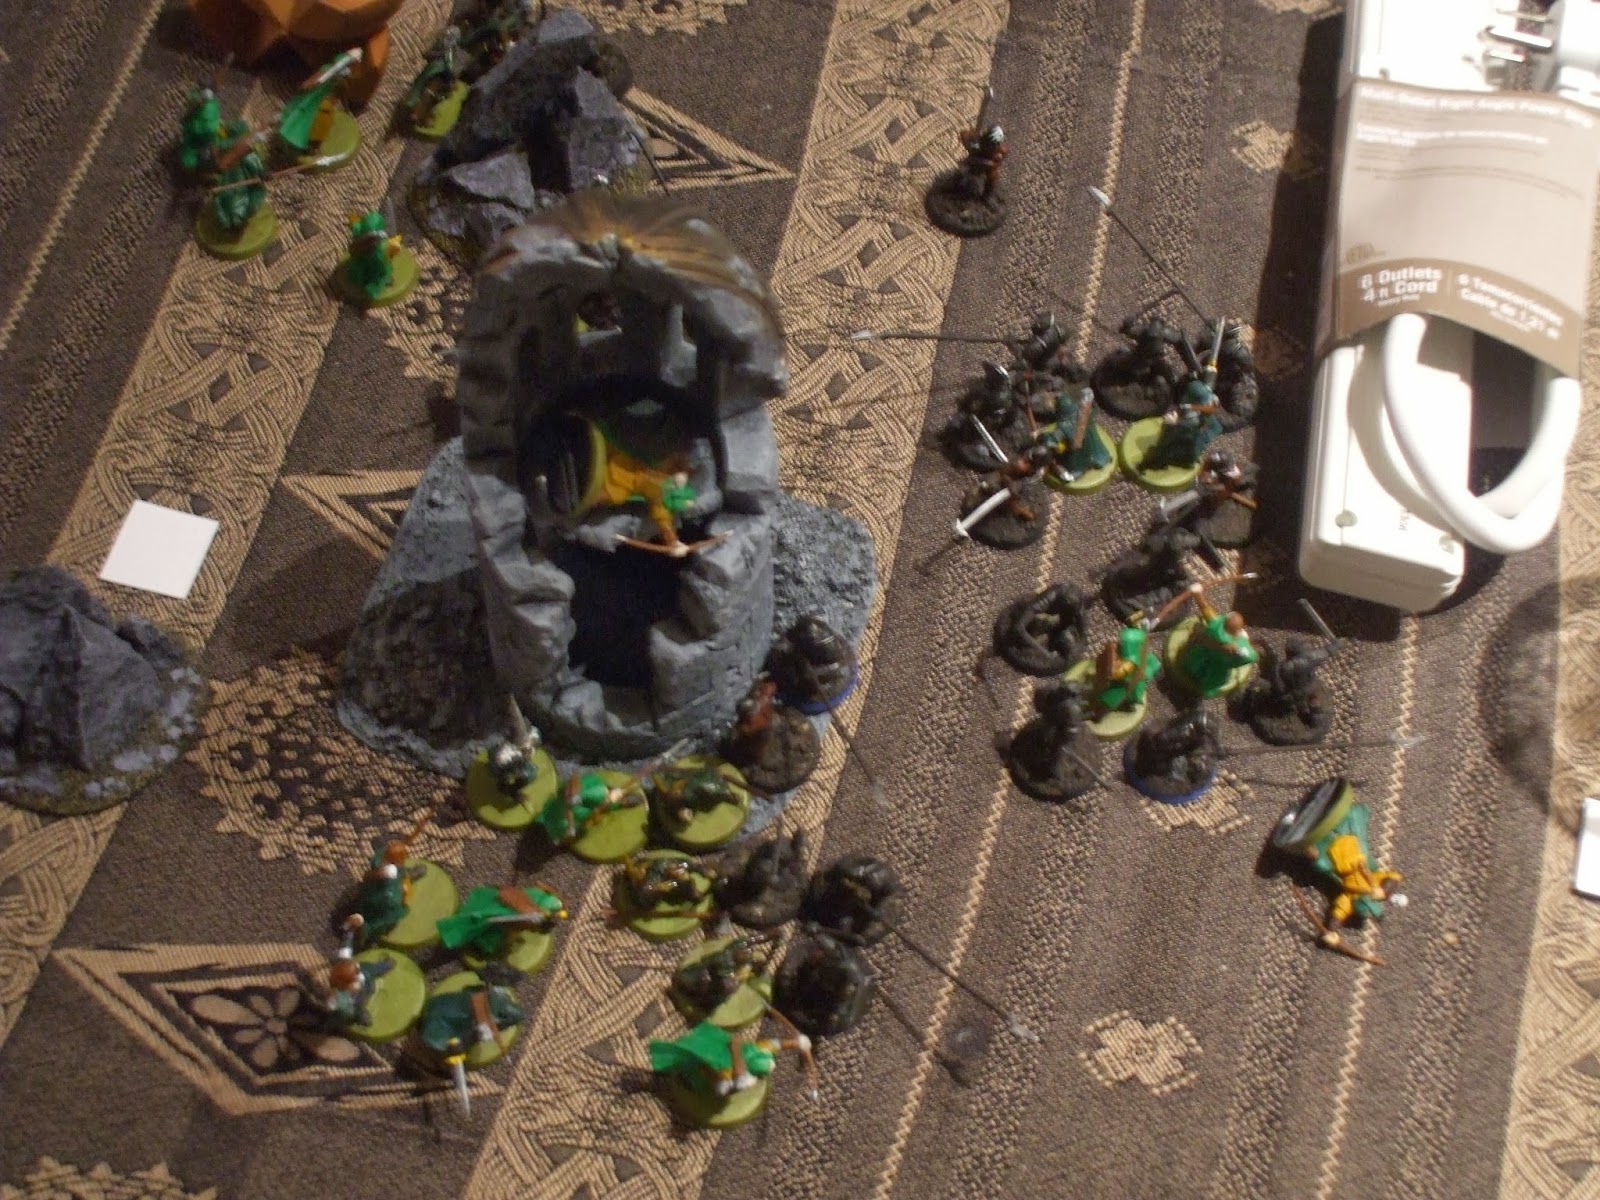
The armies are almost in melee range as we start Turn 3. The drummer's rule does not allow you to charge when you gain increased movement, so Zorro's force moved up within 1-2" of my battle line on the right (off-screen; couldn't fit it all - sorry!), and then prepared to meet Aragorn and his relief force. Vrasku decided to step down from the tower (I keep forgetting how little cover that thing actually gives), and started to move toward the eastern part of the map to get in position to complete his oath. Aragorn's men discovered a set of 2H weapons near them (I really needed the shields to be in this stockpile!), and one of Culang's rangers discovered a set of shields at the bottom-left.

In the Shoot Phase, one of the berserkers killed one of the rangers with his throwing weapon (4+ Shoot value with a S4 attack against D4 guys? So not cool...) (says the guy who has been hurling 36 ranged attacks at me per turn at a 3+) (...whiiiich wound on 6s, ;) ), and the rangers responded with one kill of their own. The lines were drawing up for the inevitable melee that is always Turn 4...
Turn 4 (P: Uruk-Hai)

...And we have melee combats! :) The uruks slammed into my forces, leaving no options for Aragorn in terms of charging this round (well played, Zorro - well played, :) ) (if you can't beat 'em... stay away from them!). The drummer hung back to keep Vrasku within his drumming radius, and the uruks who could not get into charging range moved up to reinforce near the tower. Aragorn and a company of rangers moved around the flank, while the other rangers prepared a perimeter in an attempt to rescue their comrades who were now vastly outnumbered behind the tower.

In the Shoot Phase, two of the Berserkers each killed a ranger, and Aragorn took down one of the shields with archery.

In the Fight Phase, Zorro killed off Astiul and two rangers in close combat (I was expecting worse - what a relief!) (I was expecting worse too. shape up guys!), and one of the berserkers was downed by my force. As we headed into Turn 5, I decided to call an audible with Aragorn, in the hopes of catching Zorro by surprise...
Turn 5 (P: Grey Company)

Zorro called a Heroic Move with his shield captain (1/2M), as did Aragorn (Free/3M), and the uruk captain won. Not surprisingly, he swung pikemen at my rangers to block Aragorn out of the small gap to get to the pikes supporting his berserkers. I was okay with that, as I was already planning on slinging him and a stronger force below the tower to stunt the attack, leaving behind Daerdan and a few of the other rangers to hold the top and put pressure on the pikes. One of the reasons that I love Aragorn is that even if he cannot get into combat (which Zorro is good to watch for), he still provides a 3" banner radius for your force, so he can do a lot of good even if he's not engaged in combat. One of the berserkers killed a ranger with his throwing weapon, nothing of significance happened in the Shoot Phase, one of the crossbows downed my archer in the tower, and we prepared for melee combat.

In the Fight Phase, his captain called a Heroic Combat (2/2M), killed the aged retainer on the north side of the tower, and both Cadan and Torchirion (two of my Rangers of the North), and two of my rangers fell on the south side of the tower (which is not good - I'm not doing nearly enough damage in close-combat to keep this game close) ("We are the servants of Saruman the Wise, The White Hand: The Hand that gives us man's-flesh to eat!"). Current casualty count comes to...
Casualty Count: 16/36 Grey Company (20 points for Lords of Battle, 2 from break point), 11/39 Uruk-Hai (14 points for Lords of Battle, 9 from breaking).
Turn 6 (P: Grey Company)
Sorry - forgot to get pics here, :) I was swept away by the game in the heat of combat, :P Zorro's Uruk 2H Captain called a Heroic Move (1/2M), and I chose not to contest it (as I was going to get the moves I wanted with Aragorn, and he couldn't threaten my hero corps). The rangers moved up, and Aragorn sees his first round of combat! In the Shoot Phase, Vrasku aims at Culang (one of the Rangers of the North), who was engaged in combat with an Uruk Shield. He got off both shots, one was on-target, and it wounded Culang, who saved it with Fate (1/1F). The other shot was off-target, with Vrasku mighting it to kill the Uruk shield (preventing me from getting a heroic combat in with four of my warriors).

In the Fight Phase, Aragorn called a Heroic Combat (Free/3M), won his fight, wounds the uruk (1/3M), and engages the pike that was supporting (who he also kills). The two rangers up top lose their fights, are trapped, and both die in a very gory mess.

Behind the tower, the Uruk Captain won his combat using pike support, and brought down both of the rangers in his fight. The casualty count now looks like this:
Casualty Count: 20/36 Grey Company (25 points in Lords of Battle for Zorro, broken), 13/39 Uruk-Hai (16 points in Lords of Battle for Glenstorm, 7 from break point)
Turn 7 (P: Grey Company)

Time ran out as we went through the Move Phase, so the game would end at the end of this round. The 2H Captain called another Heroic Move (2/2M), charged into Aragorn, and brought a lot of uruks with him. Two of the rangers fell to throwing weapons on the berserkers (note to self: throwing weapons in the hands of berserkers is just brutal...avoid at all costs, :P ) (the rest of the uruks would have been just as deadly with them. Berserkers just look cooler doing it). The Heroic Move also allowed Vrasku to move within 3" of the tower, completing his oath.

After my move, the uruks are swarming me up top, and Dannassel (who was not engaged below the tower), swung around the pull off pike support against Culang. As you can also see, two of the rangers failed their Courage tests, so they ran off the board (to choruses of "bawk bawk" in urukese). Nothing of import happened in the Shoot Phase, so we move into the final Fight Phase.

Down below, I lost both of the rangers of Arnor, and Aragorn finished off the Uruk Captain in his fight, using up all of his Might points.

Up top, Daerdan (one of my Dunedain) lost his fight, suffered 1 wound, and saved it with Fate (1/1F). Two more rangers died near the rocks.
So, final score: 35 points from casualties/Fate for Zorro + 3 points for breaking my force without being broken = 38 points for Zorro; 22 points from casualties/Fate for Glenstorm, resulting in a 38-22 Minor Win for the Angrenost. Both teams also completed their Oaths of Battle.
Conclusion
Glenstorm's Thoughts: Wow, that game was brutal. Keeping my elements divided didn't work well, I think in part because Zorro wanted to both stay away from Aragorn (which he succeeded at), and he wanted everyone in range of the drummer (which he also succeeded at). Having never faced a drummer before, I've got some good thoughts now on how to keep at bay an army of fast-moving Uruk-Hai. On the whole, I'm really glad I got this feedback before the tournament, and will have a healthy fear of this force should Zorro choose to field it in the THRO Tournament. Well played, mate.
Zorro's Thoughts: We survived!!! I thought things were going to go really badly there for a bit - especially when Glenstorm downed 20% of my force in a single round of archery. I know Glenstorm thinks I cut over to avoid Aragorn, but really, it was the thought of crossing into that huge open area into the teeth of 36 bows that pushed me to the outside (where there was cover!). I got lucky with a couple key blocks to keep Aragorn out of the fray for an extra round or two, and that really helped. Some say that Uruks are a one-trick pony, but you know... it's a dang good trick. I'm really looking forward to *not* fighting GC in the tournament with whatever list I end up with. It's a good army you've got there Glenstorm.
Stellar Unit for Glenstorm: Rangers of the North. Hands down. Cadan and Torchirion held the line and tied up a lot of pikes, captains, and berserkers for over half of the melee combats. In a game where I got most of my kills through archery it's hard to see a clear best unit, but their ability to hold a flank until reinforcements arrive is something that I prize. I'm very grateful for their contributions in this game.
Stellar Unit for Zorro: I would have to say that the most influential uruk unit was the drummer. Vrasku got himself shot up pretty early on and had to duck for cover, but he did get off a key shot that prevented Glenstorm from catapulting reinforcements into my flank. The berserkers with throwing weapons were pretty epic (in retrospect it probably wasn't such a great move to give the upgrades to units that the enemy is already going to target first), but they didn't come close to earning their points back. The drummer cut out a turn of archery, aided a badly-wounded Vrasku to bolt across the field to meet his oath and was a great asset for re-positioning troops, allowing models not able to get in combat to run from one flank to the other to setup for the next round. Not sure it is tournament-worthy, but really came in handy in this game.
Over the course of the next few weeks, I'll be playing at least three more games, each using a different scenario for the THRO Tournament (so that I can practice with the rules). I may not be using my Grey Company list for all of them, as it may depend on what my opponent wants to play against or with. I'm planning to meet up with Donatello later this week, and if you haven't seen his most recent battle report, Tiberius may meet up with me to test his White Council list (or his actual army list for the tournament, which is pretty epic!) some more, so for those of you who have waited patiently during my stint on Shire tactics, consider this a promise that there will be more exciting content on this space for the next few weeks, :) Until then, you'll find me,
Watching the stars,
Centaur
"(Your teacher) is a human...and is therefore blinkered and fettered by the limitations of your kind." ~ Firenze, Harry Potter and the Order of the Phoenix
No comments:
Post a Comment