 |
| The one on the left is a rocky staircase that you will see in today's combat and in future tunnel fighting scenarios, since it allows units to get better vantage points and even have some coverage. The second is the smithy from last game, now with roof complete. Some internal improvements (and some exterior) will be made shortly. In the m eantimie, here are today's armies: |
Uruk Captain with shield and heavy armor - 60 points
Uruk Captain with crossbow and heavy armor - 60 points
18 Uruk-Hai Warriors with shields - 180 points
16 Uruk-Hai Warriors with pikes - 160 points
1 Uruk-Hai Warrior with banner - 39 points
37 units, 1 crossbow, 2 heroes
The Host of Erebor: 496 points
Gimli, Son of Gloin - 90 point
Balin, Son of Fundin - 95 points
Balin, Son of Fundin - 95 points
8 Dwarf Warriors with shields - 72 points
7 Dwarf Warriors with two-handed weapons - 56 points
8 Dwarf Warriors with Dwarf bows - 72 points
1 Khazad Guard - 11 points
Ally: Legolas, Prince of Mirkwood with Elven cloak - 100 points
27 units, 8 bows + 2 thrown weapons + Legolas, 3 heroes
The scenario we will be playing is a Reconnoitre game. All units will begin within 3" of their board edge and will fight until one side is reduced to 25% (by death, flight, or escape). The winner of the game is decided by the side which side had more models escape of the opposing player's board edge during the game.
 |
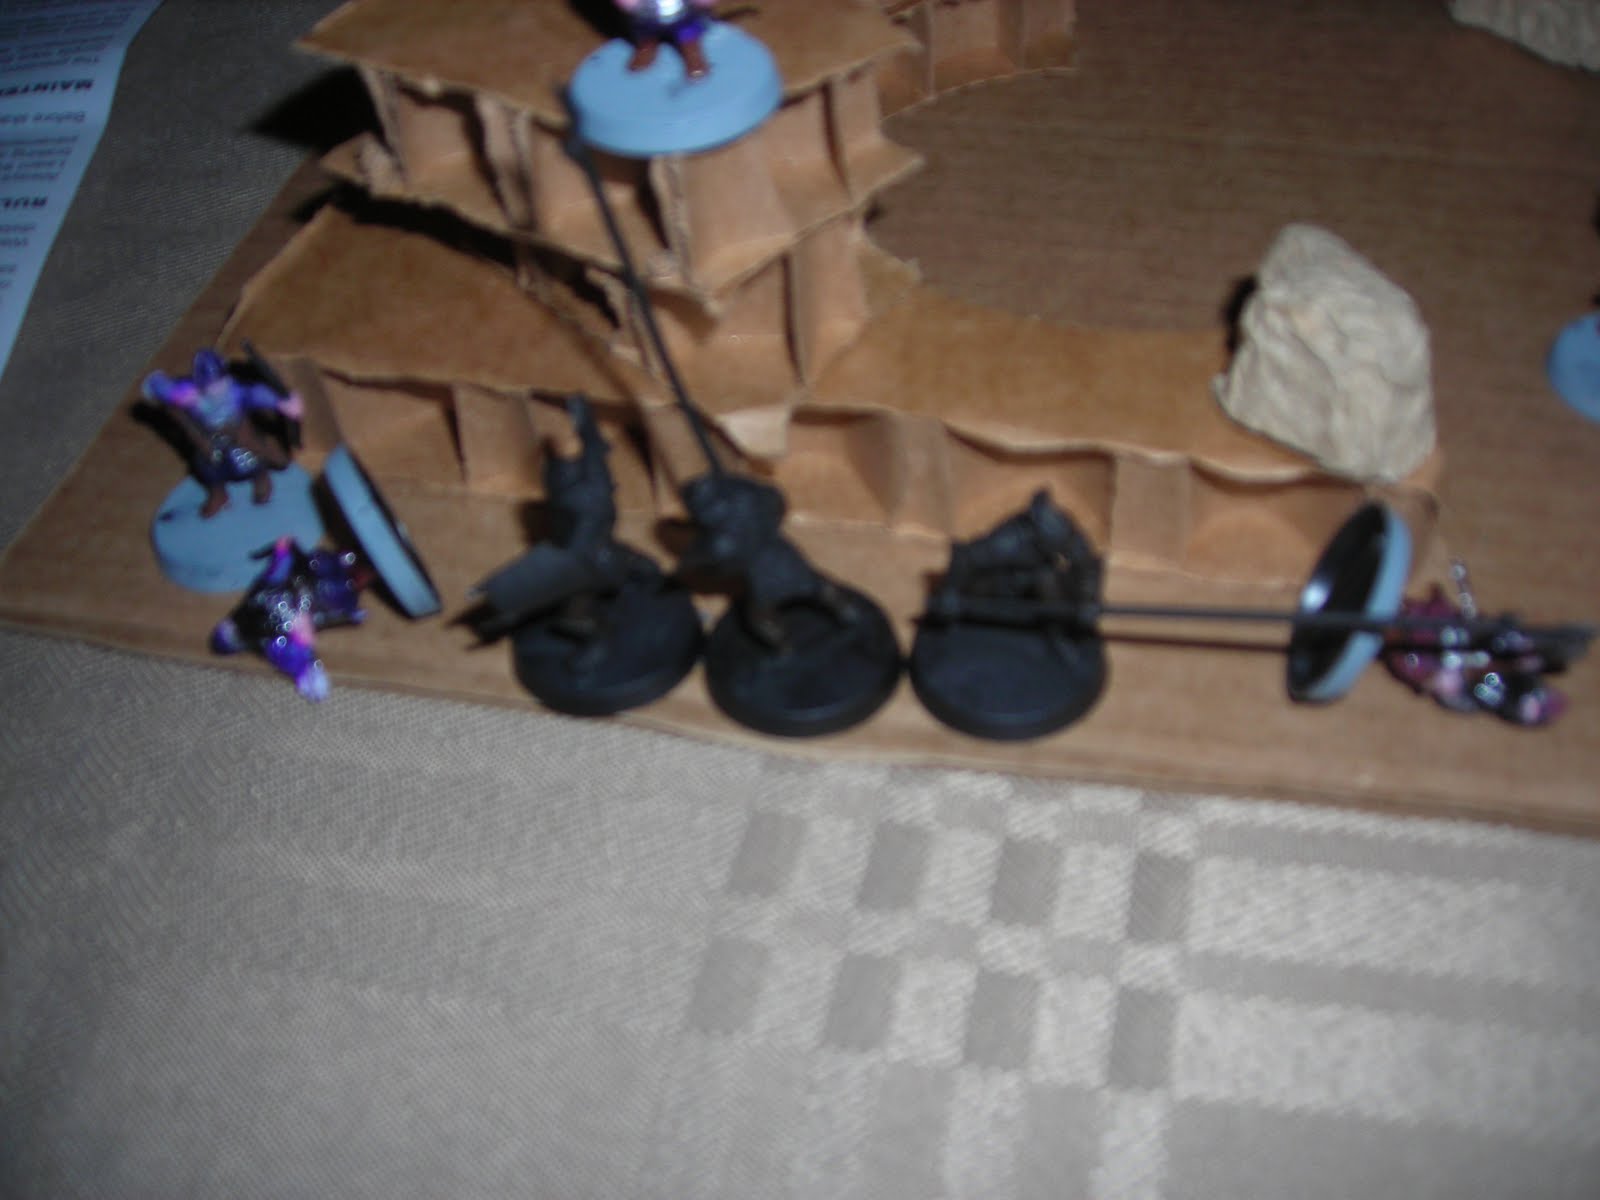
| The board has been given the following features: a mining complex and a rocky mound in the north quadrants and some difficult rocky terrain and a small rock formation in the southern quadrants. To determine placement, the Uruks have won the roll and have elected to choose the Eastern board edge and cede the priority for the first round to the Dwarves. Unfortunately, in this shot, you can't see all of the deployed Uruk-Hai, but they'll make their presence know in the next few photos. |
Turn 1: Rushing the Foes (Priority - Dwarves)
 |
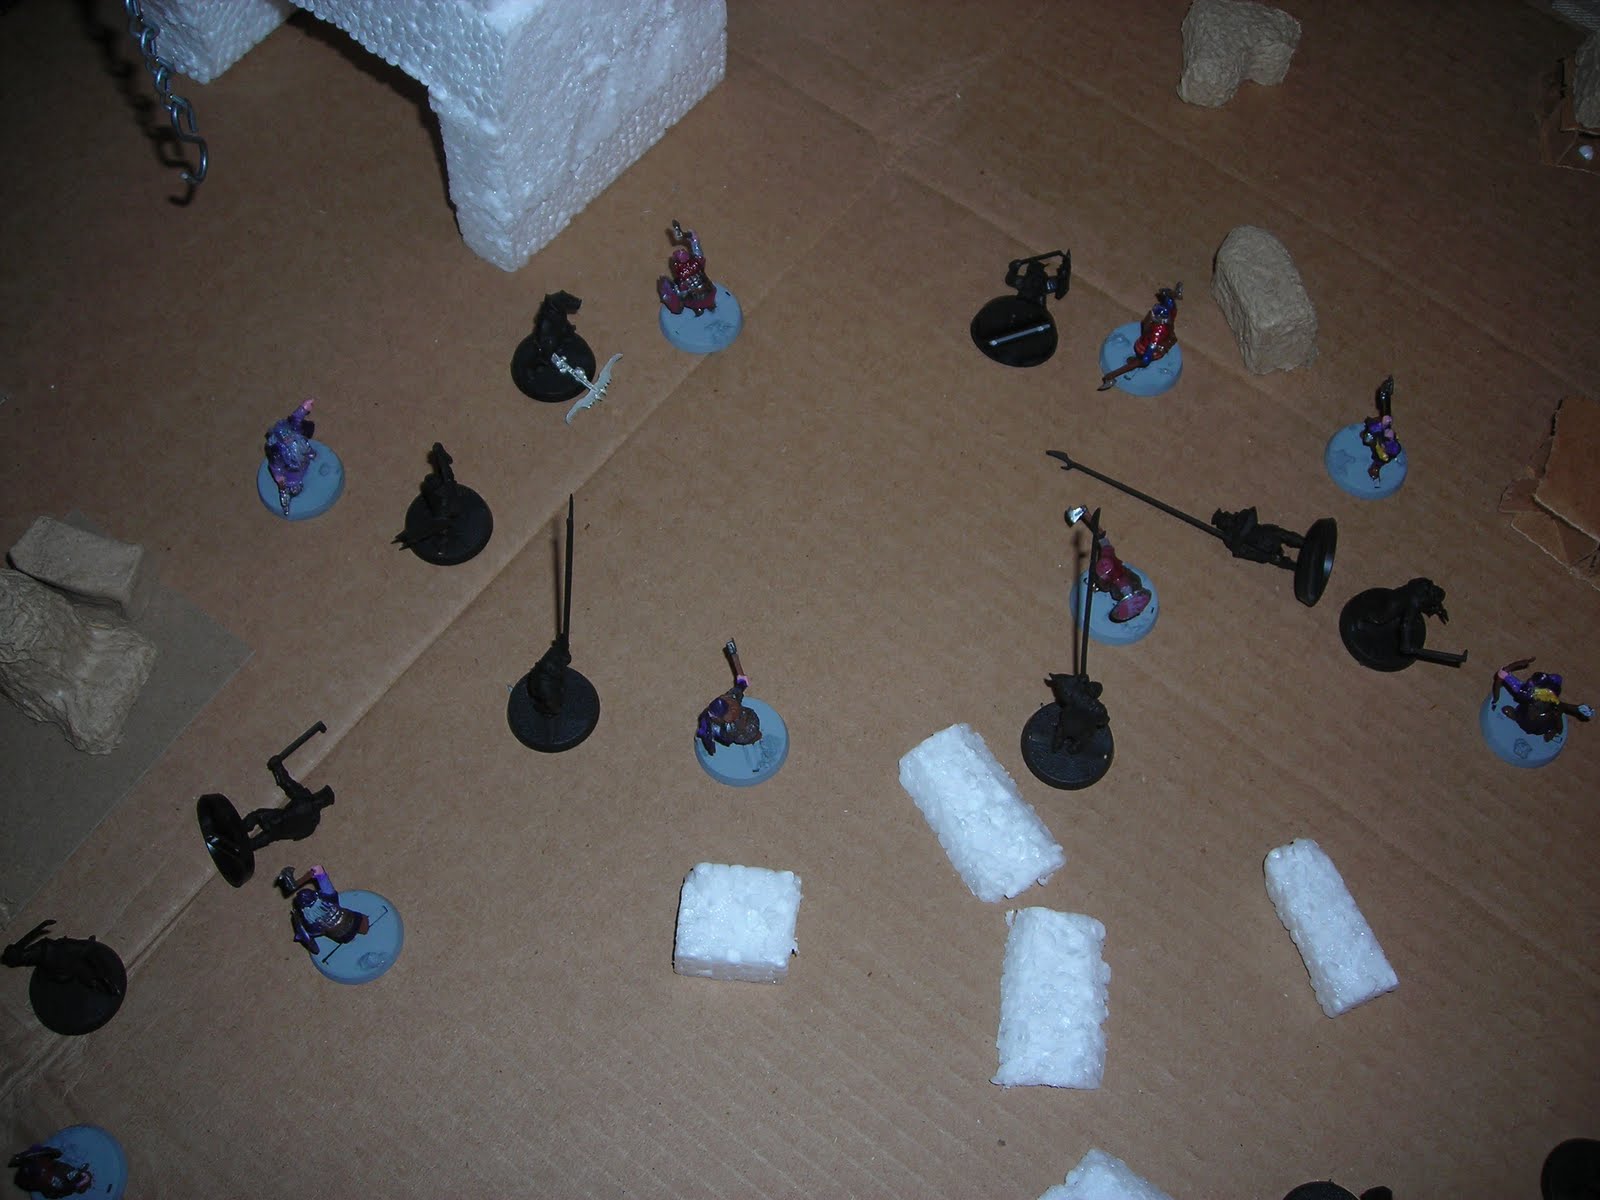
| Both armies charge towards each other. The Uruk-Hai charge from their mining complex and the Dwarves cut quickly across the rocky outcrops towards the center. |
 |
| Sorry, blurry shot. In the Shoot phase, the only kill is an Uruk-Hai Warrior with shield, not killed by Legolas, but by one of his assigned bodyguards. |
Turn 2: Meet In The Middle (P - Dwarves)
 |
| The armies have met in an interesting clash on the battlefield. Gaius has formed up his Dwarves in an "English" medieval formation, which prevents an army from engaging the whole battleline at one time (which is particularly good if you don't have spear support). The only units you can't see in this shot is one Uruk Warrior who is defending the mining complex and two Dwarf archers behind the rock formation on the north side. |
 |
| In the Shoot phase, the only wound was again from one of Legolas' bodyguards (Legolas tried to shoot an Uruk who was fighting at the top of this shot. |
 |
| In the Fight phase, Balin called a heroic combat. Balin wins the fight and wounds his trapped opponent (he wounds all the enemy units on 4s, except the Captain with shield, who he wounds on 5s). |
 |
| A little blurry, but Balin pays another Might point to win his next fight and slays his opponent. The other Uruks won their fight, wounding one combatant and narrowly not killing the other one. |
Turn 3: The Hammer Falls (P - Dwarves...again?)
 |
| In the Move phase, Balin killed an Uruk pikeman with his throwing axe and then joined another fight. Most of the Dwarves are now engaged in combat, but the pikes of the Uruk-Hai are supporting their comrades evenly across the battlelines. Let's see if they're still there after the Shoot phase. |
 |
| During the Shoot phase, none of the pikes died (a couple of close calls, but after the arrows stopped flying, they were fine). The unit who didn't survive was the banner-bearer, who died to a sleek Elven arrow...bummer. |
 |
| During the Fight phase, Balin pays his last Might point to call a final heroic combat against the Uruks he's fighting. He kills him and he and his comrade advance towards the other fights in the area. |
 |
| Blurriness, you're hurting my blog again. In other news, Gimli wins his fight and manages to roll 2 6s, which will be good enough to kill the Captain he's facing. Unfortunately, the Captain rolls a 2 on his Fate save, and so must pay both Might points he has to stay alive. Ouch... |
 |
| In the rest of the Fight phase, Balin won his fight but failed to get the 4s he needed to kill any of the pikes he was fighting. The Uruks wona good deal of the fights near Balin, but could only wound 1 Dwarf. The archer down near Legolas killed his man after a roll-off (which made me unhappy). But what made me even more unhappy was that one of the Dwarf two-handed axemen near Gimli won his fight against pike-support on the roll-off of 1s...what? Thankfully, he didn't wound my Uruk. |
Turn 4: Drilling The Front Lines (P - Yet another Dwarf priority round)
 |
| During the Move phase, my Uruks who were attempting to cross over the other board edge have been trapped, so we'll see what happens to them. Besides that, the Uruk lines are thin and I think I may just have to run for it. |
 |
| During the Shoot phase, Legolas nailed an Uruk pikeman (paying 1 Might point), while the Crossbow captain finally lands a kill (at the price of 2 Might points, so my units will have an escape route...risky, I know). |
 |
| In the Fight phase, Gimli calls a heroic combat, hoping to finish off the Captain. He is forced to pay a second Might point to win the fight, and FAILS to get a 6 on his dice (or even a 5). YAYE! In the other fights (not by the rock formation), three Dwarves were killed, while only one Uruk-Hai was killed (finally something good). Several of these kills happened where the Uruks can quickly make a break for it, if we can get priority. |
 |
| By the rock, the Uruks clearly dominated. Not only did they survive the archery round, but they killed both of their Dwarf assailants, paving the way to a swift victory (or so I hope). |
Turn 5: Unleash The Charge (P - Uruk-Hai)
 |
| With my first turn of priority in the whole game, I charged as many units as I could towards the exit, tying up a ton of Dwarves in the front lines and essentially sacrificing my captain to Gimli. The critical issue will be getting priority during these rounds, as I'm running out of Uruks to keep the Dwarves from running off my board edge. |
 |
| During the Shoot phase, Legolas found his stride and slew not one but two pikemen...come on, man... |
 |
| In the Fight phase, Gimli uses his last Might point to call a heroic combat and slays the Uruk captain. He then rushes towards the escaping Uruks and engages them (later losing that fight and managing to not be wounded). |
 |
| In the other fights, the Uruks won almost every fight, including a fight against Balin, which resulted in the hero evading a wound with a Fate point. 3 Dwarves were killed (including a Khazad guard, but not including the archer near the mound). Oh well, can't ask for everything. NOTE: after taking this picture, I noticed a Dwarf with white hair and shield who I didn't resolve the combat for. He lost his fight and was killed, adding yet another kill to the Uruk total. |
Turn 6: The Battle Rages (P - tied, Dwarves)
 |
| So here the Dwarves have one last ditch effort to stop the Uruks from escaping. Some of my units are breaking away, but none in very good positions. |
 |
| In the Shoot phase, a Dwarf archer snipes my break-away pikeman in the back, while Legolas targets my break-away swordsman (above the purple archer at the top of the frame). In his auto-shot, he rolls a 1 to wound, which is not a kill. :) |
 |
| In the Fight phase, Gimli slew 1 Uruk, while another Dwarf with two-handed axe slew his opponent. The Uruks managed to kill 2 Dwarves, which breaks their force. In the fight by the mound, the Dwarf archer actually won the fight, but failed to wound the trapped Uruk he was facing. Oh well... |
Turn 7: Forcing A Retreat (P - Uruk-Hai!)
 |
| So, one of the Uruks managed to get off the board. Right now, none of the Dwarves are set to escape, as they've been tied up (or beaten down) by the Uruks. Things are looking pretty good, except that none of the Dwarves fled. Oh well. |
 |
| In the Shoot phase, the keen Dwarf archer near Legolas nailed the Uruk with shield that ran past him, while Legolas shot down the next two closest escapees (no Might used...just skill). |
 |
| In the Fight phase, the Uruks and Dwarves didn't kill a single person, though some of those rolls were very close. Here's the fights as the board sees them (note that both Gimli and Balin lost their fights this round). |
Turn 8: Racing Across The Plains (P - Uruks!)
 |
| So, the Uruks won priority again and this time and got 2 more units off the board. Things are looking pretty good right now and I hope it stays that way. |
 |
| In the Shoot phase, Legolas kills 1 Uruk who was trying to flee, but can't kill any of the others. This kill, however, breaks the Uruk force. |
 |
| In the Fight phase, the Dwarves added insult to injury by killing 3 more Uruks, further reducing the strength of the force. They will, however need to get some of their units across the enemy board edge, which may prove difficult. |
On Turn 9, we rolled to see who got priority and it went to the Uruk-Hai. Five units fled the field, which ended the game, with one additional unit crossing the board edge. With 4 Uruks scoring points for the Uruk-Hai and none for the Dwarves, the victory belongs to the Uruk-Hai.
Assessment by Gaius:
With this being my first game of Reconnoitre, I was a bit surprised at how a slow civilization can hurt you. Once the Uruks broke past my units on Turn 7, I had to catch them (I couldn't shake his men from mine, so my best bet was to make it a draw) and he kept getting priority, so I couldn't move my own units out of the fight. Oh well, I'll do better next time...Elves perhaps?
Assessment by Tiberius:
This game I took my knowledge of my army to its logical conclusion: if I get into a slugging match, I'll probably lose because my units are more expensive than his basic troops and have problems winning against his strong troops. So, my hope was I could sneak a few troops off and then lose the rest of my force, thereby winning the game. More or less, that's how it happened. I was also struck with an ill-tide of priority rolls early, and so winning most of the closing ones really helped (and the one closing round I didn't win left only Balin in a good racing position towards the finish).
Stellar unit for Dwarves: Dwarves with two-handed weapons
I was thinking about giving it to two of the archers: the one who killed at least 3 Uruks and the one who fended off 3 Uruks for 4 rounds. But, the two-handed axes did more damage and were cheaper. On the whole, they did great today, though all of the Dwarves fought well. Still, it is great when two-handed axemen are able to win fights on their own and smash the enemies they face.
Stellar unit for Uruk-Hai: Uruk-Hai Warriors with shields
These guys almost always win the award, particularly when they are facing Strength 3 bows. It is truly remarkable how much of a difference a 6 to wound makes (as I figured out pretty quick with my crossbow captain), and these guys are great at tying down heroes and leading charges. I love having these guys in my army, though their cost (and that of the pikes) is often wasted, so sometimes I wonder how I'm going to fix this.
Final Note: the point of these games is to see what my next investment in Uruk-Hai is going to be. My conclusion, after a game against the Dwarves and Elves (and playing with Rohan cavalry against my friends) is that Warg riders would be a valuable addition to the force (not using the crossbow Uruk as a captain, but just as a warrior with crossbow). The only problem with this, of course, is that the Legions of the White Hand army list doesn't have Warg riders in its troop choices, so I'll have to convert one of my Warg riders into Sharku...which will be fun and challenging. Adding him and 3 Warg riders to the army will only require removing the banner, which I tend to not use effectively anyway since my banner keeps dying to enemy archer fire. So, we'll see what the future holds.
No comments:
Post a Comment