
Today's post is the first in a long time between me and Gaius and will be between the following forces:
The Denizens of Moria: 255 points
Durburz, Goblin King of Moria - 60 points
Cave Troll - 80 points
8 Goblin Warriors with shields - 40 points
8 Goblin Warriors with spears - 40 points
7 Goblin Warriors with Orc bows - 35 points
25 units, 7 bows, 1 hero
Army of Erebor: 253 points
Balin, son of Fundin with Durin's Axe - 95 points
8 Dwarf Warriors with shields - 72 points
6 Dwarf Warriors with Dwarf bows - 54 points
4 Dwarf Warriors with two-handed weapons - 32 points
19 units, 6 bows + 1 throwing axe, 1 hero
Balin, son of Fundin with Durin's Axe - 95 points
8 Dwarf Warriors with shields - 72 points
6 Dwarf Warriors with Dwarf bows - 54 points
4 Dwarf Warriors with two-handed weapons - 32 points
19 units, 6 bows + 1 throwing axe, 1 hero
As is most often the case, I'm getting back into the swing of things by playing with my Dwarves. The scenario we will be playing is a Capture the Flag game on a board that is 24" long by 24" wide. Each of us will be defending a trap door that contains our flag. If a unit was not engaged in combat during the Fight phase, he will open the door automatically and capture the flag that is inside. He must then take that flag back to his own base (his own trapdoor, specifically) before the enemy can get away with his own. Recapturing your own flag is not necessary. Also, if a unit was engaged in combat during the Fight phase, he may roll a dice to try to break open the door: on a 4+, the attempt is successful.
We're going to be playing in a Tunnel Fighting setting, since I haven't done one in a long time. The Dwarves won the roll-off and decided to place first, giving the Goblins priority on the first turn. Here's the map:

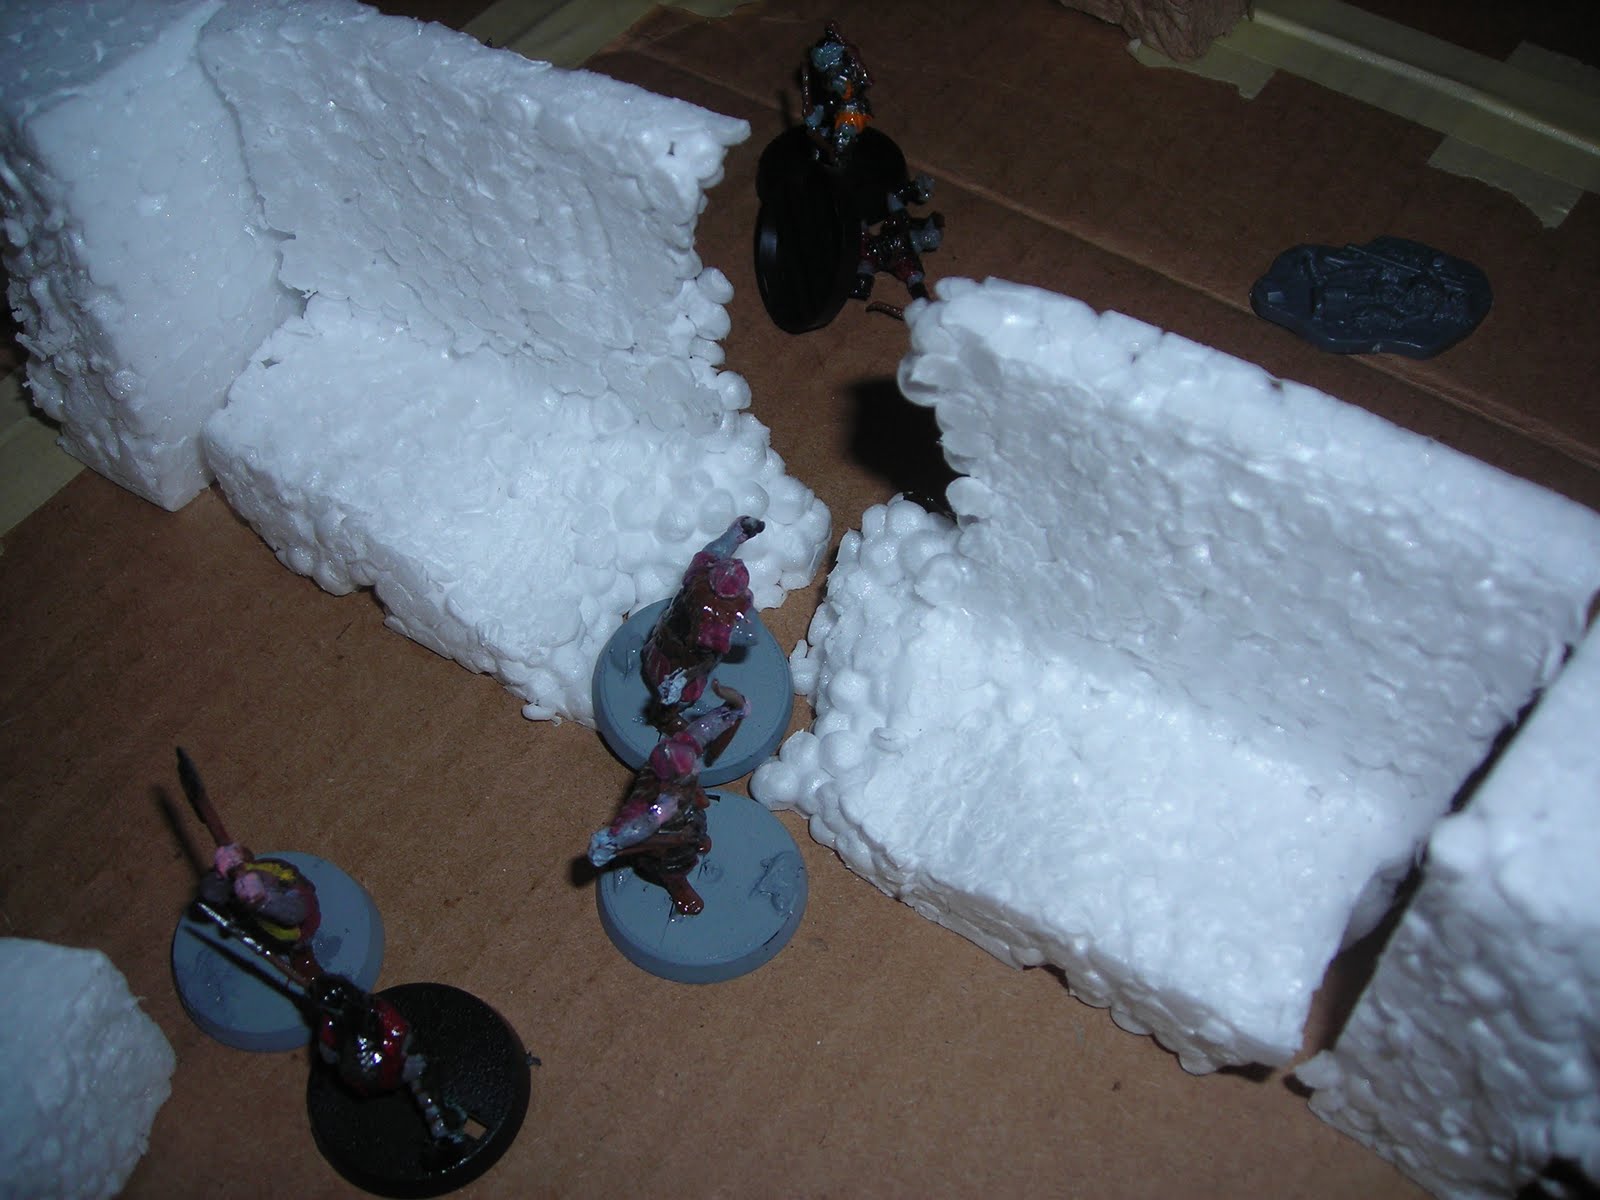
Turn 1: The Great Charge (Priority - Goblins)
 |
| The Goblins charge towards the Dwarves. I like the scenery I have (most of it came from packing materials for computer monitors and desktop screens), since the gateway here makes it seem like the Goblins are pouring out of a hall of sorts. |
 |
| The Dwarves charge, led by their fearless leader, Balin. |
Kill count: Dwarves 0/25, Goblins 0/19.
Turn 2: Arrows Fly (P - Goblins)
 |
| The armies again just advance towards each other, though you can see how the terrain has forced the movements to be a bit more...indirect as the armies charge. The Dwarves are blocking off the routes for the Troll, making sure that he needs to square off against Dwarves with shields. |
 |
| Pardon the blurriness. The Dwarf archers nail a Goblin with shield in the head, making kill #1 for the Dwarves. The ground the Goblins are approaching, by the way, counts as difficult terrain, and so they will probably feel the effects of the rough ground soon... |
Turn 3: Skill of Arms is Tested (P - Dwarves)
 |
| Close combat has now ensued and many fights are occurring. Balin cut down a Goblin with his throwing axe, allowing him to push towards yet another Goblin and his supporting spearman buddy. |
 |
| True to our guess, the Goblins felt a volley of Dwarf arrows, but only one met its mark: kill #2 for these Dwarf archers. |
 |
| Balin called a Heroic Combat and easily cut through the Goblin with shield that he was fighting. He then charged into the spear supporting this guy and as you can see, he killed him too. The Dwarves who fought Goblins this turn won their fights, but failed to kill any (except one Dwarf with shield not pictured here - he killed a Goblin archer). The Troll, on the other hand, won by a long shot and crushed both of his foes. |
Kill count: Dwarves 6/25, Goblins 2/19.
Turn 4: The Battle Rages (P - Tied, Goblins)
 |
| The armies continue to move, with Balin and the Troll remaining unhindered by each other. |
 |
| Ok, 'nother blurry shot. The Dwarf archer, who was guarding this entrance came out from behind the rocky doorway and nailed this Goblin in the back. Unfortunately, the other two Dwarves who shot at the spearman couldn't hit the broadside of a barn, so the other one survived. |
 |
| Ok, last blurry shot for a bit. Balin killed the man he was fighting by calling a second heroic combat and engaged the Goblin King (just above this shot). |
 |
| As you can see, one Goblin lies dead (killed by a Dwarf with shield, while the Goblin King escapes unscathed from his fight with a Dwarf and Balin (still lost though). One Dwarf warrior falls to the strength of 2 Goblins and the Troll hammers yet another Dwarf into the ground. |
Kill count: Dwarves 9/25, Goblins 4/19.
Turn 5: The Stalwart Defense (P - Goblins)
 |
| A lot is happening this round. We're going to catch up on some of the other areas of the board now, with lots and lots of pictures. The important thing to note is that Balin and the Cave Troll continue to avoid each other...for whatever reason. |
 |
| The Dwarves fire out at the Goblin invaders from their couched position on the rocks, nailing one of them. |
 |
| Balin pays his last Might point to call a final heroic combat, killing this Goblin with spear and then passing his courage test to charge the Troll. His comrade, however, failed his courage test and remained petrified on the spot. |
 |
| Five Goblins charge the 4 Dwarves behind this wall, and even though they won every fight, they failed to wound any of them. One managed to score the elusive 6 needed to kill one of these guys, but the wall gives the defenders an "in-the-way" roll, which the Goblin rolled a 1 on...bummer... |
 |
| Nearby, a valiant Dwarf with two-handed weapon killed the Goblin with spear who charged into him. The Dwarf not only slew his opponent, but got to see the oncoming traffic of more Goblins...which was a bit scary. |
 |
| Further still on the battlefield, a 3 turn standoff between two Dwarves and two Goblin archers has yet to be resolved, with the Dwarves winning every fight, but always failing to wound their intended targets. What is their problem - they're fighting archers for goodness sake! |
 |
| In Balin's fight with the Troll, the Troll not only won the fight, but managed to only score a wound against the Dwarf with shield (the other two rolls to wound missed the Dwarves completely). |
Kill count: Dwarves 12/25, Goblins 5/19. The Goblins are one unit away from breaking, while the Dwarves are a healthy 5 units away from breaking.
Turn 6: The Hammer Falls (P - tied, Dwarves)
 |
| So, not much is happening this round EXCEPT, as you can see at the bottom of this shot, a DWARF is STANDING on the GOBLIN BASE! We'll see a close-up of him later. [Post-game note: I talked with Gaius about his strategy in this game, and his thought was not to leave any units behind and simply float the Troll in the middle to catch the guy with the flag when he came out later...not a bad strategy when your archers are as atrocious as the Goblins are]. |
 |
| So a lot of fighting happened in this round, but the only significant details involve Balin and Durburz. Balin lost his fight to the Troll and was wounded once (but only once and he didn't use his Fate point). |
 |
| Durburz calls a heroic combat, kills the two-handed axeman in the doorway by paying 1 Might point (so he has 1 left), and pushes on towards the goal, landing on the Dwarf base. He rolls to break it open in the End phase and rolls...a 6. He has the flag and will be running it back to his base (probably in a cowardly way). |
 |
| As mentioned earlier, this Dwarf landed on the Goblin base during the Move phase and so automatically claims their flag. He will now have to run it back to his own base. |
Kill count: Dwarves 12/25, Goblins 6/19.
Turn 7: The Strength Will Wain (P - Goblins)
 |
| The board is now fairly sparse and the Dwarves and Goblins are mutually planning how to get their opponent's flags back to their own bases. Durburz chooses the most direct route, while the Dwarf takes a more varied route so as to put some distance between him and the Troll, should Balin have trouble fighting him. |
 |
| Trouble, however, Balin does not find, as he scores 2 wounds against the Troll in an epic swing (feeling the weight of redemption for the wound he suffered). The other fights pictured here did not produce a single Goblin casualty...the one casualty needed before the force could break. |
 |
| The five-turn saga between the Dwarves and Goblins ends with one Dwarf (one who won every fight until this one) died to the archer he was fighting...what a shame... |
 |
| But alas, the force will be broken, as two Dwarves manage to kill their foes in battle - one of which happened over the wall fights. The Dwarf with shield who killed his foe, you will remember has killed another Goblin with spear earlier and was petrified at the sight of the Troll he was asked to charge. Redeemed himself yet? |
Kill count: Dwarves 14/25, Goblins 7/19.
Turn 8: All Comes Crashing Down (P - Dwarves)
 |
| The Dwarves have moved tactically, to try to block off the escape of the Goblins (and engage as few of them as possible. Unfortunately, my ability to reach the Goblin King was inhibited by the other units, so we couldn't hit them. After spending 2 Will points, the Goblin King passed his courage test and called a Stand Fast! for all units within 12" who could see him. Three tested for courage and all passed. Wow... |
 |
| Blurry picture, but Durburz called a heroic combat against the petrified Dwarf warrior from a previous round and tied his roll in the first round of combat. The Goblin King won the roll-off and managed to roll a natural 6 - the needed roll to kill him. He then raced off towards the end objective, with the other Goblin warrior following him. |
 |
| Not far off, won a great accomplishment, by bringing down the Troll. With two more excellent wounds against his foe, Balin began to celebrate...a little. Now to catch the king of the Goblins... |
 |
| The saga ends here, as well, with the Dwarf finally winning. But ultimately, the Goblin objective was won, by keeping this Dwarf far from the rest of the fight...only with an incredible set of distractions could the Dwarves stop the Goblins from reaching their objective. |
Kill count: Dwarves 16/25, Goblins 8/19.
Turn 9: The Great Escape (P - Goblins!)
 |
| So, nothing much happened here in the grand scheme of things. The Dwarf with the Goblin flag was detained up north, while the Goblin King (who passed his Stand Fast! easily, keeping all but 2 units in check with his word) raced off to safety. The two Goblins who couldn't see/hear their lord passed their courage tests as well, so the army stayed to fight another round. Balin was engaged in combat, detained by a lowly archer (who he promptly killed). |
Kill count: Dwarves 17/25, Goblins 8/19.
We rolled for priority and the Goblins won again. Durburz passed his courage test, called a Stand Fast! and raced on to victory, while the rest of his pitiful band tied up a few more Dwarves. Were the game to require getting their flag back, the game would certainly go to the Dwarves, but today, victory is with the Goblins.
Conclusion:
Post-Game assessment by Tiberius: The game was well-played and I made a few mistakes: my archers didn't capitalize on critical moments when an arrow or two hitting their mark would have made things a whole lot easier. I was also tied up by the Goblin archers in a few places, which made it difficult to get where I needed to be. Balin's heroic combats ended up killing only one unit each turn (and in two of those, the second fight resulted in no kills). I regret not killing off the Goblin King at the start, but I blew my chance with Balin early, which was a pity. He ended the game with both Fate points, so even if I did get a lucky arrow at the end, it would have been hard to kill him.
Post-Game assessment by Gaius: The Goblins are a straight-forward civ - you need to just attack. If you play a defensive game, you will lose because that's not what your units are good at. In this game in particular, where your opponent needs to go back and forth across the board, the best place for my best units (the Troll, namely) was in the center - and I think I can say it worked.
Stellar unit for the Dwarves: Dwarves with shields
These guys never cease to amaze both of us, as they can take a beating from any unit they face. Though units like Trolls and Abrakhan Guards can cut through them, they take some effort so move. In this game, they were dependable units and tended to kill their units (at least, faster than any other set of units).
Stellar unit for the Goblins: Goblins with Orc Bows
It's interesting how useful archers can be. No Goblin unit killed very many Dwarves (I think the shield-bearing guys killed the most), but the tactical use of the archers was the best. Tying down every unit in the foreground at the end of the game, the archers were reliable to kill a few Dwarves and keep the ones in the front of the field out of the way of the King, which was the ultimate aim.
No comments:
Post a Comment